For graphic designers, creating clear and professional receipts is an often overlooked, yet crucial task. A well-designed receipt serves as both a proof of transaction and a representation of your business. With a customized template, you can ensure that every detail is organized and visually appealing for your clients.
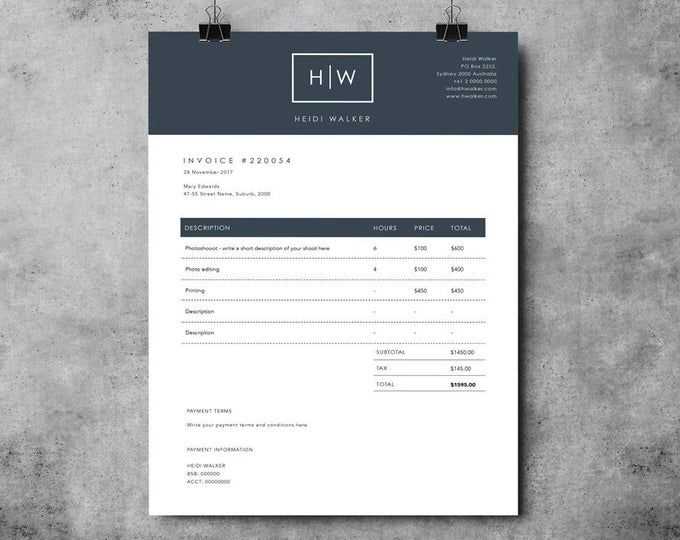
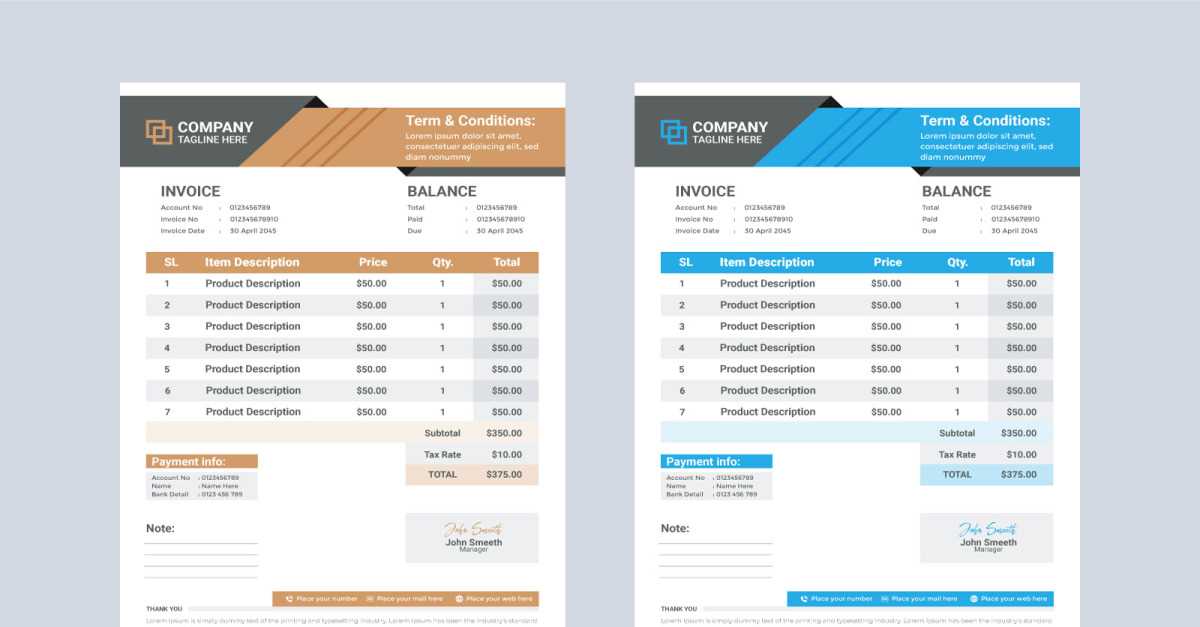
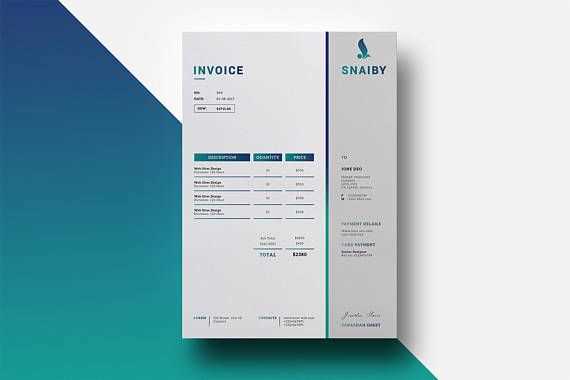
Use simple, yet structured layouts that include essential information such as client name, project description, payment amount, and the date of the transaction. Keep in mind that the design should align with your branding, so incorporating logos, color schemes, and fonts that match your work will give the receipt a polished, cohesive look.
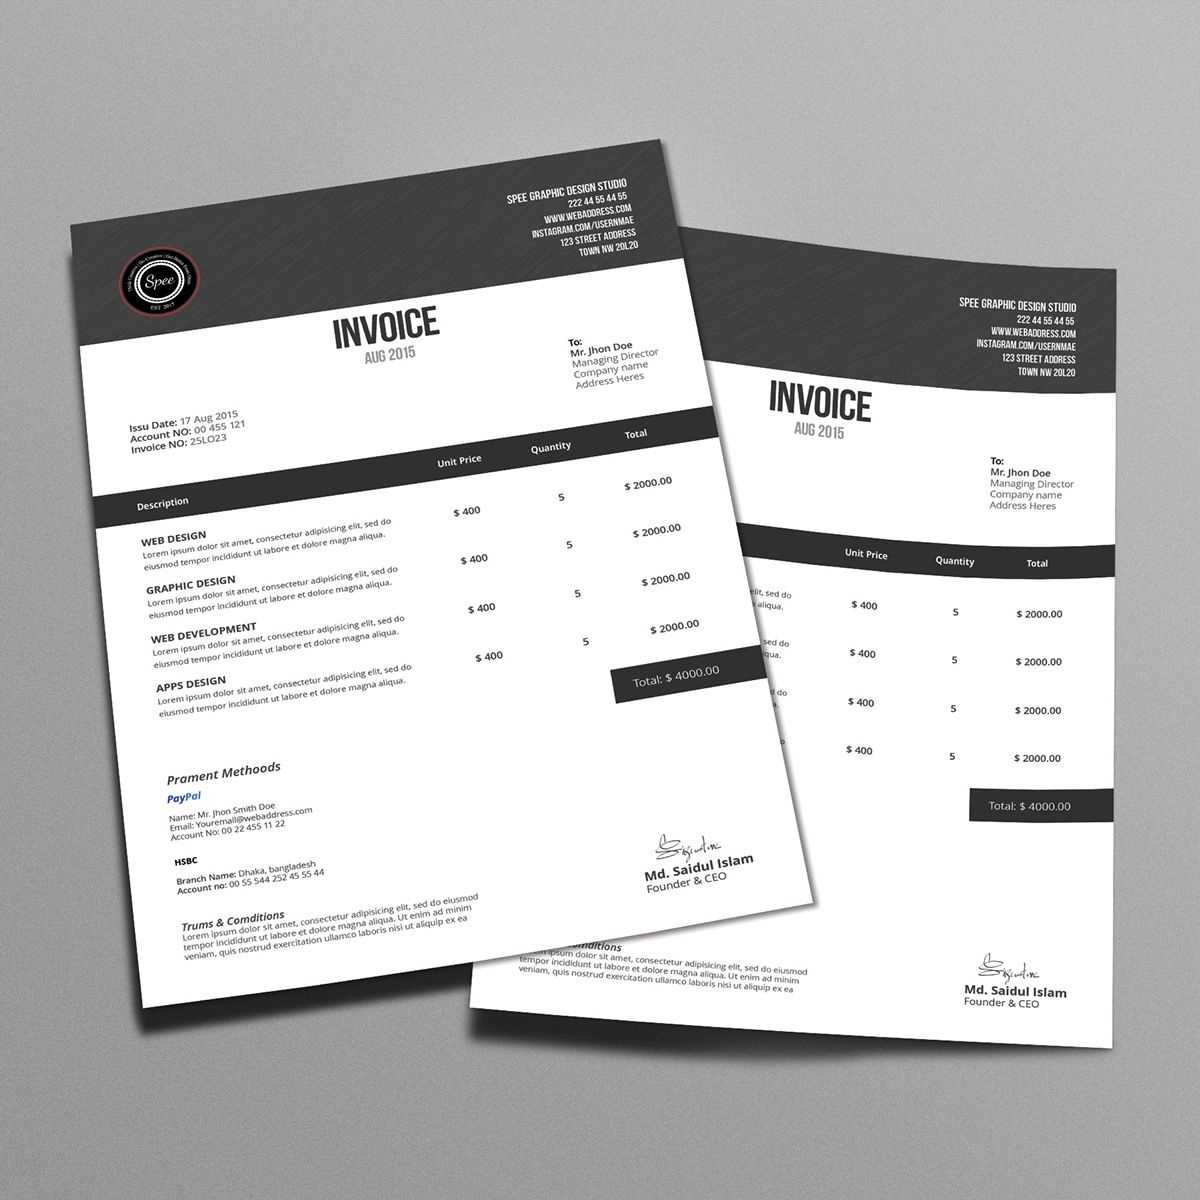
Make sure to add a section for any additional notes or terms of service that apply. This can include payment terms, refund policies, or reminders of future work, which helps manage expectations. A well-organized receipt not only looks professional but also promotes transparency and trust with your clients.
Graphic Design Receipt Template: A Practical Guide

To create a graphic design receipt template that’s both functional and professional, focus on clarity and simplicity. Start by including basic information such as the name of the client, the design services provided, and the total amount due. Ensure that the format is easy to follow, with separate sections for each service rendered, listing the corresponding rates and quantities. This prevents confusion and ensures transparency.
Incorporate a unique receipt number for each transaction. This helps in tracking payments and creates a reference point for both parties. You may also want to include a field for payment terms or methods, such as cash, credit card, or bank transfer. Be clear about any taxes or additional charges that may apply to the final price.
A clean design is just as important as the information it carries. Use legible fonts and ensure that the layout isn’t too cluttered. Keep in mind that white space enhances readability, making the document visually appealing and easy to digest. Include a space for signatures if necessary, as this can serve as confirmation of payment and agreement.
Lastly, consider including your business logo and contact details at the top. This adds a professional touch and ensures clients can easily reach you if needed. With these elements in place, your graphic design receipt template will serve its purpose of providing a clear, professional, and easily understandable summary of the transaction.
Customizing Your Template for Different Types of Design Projects
Adjust your receipt template to reflect the specific nature of your design work. For branding projects, focus on incorporating brand colors, logos, and fonts. This helps maintain consistency and strengthens the visual identity. For print design, make sure the template aligns with print dimensions and offers adequate bleed areas to prevent important content from being cut off.
For web design projects, keep the layout minimal to ensure it translates well across different devices. Use web-safe fonts and ensure a clean, organized structure. If you’re working on product design, include space for detailed descriptions and SKU numbers. Customizing these elements ensures the template suits both the aesthetics and functional requirements of your design projects.
For client presentations, incorporate placeholders for visual assets and ensure the template leaves room for explanations. A well-organized layout with labeled sections can highlight key features, making the receipt easier to read and understand. Each adjustment you make to the template should match the expectations and specifications of the project you’re working on.
Choosing the Right Software Tools for Receipt Creation

Begin with a program that offers flexibility and precision, such as Adobe Illustrator or InDesign. These tools allow you to design receipts with clear, customizable layouts and professional typography. If you prefer simplicity, Canva provides easy-to-use templates that can be quickly modified to fit your brand’s identity.
For a more automated approach, invoicing software like QuickBooks or Zoho Invoice can generate receipts quickly. These programs also integrate with payment systems, streamlining your workflow. They offer customizable fields for your business logo, product details, and payment information, ensuring consistency across all receipts.
If you need to manage receipt records in bulk, consider tools like Microsoft Excel or Google Sheets. Both allow you to create receipt templates and use formulas to calculate totals, taxes, and discounts automatically. This option works well for businesses that handle a high volume of transactions.
Lastly, for businesses with specific needs, open-source software like LibreOffice Draw can be customized with scripts to automate various tasks related to receipt generation, making it a cost-effective option for advanced users.
Incorporating Client Information and Design Details Effectively

Organize client details clearly and avoid cluttering the receipt with excessive information. Begin by placing essential client data such as name, contact information, and company name at the top or in a designated client section. Keep the layout neat to ensure easy scanning of key information.
- Name and contact details: Include the client’s full name, address, phone number, and email. If it’s a business, ensure the company name and relevant identifiers like a tax ID number are visible.
- Design specifications: Add clear sections for design details, such as project title, description, and specific requirements that were discussed with the client.
For design-related sections, list important features like the type of design service (logo, branding, print design, etc.) and any agreed-upon revisions or final deliverables. Use bullet points or numbered lists to ensure clarity and quick readability.
- Design brief: Summarize the key points of the design brief that was agreed upon, including the preferred color palette, fonts, and any specific imagery or elements requested.
- Project milestones: Include a timeline or breakdown of deliverables with corresponding deadlines.
Ensure these sections are clearly separated from the pricing information to avoid confusion. The pricing section should include individual rates for design services, any additional charges for revisions, and a clear breakdown of the total cost. Use simple tables or itemized lists to present pricing data for transparency.
Finally, provide space for notes or comments from the client or designer. This can help clarify any last-minute changes or feedback before final delivery, ensuring all details are captured before the transaction is closed. Keep this section straightforward without unnecessary detail, focusing only on key points.


