Creating a Simple IIF Template for Sales Receipts

The IIF (Intuit Interchange Format) template for sales receipts provides a structured way to import sales transaction data into QuickBooks. Here’s how to build a functional template that meets the system’s needs:
Step 1: Understand the Basic Structure

The basic IIF format requires header rows followed by data rows. Each row represents a specific type of transaction. For sales receipts, you’ll need to include key fields such as:
- TRNSTYPE – Indicates the type of transaction, such as “Sales Receipt”.
- DATE – The date of the transaction.
- ACCNT – The account associated with the sale, like “Cash” or “Bank”.
- AMOUNT – The total amount of the sale.
- CUSTOMER – The name or ID of the customer.
Step 2: Structure Your Template
Once you understand the essential components, start structuring your IIF template. The header row defines the columns, while the data rows contain the transaction details.
Here’s an example of a basic template for a sales receipt:
!TRNSTYPE    DATE      ACCNT      AMOUNT  CUSTOMER
!SPL        DATE      ACCNT      AMOUNT  ITEM
This template consists of two sections: the transaction header (TRNSTYPE) and the line items (SPL). For each transaction, the header row will define the sale type and basic details, while the SPL rows will break down the individual sale line items.
Key Tips for Using the IIF Template

Accurate Date Formatting
Ensure that the date format in your template matches the QuickBooks requirements. The correct format is MM/DD/YYYY. Any inconsistencies will result in errors during import.
Verify Account Codes
Double-check the account codes listed in the template. They should correspond with the chart of accounts in your QuickBooks company file. If you use non-standard accounts, make sure they are created in QuickBooks before import.
Test Import on a Sample File
Before importing a large batch of sales receipts, run a test import with a sample file to verify that all fields are mapped correctly. This will help avoid errors when you work with your actual sales data.
Sales Receipt IIF Template
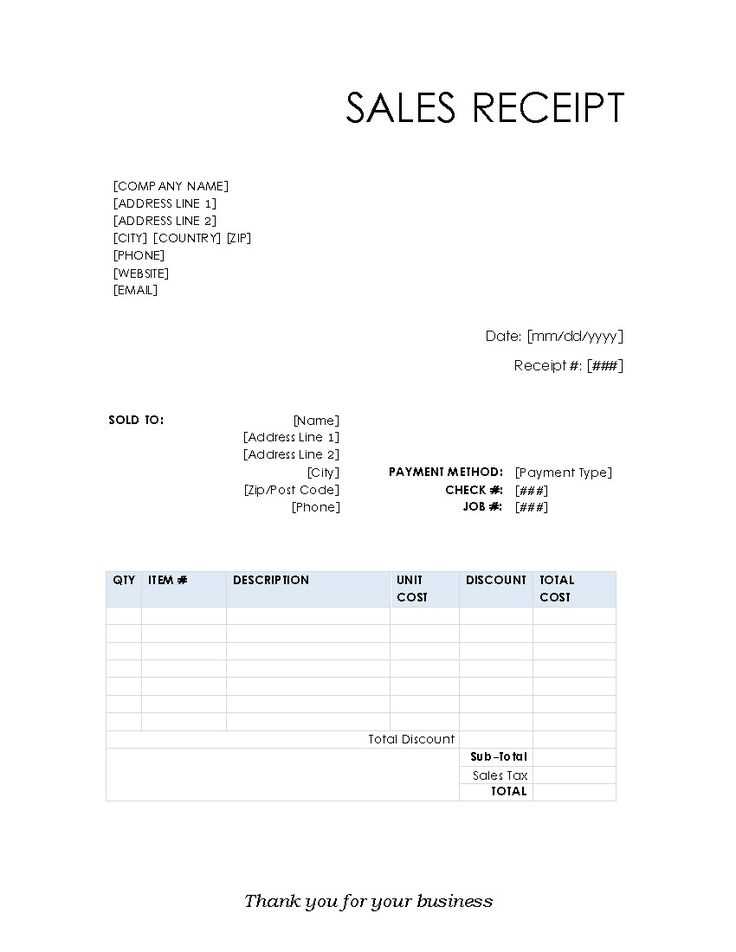
To create an IIF template for sales receipts, focus on including the necessary fields that reflect the sale data clearly and concisely. Begin by organizing fields such as the transaction date, customer name, item details, and payment method. Ensure each field is correctly formatted to ensure smooth data import into your accounting system.
Formatting Fields for Accurate Data Entry
Ensure that each field in your IIF template matches the format required by your system. For dates, use a consistent format (e.g., MM/DD/YYYY). For amounts, verify that decimals are handled correctly, especially in tax and total fields. Always test your template with sample data before importing it to prevent errors in your accounting system.
Handling Custom Fields in IIF Templates for Sales
When dealing with custom fields, make sure they are mapped correctly to the appropriate data types. Use unique names for each custom field and define their purpose clearly in your template. If you’re dealing with specific product attributes, like color or size, include these as custom fields for accurate tracking and reporting. Double-check that the data entered into custom fields does not conflict with system-required fields.


