If you’re looking to create professional receipts quickly and easily, Microsoft Office 2007 offers a variety of templates that can simplify the process. These templates are especially helpful for small businesses or individuals who need to generate receipts without complex software. With just a few adjustments, you can customize these templates to suit your needs, whether you’re invoicing for services or selling products.
To get started, open Microsoft Word or Excel and search for “receipt templates” in the template gallery. You’ll find a range of options, from simple designs to more detailed formats, that can include company logos, addresses, and custom fields for payments, taxes, and item descriptions. Once you’ve selected the template that works best for you, it’s easy to modify it according to your specific requirements.
Make sure to personalize the template with your business information, such as your name, contact details, and payment terms. You can also tweak the layout and font styles to align with your brand’s identity. With a bit of customization, your receipts will look polished and professional every time you issue one.
Microsoft Office 2007 Receipt Template: A Practical Guide
To create a receipt in Microsoft Office 2007, open Microsoft Word and start with a new document. Choose a blank template or select a pre-made receipt template if available. You can easily access this by going to the “File” menu, selecting “New,” and typing “receipt” in the template search bar.
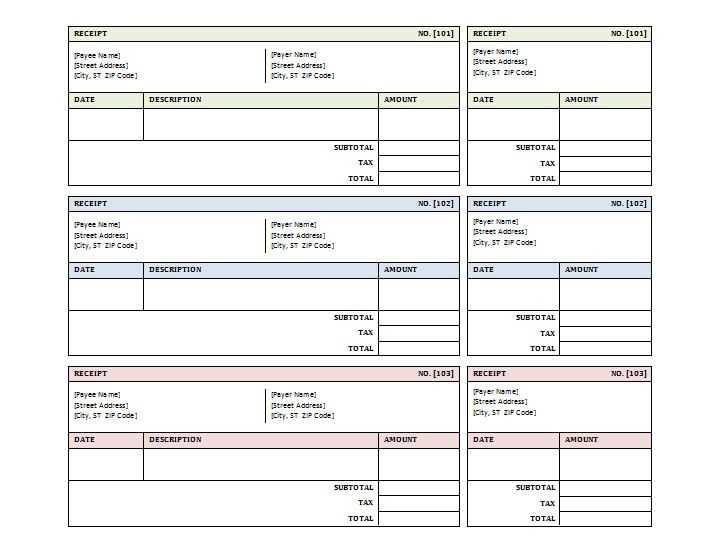
Once the template is open, replace placeholder text with the relevant details. Input the company name, address, and contact information at the top. Below, provide the buyer’s name and the items or services sold, including quantities, prices, and total amounts. Adjust the font size for clarity, and use bold formatting for headings such as “Receipt” or “Date” to make key information stand out.
If you want to add more custom features to the receipt, consider inserting a table. This can help you organize item names, quantities, and prices neatly. Go to the “Insert” tab, click “Table,” and choose the desired number of rows and columns. This simple method ensures the receipt looks professional and well-structured.
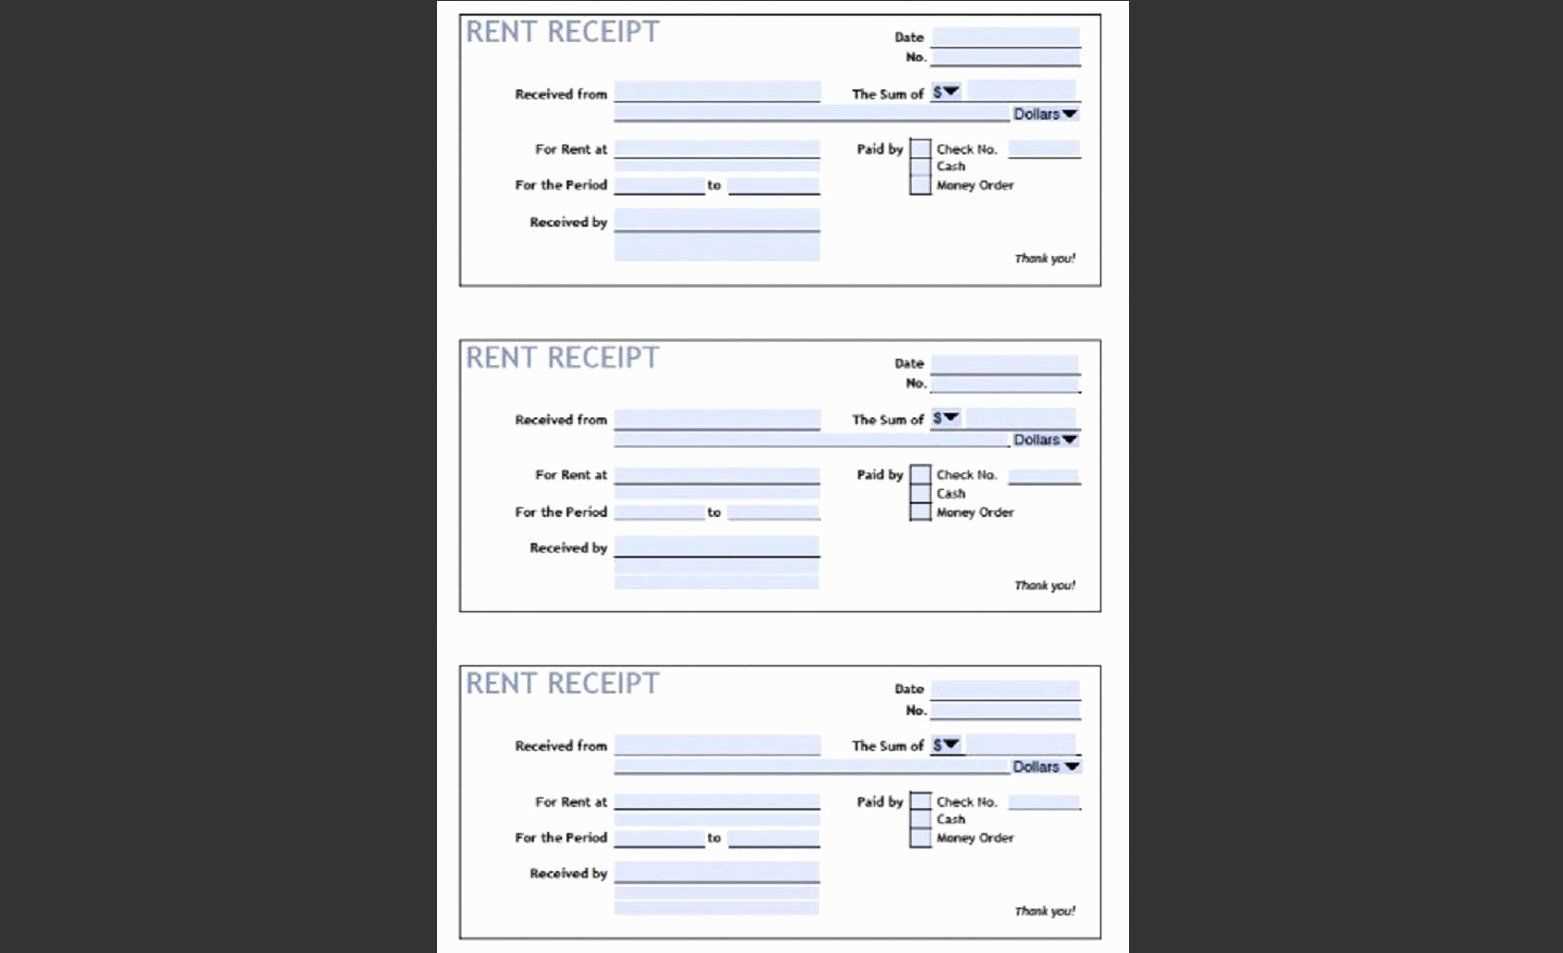
For any business-related receipt, remember to include payment terms. You can add a line such as “Paid by [method of payment],” or simply note the date when the payment was received. Ensure that the total sum is clearly visible to avoid confusion.
If you prefer, you can save your customized receipt as a template for future use. Save the document, and when you need to create another receipt, open the saved template to speed up the process. This option is especially useful if you deal with frequent transactions.
Finally, review the document before printing or sending it. Ensure all details are accurate, and the format is clear. Once satisfied, print the receipt or save it as a PDF to share electronically with your customer.
How to Create a Custom Receipt Template in Microsoft Word 2007
To create a custom receipt template in Microsoft Word 2007, open a blank document. Set up your page layout by selecting the “Page Layout” tab and adjusting the margins, orientation, and paper size according to your needs.
Step 1: Insert a Table
Start by inserting a table to organize the receipt’s sections. Go to the “Insert” tab and click “Table.” Choose the number of rows and columns needed for the receipt, such as a row for the company name, one for the address, and separate rows for the items purchased, total, and payment method. Adjust the table’s width to match your preferred layout.
Step 2: Add Custom Content
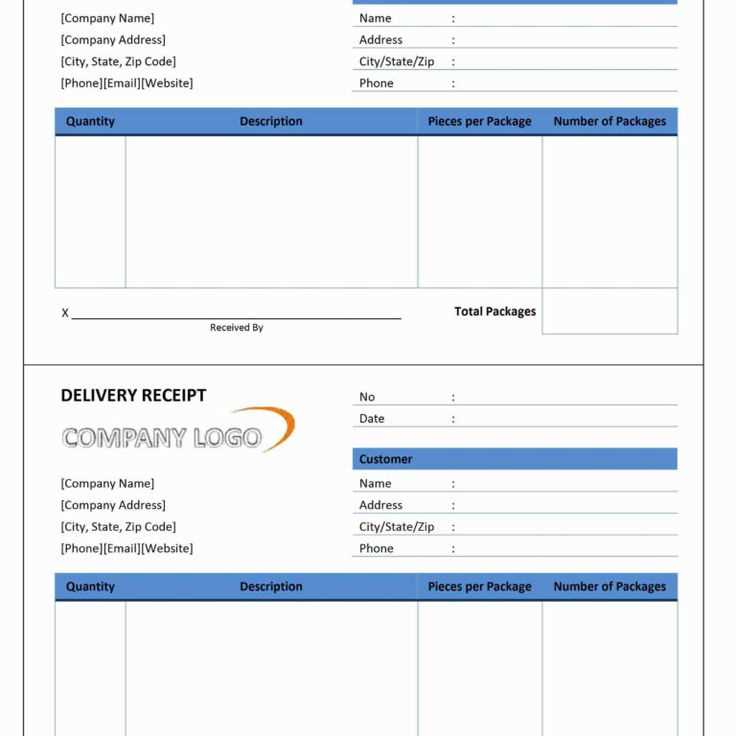
Fill in the table with relevant content like your business name, address, receipt number, and date. Customize each cell with the appropriate information. For items or services provided, list them in separate rows with columns for quantity, price, and total amount. Add a final row to calculate the total amount. You can format the text using the font and style options in the “Home” tab.
For additional customization, you can insert your company logo, adjust the alignment of the text, or use bold and italics for emphasis. Be sure to leave space for the customer’s details and payment information. Save the template for future use by selecting “File” and then “Save As.” Select “Word Template” from the file types to ensure it remains reusable.
Adding and Formatting Tables for Itemized Purchases in Excel 2007
To manage itemized purchases effectively in Excel 2007, begin by creating a table with clear headings for each column. Highlight the cells you want to include in the table, then select the “Insert” tab and click “Table.” This will convert the selected data range into a formal table, enabling automatic filtering and sorting options.
Next, organize the columns to reflect the different aspects of each purchase. Common columns might include “Item Description,” “Quantity,” “Unit Price,” “Total Price,” and “Purchase Date.” Excel will allow you to sort and filter this data easily once it is formatted as a table.
To ensure clarity, format the table properly:
- Use bold headers: Select the first row and apply bold formatting to make it stand out.
- Adjust column widths: Resize the columns to fit the data without excess space, making the table easier to read.
- Apply currency formatting: Select the “Total Price” column and format it as currency by clicking on the “Currency” button in the “Number” group on the Home tab.
- Use cell borders: Apply borders to create separation between rows and columns, making each entry easier to distinguish.
If you’d like to add calculated columns, such as the total price for each item, you can use Excel’s formula functions. In the “Total Price” column, type the formula =B2*C2 (assuming B2 is the quantity and C2 is the unit price) and drag the fill handle down to apply it to the rest of the rows.
Lastly, you can adjust the table’s design to match your preferences. Excel 2007 offers a variety of built-in styles. Choose one that suits the appearance of your data by clicking “Table Styles” under the “Design” tab. This will help make your itemized purchases table more visually appealing and organized.
Saving and Printing Your Receipt Template for Future Use

To save your receipt template in Microsoft Office 2007, click on the “File” tab and select “Save As.” Choose the location on your computer where you want to store the file, and select “Word Document” or another preferred format. Give the file a recognizable name, and hit “Save.” This allows you to quickly access the template whenever needed.
Printing Your Receipt Template
Before printing, ensure your receipt template appears exactly as you want it. Click on the “File” tab and select “Print.” In the print settings, choose the correct printer, set the desired number of copies, and adjust any other preferences like page orientation or margins. After checking everything, click “Print” to produce your receipt. For high-quality prints, ensure your printer is loaded with sufficient ink or toner.
Storing for Future Use

If you need to keep your receipt template organized for future reference, consider saving it to a cloud storage service like OneDrive or Dropbox. This way, you can access it from any device and ensure it’s backed up. Additionally, creating a dedicated folder on your computer can help you quickly find and manage your templates without hassle.