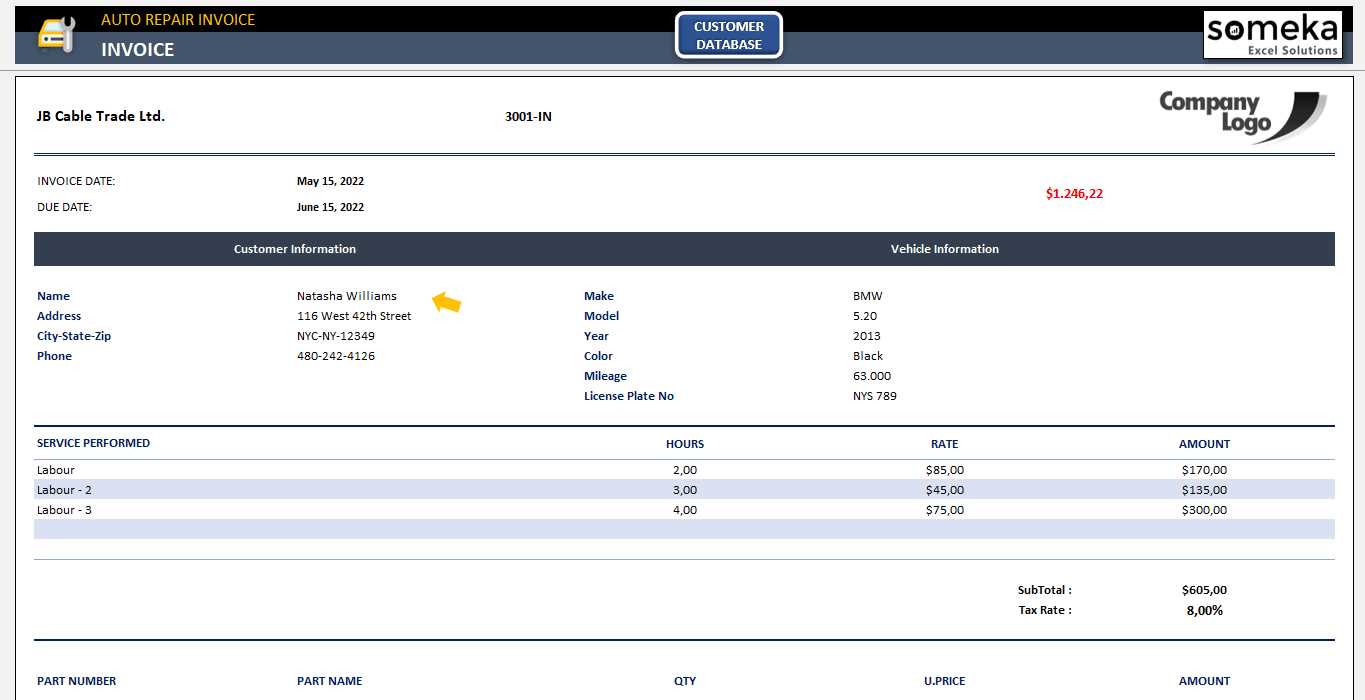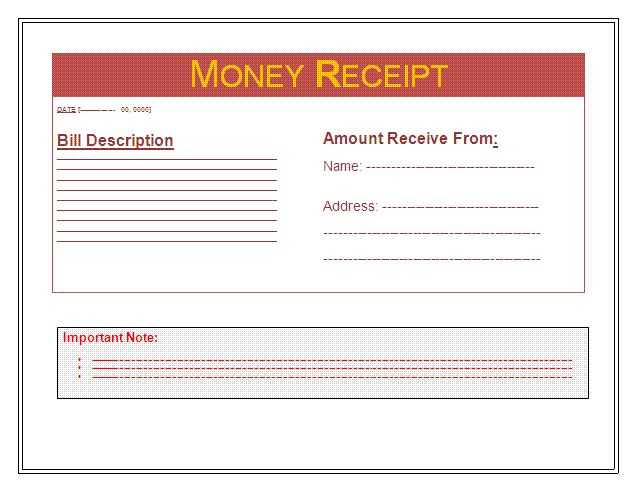
Use an Excel template for creating money receipts that are clear, simple, and customizable. Start by choosing a template with designated columns for the amount, payer’s name, date, and reason for payment. This structure helps in keeping everything organized and easy to read.
Adjust the columns to suit your specific needs. For instance, you can add a column for payment method or transaction ID if needed. The flexibility of Excel allows for easy modification while keeping the format consistent.
Once you’ve set up the basic structure, incorporate simple formulas for calculations. For example, if you need to calculate total payments or outstanding balances, Excel’s SUM function can automate these processes, saving you time and reducing errors.
Don’t forget to personalize the template by adding your business logo or contact details. This not only enhances professionalism but also ensures that each receipt carries the necessary information for reference or record-keeping.
Money Receipt Template in Excel
Create a simple and organized money receipt template in Excel to keep track of transactions. Start by setting up basic sections: date, payer’s name, amount received, and payment method. Use rows for individual receipts and columns for each category. This layout ensures clarity and ease of reference.
Setting Up Columns
In the first column, label it “Receipt Number” for easy tracking. The second column should be titled “Date,” where you input the date of the transaction. For the third column, name it “Payer’s Name” to record the individual or organization making the payment. Then, create a column for the “Amount” received, followed by a column for the “Payment Method” (e.g., cash, check, credit). You can also add a “Description” column for any additional details about the transaction.
Adding Formulas
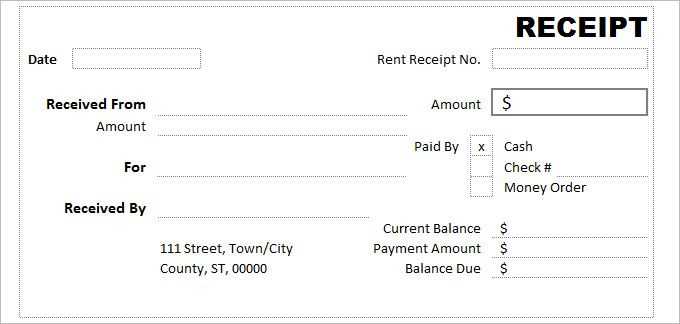
To make your template more dynamic, you can add a formula to calculate totals. In the “Amount” column, use the SUM function at the bottom to automatically calculate the total amount received. This feature saves time and prevents errors in manual calculations.
For a professional look, format the cells to ensure consistency. Apply borders and use bold fonts for the header row. Use Excel’s cell formatting options to display the amounts in currency format, making the template even more functional.
By following these steps, you’ll have a customizable and easy-to-use money receipt template for any type of transaction.
How to Create a Customizable Receipt Template
Open a new Excel file and begin by setting up a simple layout. Create columns for the necessary details, such as “Receipt Number,” “Date,” “Item Description,” “Quantity,” “Unit Price,” and “Total.” This structure allows easy entry and modification of data.
1. Customize Cell Sizes and Fonts
Adjust the width of each column to ensure the text fits neatly. You can select the columns, right-click, and choose “Column Width” for precise adjustments. Use a clear, readable font like Arial, and adjust the size to make the receipt easy to read at any point.
2. Add Calculations for Total Amount
Use Excel’s built-in formulas to automatically calculate totals. In the “Total” column, input the formula =B2*C2, where “B2” represents Quantity and “C2” represents Unit Price. This ensures your receipt totals update as you change the quantity or price.
3. Formatting for Better Visual Appeal
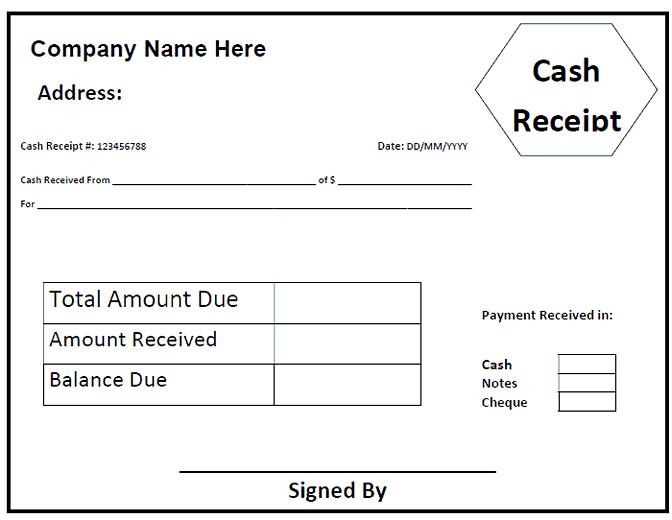
Apply bold formatting to headers to make them stand out. You can also shade the header row with a light color to make the document more visually appealing. For borders, select the cells and apply thick borders for a professional finish.
4. Add a Logo or Additional Information
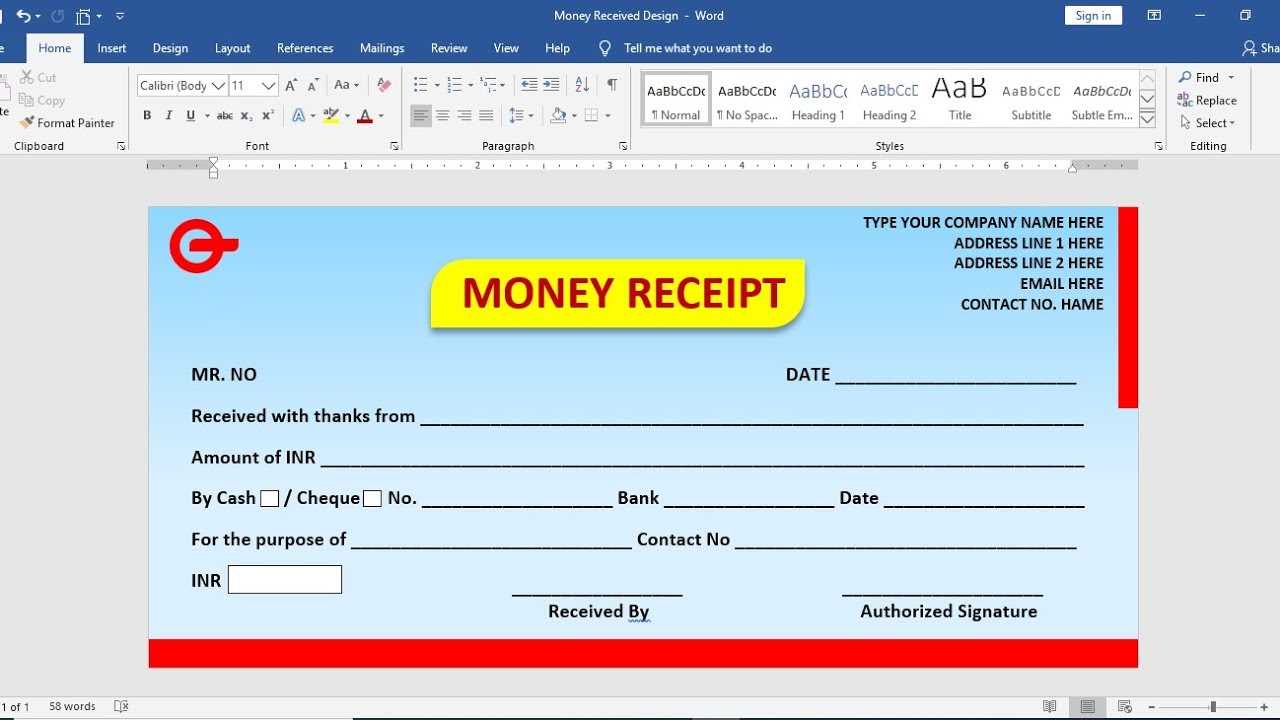
If needed, insert a company logo or contact details at the top of the receipt. Use “Insert” > “Picture” to place your logo image. Keep this section simple to maintain focus on the transaction details.
5. Save the Template
Once you’re satisfied with your design, save the template as a reusable file. Go to “File” > “Save As” and select “Excel Template” from the list of file types. This way, you can easily reuse the template for future receipts without recreating the layout each time.
Incorporating Key Fields in Your Excel Receipt
Make sure your receipt includes fields that provide clear, organized information. Begin with the transaction date. It’s crucial for tracking purposes and helps clarify when the transaction occurred. Add the receipt number as a unique identifier, making it easier to reference later. Always include the payer’s details, such as name and contact information, for accountability and transparency.
The item description section should list the goods or services provided. This helps avoid confusion and provides clarity. Don’t forget the quantity and unit price fields for each item, ensuring the totals are accurate. Sum up the amounts in a total field, including any applicable taxes or discounts to ensure everything is clear and accurate.
Consider adding a payment method field, which provides clarity on how the transaction was settled, whether by cash, credit, or another method. If relevant, include a notes section for any additional comments, like delivery instructions or warranty details.
Setting Up Automatic Calculations and Totals
To streamline your receipt template, set up automatic calculations for totals using Excel formulas. Start by selecting the cell where you want the total amount to appear. Use the SUM function to add up all individual amounts. For instance, if your amounts are listed from cell B2 to B10, enter the formula =SUM(B2:B10) in the cell where you want the total to show.
Calculating Tax Automatically
If your receipt requires tax calculations, set up a formula to calculate it automatically. For example, if the tax rate is 10%, enter =SUM(B2:B10)*0.1 in the cell designated for tax. This will multiply the total by the tax rate, updating automatically as amounts change.
Subtracting Discounts

For discounts, you can set up a formula to subtract a fixed amount or percentage. If you want to subtract a 5% discount from the total, use the formula =SUM(B2:B10)*(1-0.05). This calculation will automatically adjust based on changes to the total amount or discount rate.
