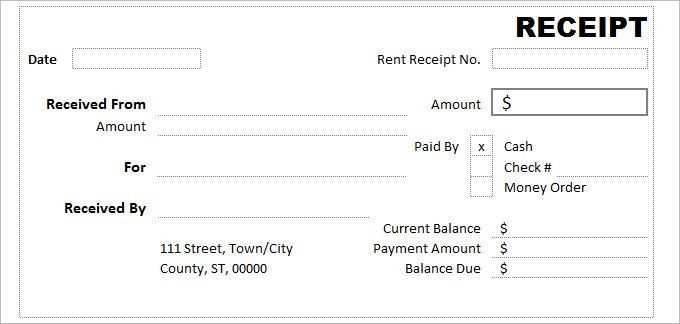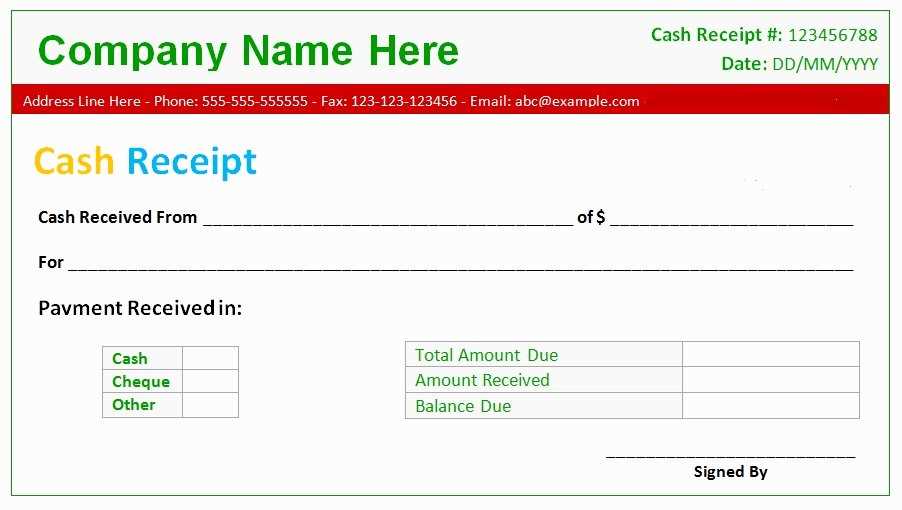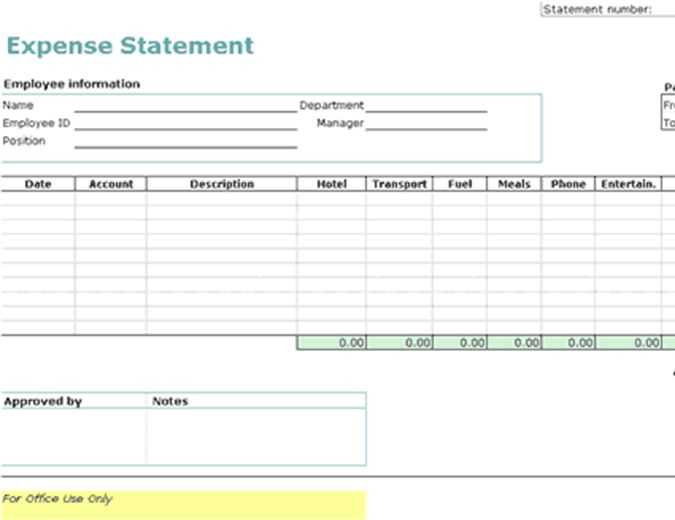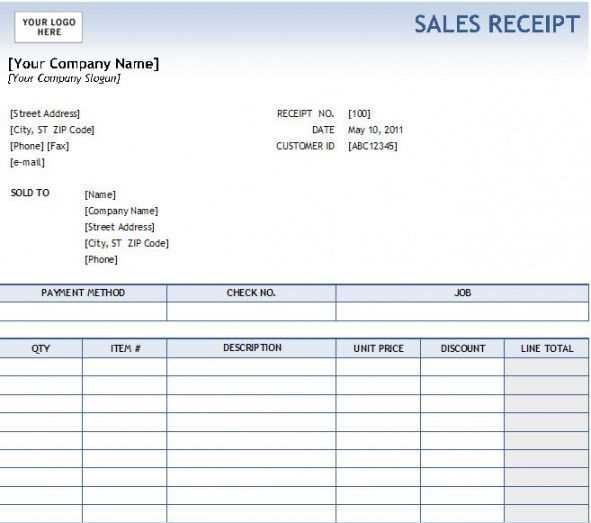
If you need a simple and functional receipt template for your transactions, an Excel-based solution works perfectly. These templates are easy to customize and can be adapted for various types of purchases or services. You can quickly create and manage receipts without relying on complex software or expensive tools.
Start by downloading a free Excel receipt template from reliable sources online. These templates often come with pre-defined sections such as the seller’s details, buyer’s information, product description, and price breakdown, saving you time. All you need to do is fill in the specific data for each transaction.
Customize the layout based on your preferences. Excel allows you to adjust fonts, colors, and alignments, making it convenient to match the template to your business branding or personal style. This flexibility makes Excel a versatile option for both personal and small business use.
In addition, Excel’s built-in formulas can automatically calculate totals, taxes, and discounts, reducing the risk of manual errors. This ensures your receipts are accurate and professional-looking, all while streamlining the process.
Here’s the corrected version:
To create a receipt template in Excel, begin by setting up clear columns: Item, Quantity, Unit Price, and Total. In the Total column, use the formula “=Quantity*Unit Price” to calculate the cost per item automatically. Make sure to include a row for the subtotal and apply a simple formula to sum up the totals. Below the subtotal, insert a space for taxes, and calculate this by multiplying the subtotal by the tax rate (e.g., “=Subtotal*0.15” for 15% tax). At the bottom, create a final total row that adds the subtotal and tax. Adjust the layout for clarity, ensuring each section is distinct, and the font size is legible. You can also customize the header with your business logo or name. This streamlined approach will help you create an accurate, easy-to-use receipt template quickly.
Excel Receipt Template Free

Downloading and customizing a free Excel receipt template is straightforward. Start by searching for reputable websites offering free templates. Websites like Microsoft Office templates, Vertex42, and Template.net often provide free, ready-to-use options. Once you find a template that fits your needs, download it by clicking the download link and opening the file in Excel.
How to Customize a Free Excel Template

To tailor the receipt template to your needs, focus on the following elements:
1. Company Information – Update fields for your business name, logo, and contact details.
2. Customer Details – Edit areas to input the customer’s name, address, and email.
3. Transaction Information – Modify the sections for item description, quantity, unit price, and total cost. Add or remove rows as needed for more items.
4. Date and Invoice Number – Ensure the date format aligns with your preferences and set up a system for generating invoice numbers.
Key Features to Look for in a Free Excel Receipt
When choosing a free receipt template, check for the following features:
– Simple layout with easy-to-fill fields.
– Automatic calculations for totals and taxes.
– Clear itemized breakdowns for products or services.
– Customizable headers for your business name and logo.
– Space for payment methods and transaction dates.
– Compatibility with different versions of Excel for smooth editing.
Once you’ve customized the template, save it for future use. You can also create multiple versions if you want different formats or additional information.
Tips for Printing and Sharing Your Receipt

Before printing, review the receipt for any errors or missing information. Ensure all totals are correct and that the font is legible. To print, select the “Print” option in Excel and choose your preferred printer settings. For sharing digitally, save the receipt as a PDF file to maintain formatting when emailing it to the customer. You can also share the file directly from Excel if both you and the recipient use Excel. Alternatively, use cloud storage for easy access and sharing.


