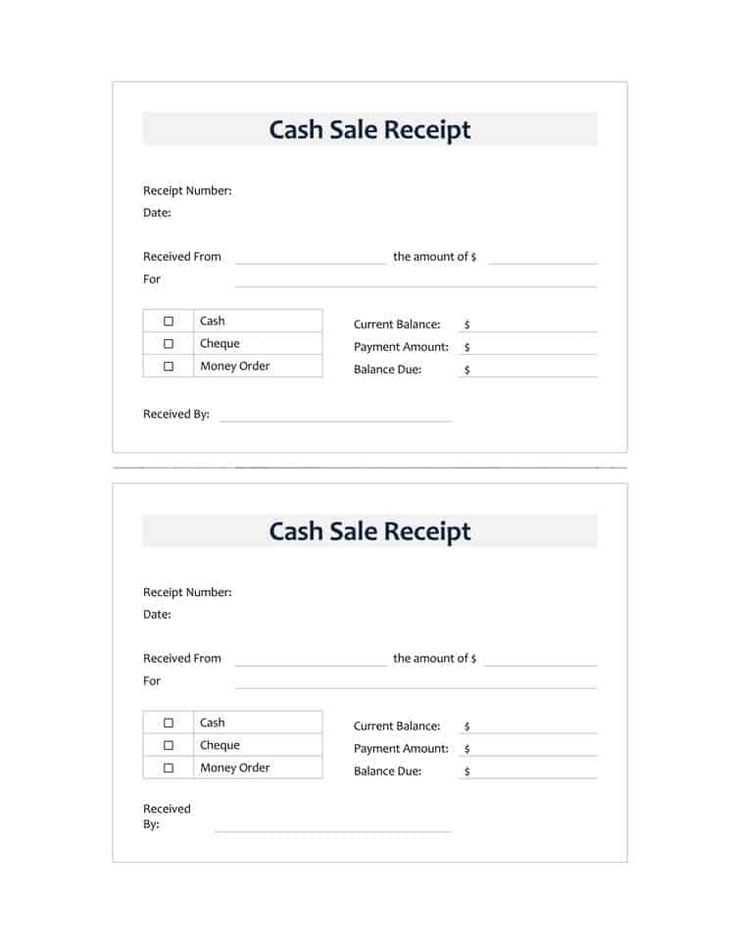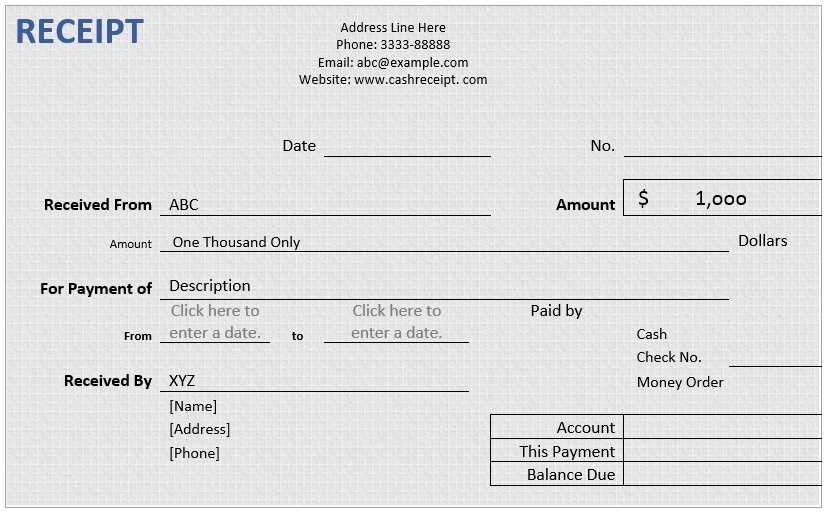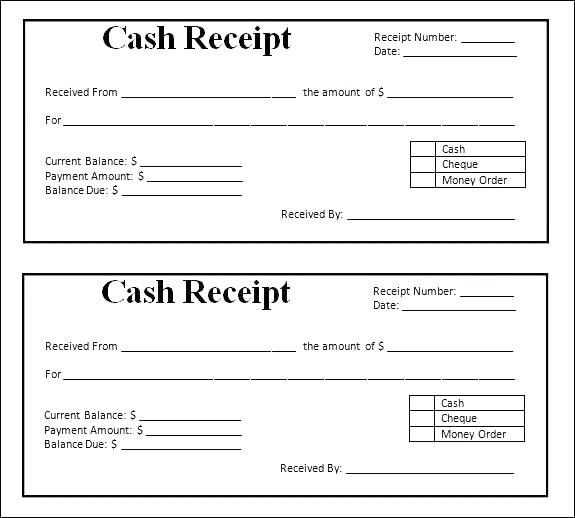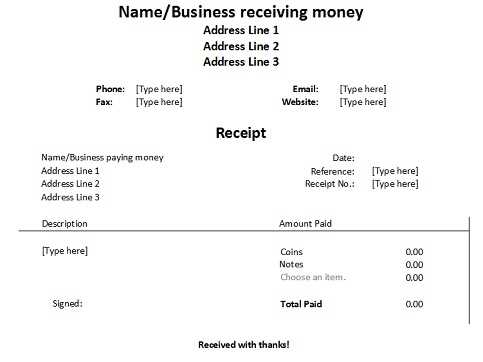
To create a professional money receipt in Microsoft Word, start by selecting a simple template that fits your needs. Microsoft Word offers a variety of pre-made templates that can be easily customized for different purposes, whether it’s for business or personal use. The format includes fields for the payer’s name, payment amount, date, and the purpose of the transaction.
Modify the template to reflect your specific requirements. Add your business or personal logo, and customize the header with your name or business name. Ensure the payment details are clearly stated, including the amount in both numeric and written form. You can also include a thank-you note or additional terms if necessary, depending on the context of the transaction.
Once you’ve tailored the template, save it for future use. Microsoft Word allows you to save custom templates, making it easy to reuse the same format for multiple transactions. This saves time and ensures consistency across your receipts. Make sure to save the file in an accessible folder, and consider keeping a copy for your records.
Here is the corrected version:
Ensure that all relevant fields in the receipt template are clearly labeled for quick reference. Include essential sections such as:
- Transaction date
- Seller and buyer details
- Item description with quantities and prices
- Total amount paid
- Payment method (cash, card, etc.)
Use consistent fonts and alignments throughout the document to maintain a professional appearance. Adjust margins to provide sufficient space around the text, allowing easy readability. Add clear borders around the receipt to distinguish it from other documents.
Formatting Tips

- Use bold for headers like “Transaction Date” or “Total Amount” to draw attention.
- Consider including a footer with terms or conditions of sale, if applicable.
- Ensure all numbers are properly aligned for better clarity (e.g., currency symbols, totals).
Save your template as a reusable document so you can generate receipts quickly for future transactions.
- Money Receipt Template in Microsoft Word: A Practical Guide
Creating a money receipt template in Microsoft Word allows you to easily customize the document and use it for various transactions. Whether you are receiving payments for services, goods, or loans, the steps below will guide you through the process of creating a functional template.
Step-by-Step Instructions

- Open Microsoft Word and create a new blank document.
- Set the page layout: Go to the “Layout” tab and adjust margins to suit your preferences. The standard margins are typically sufficient for most receipts.
- Add a header: Include the name of your business or organization, your logo (if applicable), and contact information such as address and phone number.
- Title the document: Use a bold, large font to create a heading, such as “Money Receipt” or “Payment Receipt”. This clearly indicates the purpose of the document.
- Insert transaction details: Below the title, create fields for essential transaction information. These should include:
- Receipt number
- Date of transaction
- Payment method (cash, cheque, bank transfer, etc.)
- Amount received
- Purpose of payment (description of goods or services)
- Include a thank-you note or terms: Add a simple note expressing gratitude for the payment or any terms that apply to the receipt.
- Insert a footer: Include a space for a signature or the name of the person issuing the receipt. If necessary, add any disclaimers about returns or refunds.
Formatting Tips
- Use tables to align fields neatly. This helps in maintaining a clean and organized appearance.
- Choose simple fonts like Arial or Times New Roman for clarity. Avoid overly decorative fonts that might be hard to read.
- Apply bold or italics to highlight important information, such as the payment amount or receipt number.
Once your template is complete, you can save it as a reusable file. Make sure to create a copy each time you need to issue a new receipt, and fill in the required details for each transaction.
Open Microsoft Word and create a new blank document. Adjust the page layout to your preferences by going to the “Layout” tab and selecting “Margins” to choose an appropriate margin size. A common choice for receipts is narrow margins for maximizing space.
Use tables to structure your receipt. Go to the “Insert” tab, click on “Table,” and select the desired number of rows and columns. Start with a simple structure: a row for the company name, a row for the address, and additional rows for item descriptions and prices. You can easily add or remove rows later if necessary.
For the header, select a bold font for the company name. A clean, professional look is achieved by using fonts like Arial or Calibri. In the next rows, adjust the font size and style to create a clear distinction between the sections. Use bold for labels like “Date,” “Item,” and “Amount” to draw attention.
Leave enough space to input customer details, item descriptions, and payment terms. Use the “Insert” tab to add a “Text Box” for dynamic fields, allowing you to fill in specific information each time you generate a new receipt.
Add placeholders for payment methods or additional fields like “Transaction ID” or “Tax.” These sections can be formatted with borders or shaded to make them stand out. To insert a border, select the cell, go to the “Design” tab, and choose a style for the border.
For better customization, use “Content Controls” for dynamic fields. These fields are useful when you want to consistently update specific information, like the customer’s name or amount paid. Go to the “Developer” tab, select “Rich Text Content Control” or “Plain Text Content Control” and place them where necessary.
To finalize the template, save it as a Word template file (.dotx). This allows you to reuse it without overwriting your original document each time you create a new receipt. To do this, click “File,” then “Save As,” and select “Word Template” from the file type options.
To create a complete receipt, include the payment method, transaction date, and any additional important details. This helps both the buyer and seller track and confirm the transaction details easily.
Include Payment Method

Clearly state how the payment was made. This could include options such as credit card, bank transfer, PayPal, or cash. Be specific, for example, mentioning the last four digits of the card used or the transaction reference number for bank payments.
Details on Amount and Taxes
List the total amount paid, including any applicable taxes, delivery fees, or discounts. This ensures transparency for both parties involved.
| Item Description | Quantity | Unit Price | Total |
|---|---|---|---|
| Product A | 1 | $20.00 | $20.00 |
| Shipping Fee | 1 | $5.00 | $5.00 |
| Total | $25.00 |
Including this table will provide a clear breakdown of the transaction, leaving no ambiguity about the payment details. Be sure to double-check all amounts before finalizing the receipt.
To save your money receipt template in Word, go to the “File” tab, select “Save As,” and choose a location on your computer. For ease of access, you can save it as a template by selecting “Word Template (*.dotx)” in the file type dropdown. This ensures that your document remains in template form, ready for reuse whenever needed.
Editing your template is simple. Open the saved template, make the necessary adjustments to the layout or text, and then save it again as a template by choosing “Save As” and selecting the Word Template format. This keeps the original version intact while allowing you to create new, modified versions of the template without altering the original file.
To reuse your template, go to “File” > “New” and choose “Personal” to access your saved templates. Select the one you need, and a new document will open, allowing you to enter new data without changing the template itself.
These steps help keep your workflow organized, ensuring you always have a fresh copy of your template ready to use, whether for receipts, invoices, or other repetitive tasks.
To create a money receipt template in Microsoft Word, start by ensuring you have the key elements for clarity. Include a header with “Receipt” clearly marked, followed by a unique receipt number for easy reference. Below, provide spaces for the date, payer’s name, and payee’s name. Specify the payment method, such as cash, check, or card, and include a section for item descriptions with corresponding amounts.
In the next section, calculate the total amount received. Use simple formatting tools like bold and underlining to highlight important details such as the total and payment method. Ensure there is enough space for any additional notes or terms at the bottom of the document.
Lastly, save the template as a reusable document format (.dotx), allowing easy access and modification whenever a new receipt is needed. This way, you avoid having to recreate the format every time you need to issue a receipt.


