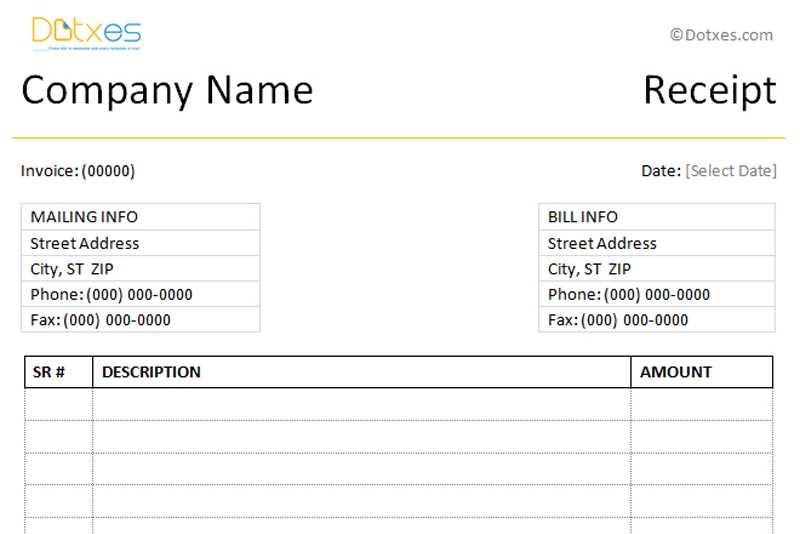
Creating a receipt in Excel saves time and ensures accuracy. Whether you’re managing a small business or keeping track of personal expenses, an online receipt template in Excel can streamline the process. You can easily customize it to meet specific needs, from adding item descriptions to adjusting tax rates. Excel’s built-in features allow for automatic calculations, eliminating manual errors and simplifying the workflow.
Start by choosing a pre-designed template or building one from scratch. The main advantage of using Excel is flexibility. You can create multiple columns for product names, quantities, unit prices, and discounts. Adding formulas for tax calculations and totals takes the guesswork out of the equation. The template can be tailored to reflect your branding by adding a logo or custom color scheme.
Once your template is set up, it’s easy to generate receipts quickly. Save them as PDF files for a professional, shareable format. This method ensures receipts are accessible on any device, ready to be printed or emailed to customers. Excel’s versatility makes it an ideal tool for managing sales records with minimal effort.
Here’s the corrected version:
First, adjust the column widths to make sure your receipt template looks clean and well-organized. This prevents text from overflowing into adjacent cells. Use the “Wrap Text” option for longer descriptions and item names.
Next, format the date and time fields in a consistent style. You can set a custom date format (e.g., dd/mm/yyyy) to maintain uniformity across all receipts. This is particularly helpful for businesses that need to track sales over time.
Use Excel’s “Currency” format for monetary values. This automatically applies the correct number of decimal places and the appropriate currency symbol, reducing manual errors when entering prices.
Add borders around key sections like the items list and totals. This helps separate different parts of the receipt visually and ensures your data is easy to read. You can also shade alternate rows for better clarity.
Finally, save the template as a reusable file (e.g., “Receipt Template.xlsx”). If you’re frequently issuing receipts, it saves time and reduces the risk of formatting mistakes. Consider setting up data validation rules to restrict input where needed, ensuring accuracy in entries like quantity or price.
Online Receipt Template Excel: Practical Guide
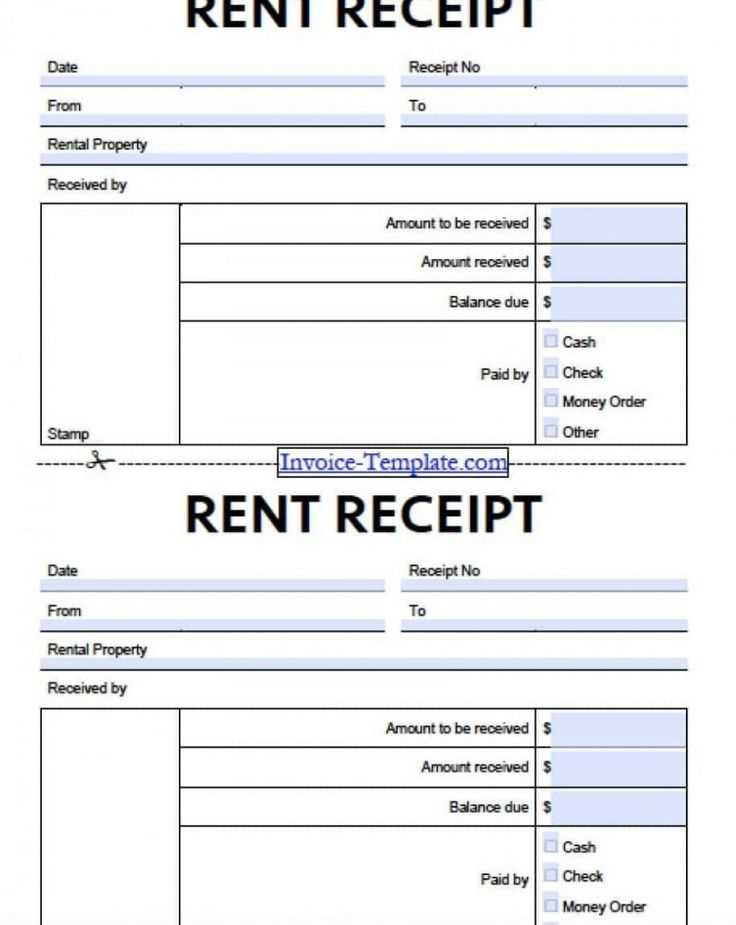
To create an effective online receipt template in Excel, begin by setting up a structured layout with clear sections for key details: seller information, buyer information, itemized list, and total amount. Each section should be easily distinguishable and follow a consistent format across all receipts.
Start with the header: Include fields for the company name, address, contact information, and receipt number. This information should be aligned to the left for readability. Below the header, include the buyer’s name, address, and contact details. Make sure the space is wide enough to accommodate varying lengths of text.
The core of the receipt template is the itemized list. Create a table with the following columns: Item Description, Quantity, Unit Price, and Total Price. This table should automatically calculate the total price by multiplying the quantity and unit price. Excel’s built-in formula features, such as the SUM function, can simplify this process. Here’s an example of the table structure:
| Item Description | Quantity | Unit Price | Total Price |
|---|---|---|---|
| Item 1 | 2 | $10.00 | $20.00 |
| Item 2 | 1 | $5.00 | $5.00 |
| Total | $25.00 | ||
Once the item list is completed, include additional fields at the bottom for taxes and discounts if applicable. Use simple formulas to calculate the tax based on a percentage or apply a discount to the subtotal. For example, use the formula =Subtotal*TaxRate for calculating tax.
Finally, provide space for payment method details, such as credit card, cash, or bank transfer. You may also want to include a thank you message at the bottom to personalize the receipt.
Ensure that all the columns and rows are well-spaced and aligned to improve the overall presentation of the receipt. With Excel’s gridlines and formatting tools, you can easily enhance the visual clarity of the template, making it professional and easy to read.
Begin by updating your receipt’s header. Replace the default name with your business name, address, and contact details. You can also add a logo for brand consistency by inserting an image in the header section. Make sure the layout aligns with your brand’s style.
Adjust the Layout for Readability
Resize columns to ensure proper spacing for each section, such as item descriptions, quantities, and prices. Use clear headings for each column and consider bold text to highlight totals and taxes. Adding lines or borders between different sections, like subtotal and tax, can help keep the receipt organized and easy to read.
Set Up Automatic Calculations
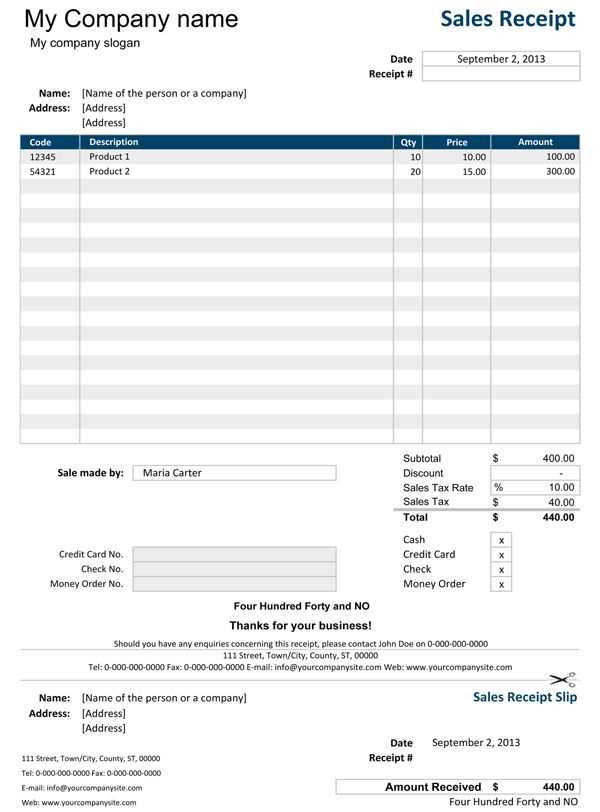
Automate totals using Excel formulas. Use the multiplication function to calculate the total price of items (quantity × unit price). Then, add a tax formula by applying a percentage to the subtotal. Excel also allows you to subtract discounts directly from the total, which can be managed with simple formulas.
If your business offers multiple products or services, set up a drop-down list using the Data Validation feature. This makes it easier to select items quickly and reduces the chance of errors. Also, create a cell for a unique invoice number that updates automatically to track each transaction smoothly.
Begin by creating a table structure in Excel, with columns for items, quantities, unit prices, and total amounts. Each row represents an individual item or service in the receipt. Use Excel’s built-in formulas to calculate the total cost per item by multiplying quantity by unit price.
To calculate the overall total, use the SUM formula at the bottom of the total column. This will automatically update as items are added or modified, ensuring accuracy without manual recalculations.
For taxes or discounts, create separate columns and apply percentage formulas. For tax, multiply the total amount by the tax rate (e.g., =SUM(total)*0.1 for a 10% tax). For discounts, calculate the reduced price by applying the discount rate to the original total (e.g., =SUM(total)-SUM(total)*0.15 for a 15% discount).
To streamline the process further, use data validation to limit input to specific values, ensuring consistency across the document. For example, restrict item quantities to numeric values only or prevent invalid unit prices.
Set up conditional formatting to highlight any discrepancies in totals, such as when the calculated total doesn’t match the expected amount. This will help in quickly spotting errors and correcting them before finalizing the receipt.
Finally, ensure that the file is set to auto-save and linked to cloud storage. This allows the receipt to be accessible across multiple devices and ensures any edits are saved in real-time, reducing the risk of losing important data.
To share and print your Excel receipt with ease, start by ensuring your file is formatted correctly. Make sure the receipt layout fits well on a page to avoid cutting off any details when printed. Use margins effectively, and check for alignment, especially for company logos or payment details.
Printing Your Receipt
Before printing, preview your receipt by selecting File > Print in Excel. This step helps confirm the layout, font sizes, and positioning. Adjust page orientation if necessary, switching between portrait and landscape to maximize space usage.
If the receipt contains multiple pages, consider using Excel’s Fit to One Page option under Print Settings to shrink everything into a single, readable page.
Sharing Your Receipt
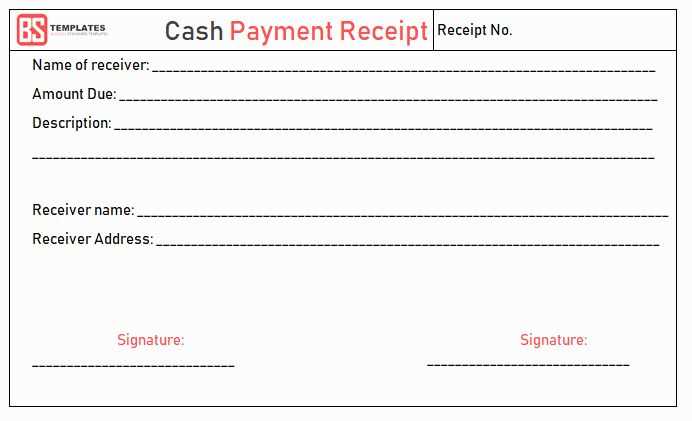
For sharing via email, save the receipt as a PDF. Go to File > Save As, select PDF as the file type, and save it. PDF files maintain the integrity of your receipt’s format across different devices and are easily accessible for recipients.
If you prefer sharing the Excel file itself, use cloud storage like Google Drive or OneDrive. Upload the file and share a link with the recipient, ensuring that you adjust sharing permissions to allow for viewing or downloading only.
Choose a clean and structured template when designing your online receipt in Excel. This ensures clarity for both the sender and recipient. Start with basic fields like the item name, quantity, unit price, and total. Organize these into columns for easy tracking. A well-structured receipt template eliminates confusion, allowing recipients to verify information quickly.
Key Fields to Include
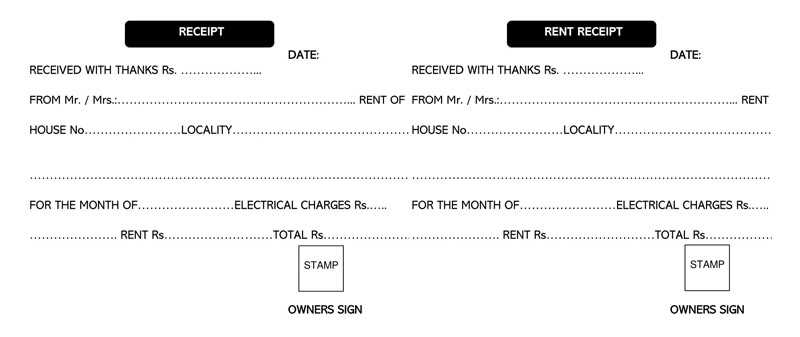
- Receipt Number – Assign a unique ID for each receipt for better organization.
- Date – Always include the date to avoid confusion with future transactions.
- Buyer and Seller Information – Include contact details of both parties for reference.
- Itemized List – Break down each item purchased, including description, quantity, unit price, and total cost.
- Subtotal – Provide a subtotal before taxes and additional charges.
- Tax and Total – Clearly display tax amounts and the final total due.
Formatting Tips
- Keep your font consistent. Arial or Calibri work well for readability.
- Use bold for headings and totals to highlight important information.
- Leave enough space between sections for a clean look.
- Consider using borders to separate different sections, ensuring a clear visual hierarchy.
For efficiency, set up formulas for calculations like tax and totals. Excel allows for automatic updates to figures, reducing the need for manual entry and minimizing errors. Simple functions such as SUM for totals and multiplication for taxes streamline the process.


