Creating a receipt of documents template allows for quick, clear acknowledgment of items or files received. This type of document ensures both parties have a record of what has been handed over, reducing the risk of misunderstandings. Use the template to keep track of materials, such as contracts, reports, or other important paperwork, exchanged between individuals or businesses.
Customize your receipt to fit the specific documents being handed over. Include fields for the name of the document, its purpose, the date of receipt, and signatures from both parties. Ensure that the document is specific enough to clearly identify each item being acknowledged. Having a clear structure helps prevent any ambiguity later on.
Don’t forget to include reference numbers for tracking purposes, particularly if you’re dealing with multiple documents or a series of transactions. Adding a space for comments or additional notes can also be beneficial when there are any specific conditions or instructions related to the receipt of documents.
Here’s a version without repetition, keeping the meaning and structure intact:
To create a well-structured document receipt template, begin by clearly defining the fields required for both parties to fill in. Start with the sender’s and recipient’s contact details, ensuring both names, addresses, and phone numbers are included. Make sure there is space to include the date the documents were received and the method of delivery.
Document Details
Include a section to list the documents being acknowledged. Each document title should be accompanied by a brief description or reference number for easy identification. This helps avoid confusion and ensures both parties are aligned on the items exchanged.
Signatures

Allow space for both the sender and recipient to sign, confirming the receipt of the documents. Include a line for the date of signature as well. The signature fields should be clear and easily accessible, ensuring the document is legally valid.
Finally, consider including a statement that clarifies the condition of the documents upon receipt, such as whether they are complete or in good condition. This will help prevent any disputes regarding the state of the documents later on.
- Receipt of Documents Template
A Receipt of Documents template helps ensure the correct documentation is tracked and acknowledged. Use this template to list all documents handed over, confirming both parties’ agreement. It provides a clear record, reducing misunderstandings or disputes over document transfers.
Key Information to Include

Start by including the following details in your template:
- Date: The exact date when the documents are being received.
- Recipient Name and Details: The full name and contact information of the person or organization receiving the documents.
- Sender Name and Details: The full name and contact information of the person or organization sending the documents.
- Document List: A clear list of the documents being transferred, with brief descriptions of each item.
- Signatures: Space for the recipient’s and sender’s signatures, confirming the exchange.
- Additional Notes: Any relevant comments or specifics about the documents or the transaction.
Formatting Tips
Ensure the template is easy to follow by maintaining a clear structure. Numbering the documents and providing brief descriptions allows for fast verification. Keep the language simple and concise. It’s also a good idea to offer space for additional comments, in case any further clarifications are necessary.
To craft a professional document receipt template, begin by clearly defining the key information that needs to be included. A well-structured receipt should have the following components: a receipt number, date, the name of the recipient, the purpose of the document, and any additional relevant details (such as terms, conditions, or amounts involved). Organize the layout to prioritize clarity, using bold or larger text for headings and more standard font sizes for body content.
Keep the Layout Clean

A clean and straightforward layout makes the receipt easy to read and understand. Avoid overcrowding the page with excessive text or design elements. Use spacing effectively, and align text consistently. The recipient’s details should be placed at the top, followed by the document information and any signatures or acknowledgments at the bottom. If applicable, include a section for additional notes or instructions at the end.
Use Professional Fonts and Formatting

Choose professional fonts like Arial, Times New Roman, or Calibri to ensure readability. Stick to standard font sizes (10-12 pt) for the main text and slightly larger sizes for headings. Incorporate consistent formatting, such as left-aligning the text and using bullet points or numbered lists for clarity when needed. This will contribute to the professional appearance of the receipt, reinforcing the reliability of your documentation process.
Customize your receipt template based on the type of transaction to make it more relevant and professional. Each transaction type–whether it’s a retail sale, service provision, or a donation–has unique requirements. Adjust the template by focusing on the key elements specific to each case.
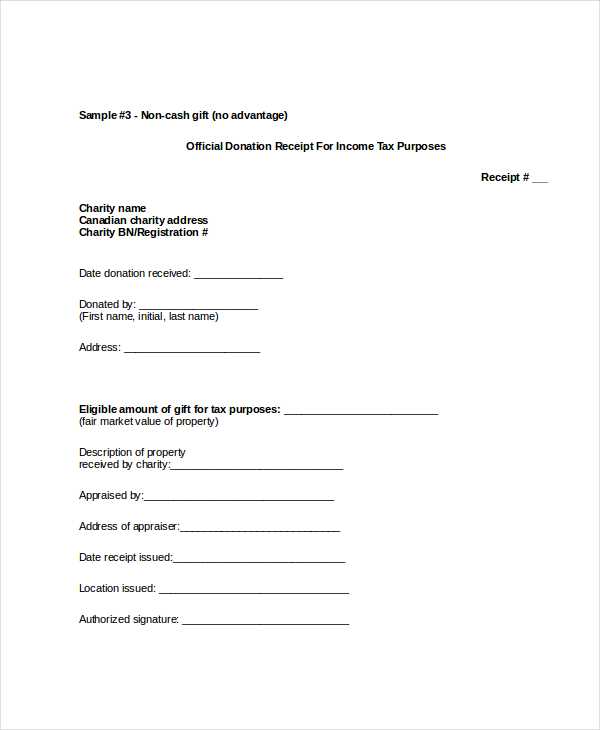
For retail transactions, include details like the product name, quantity, unit price, and total price per item. Add any applicable taxes or discounts. For service transactions, break down the service provided, hours worked (if applicable), and rates. If offering a donation receipt, clearly indicate the donation amount and the donor’s information. This transparency builds trust.
Here’s a simple structure to follow:
| Transaction Type | Key Customization |
|---|---|
| Retail | Product details, quantity, price, taxes, discounts |
| Service | Service description, hours, rates, total cost |
| Donation | Donation amount, donor’s name, charitable organization details |
To further enhance the receipt, consider adding sections that address return policies or warranty information for product-based transactions. For services, including contact information or terms of service helps clarify the nature of the agreement.
Ensure that your template is adaptable. Allow for variations in the items or services offered. This approach makes it easier to update and apply the template for different types of transactions as your business grows.
Choose the right tool to create your templates. Look for platforms that offer customization options, allowing you to adapt templates to your specific needs. A flexible tool will save time by reducing the need for manual edits later.
Standardize your template formats. Ensure that all team members use the same format for consistency. This eliminates confusion and makes collaboration smoother. Keep file formats universal (e.g., PDFs, DOCXs) so that everyone can open and edit the documents with ease.
Automate data entry where possible. Integrate your template system with other software you use to eliminate repetitive tasks. For example, pull client information directly from your CRM into the template, minimizing human error and speeding up the process.
Set up a clear naming convention for your templates. Organizing files with specific naming rules allows quick identification and reduces time spent searching for documents. Use clear and concise labels that indicate the template’s purpose and version.
Regularly review and update your templates. As processes or requirements change, adapt the templates accordingly to ensure they remain relevant and accurate. Keeping your templates up to date prevents outdated information from being used.
Provide training for your team on using templates. A quick walkthrough on how to use the digital templates can help avoid mistakes and ensure that everyone follows the same process, especially when new templates are introduced.
Store templates in a centralized location. Using cloud storage or a shared drive means that everyone has access to the most current version of a template. A shared platform also supports version control, so you’ll always know which template is the latest.
Ensure that each document you are receiving is clearly outlined in the template. This helps avoid confusion and provides a standard for what to expect. The layout should be simple yet precise, including key data points such as the document name, date of receipt, and purpose. This way, anyone reviewing the documents will instantly understand their relevance and status.
Key Elements to Include:
- Document title: Clearly state what the document is, such as “Invoice,” “Contract,” or “Agreement.”
- Date of receipt: Always include the date the document was received. This keeps records accurate and helps track deadlines.
- Sender information: Specify the name or company of the sender. This provides context and accountability.
- Purpose or action required: Briefly state what the next steps are or if any action is required. This will help prioritize documents.
Tips for Streamlining the Process:

- Organize documents in a consistent order–alphabetically or by importance.
- Always double-check the document format and ensure it’s legible or easy to convert into a preferred format (PDF, Word, etc.).
- Set clear deadlines for review or action to avoid delays.