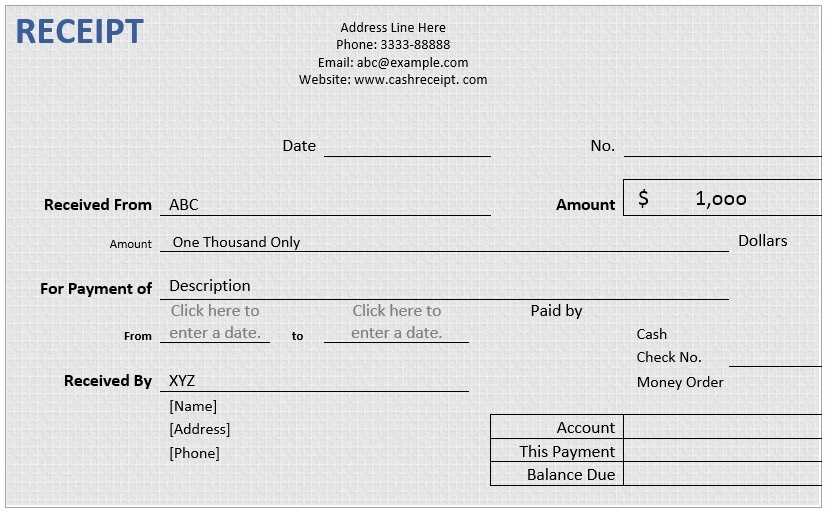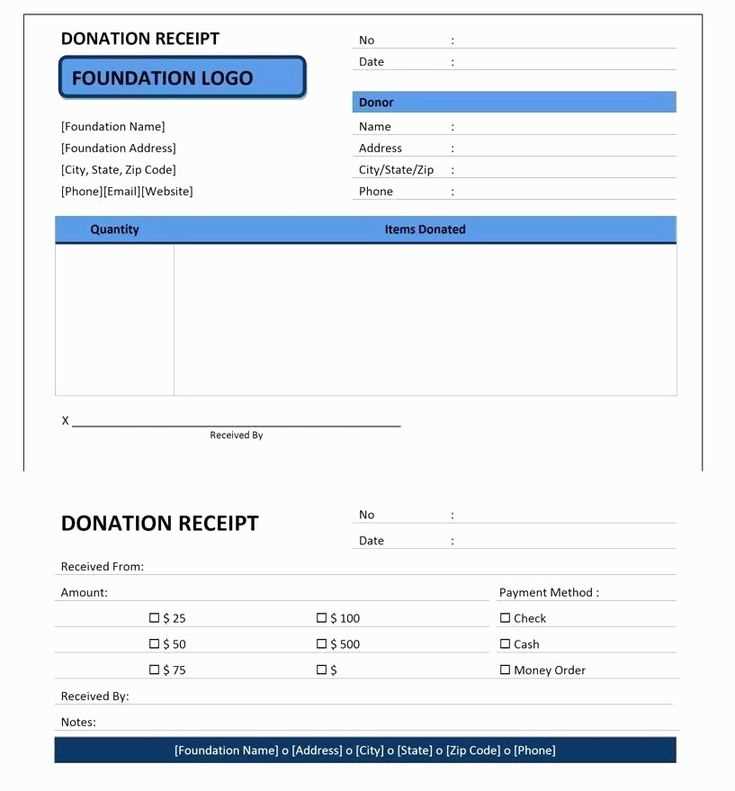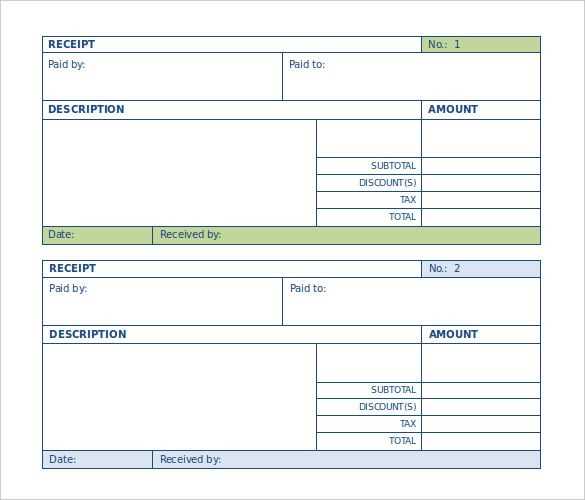
To use templates in CiviCRM receipts, first navigate to the “CiviMail” section and select “Receipt Templates” under the “Configure” menu. Here, you can either modify an existing template or create a new one from scratch. It’s important to understand the template system to ensure that all necessary fields are properly inserted and formatted.
After opening the template editor, you’ll see placeholders for various receipt elements like donor names, donation amounts, and tax information. These placeholders are dynamic, meaning they automatically pull data from your database when generating a receipt. Use the available merge fields to customize the content of your receipts. For instance, use {contact.display_name} to insert the donor’s name or {contribution.total_amount} for the donation amount.
Make sure to preview your template to check how it looks before sending out any receipts. This helps ensure that all data is correctly populated and formatted. You can also add custom HTML to style the receipt, ensuring it aligns with your organization’s branding. For complex layouts, consider using custom CSS or modifying the template structure.
Once you’re satisfied with the template, save it and assign it to the relevant contribution types. You can also automate the process by linking the template to your online donation forms or event registrations, allowing receipts to be generated automatically when contributions are made.
Here’s the corrected version:
To apply a custom template in your CiviCRM receipt, follow these steps:
- Go to Administer > CiviContribute > Receipts.
- Select the receipt template you want to modify or create a new one.
- Edit the template’s HTML structure to match your desired layout.
- Use the available tokens (like {contact.display_name}, {contribution.amount}) to dynamically insert information from the contribution record.
- Test your template by generating a sample receipt to ensure it displays correctly.
Customizing the Content
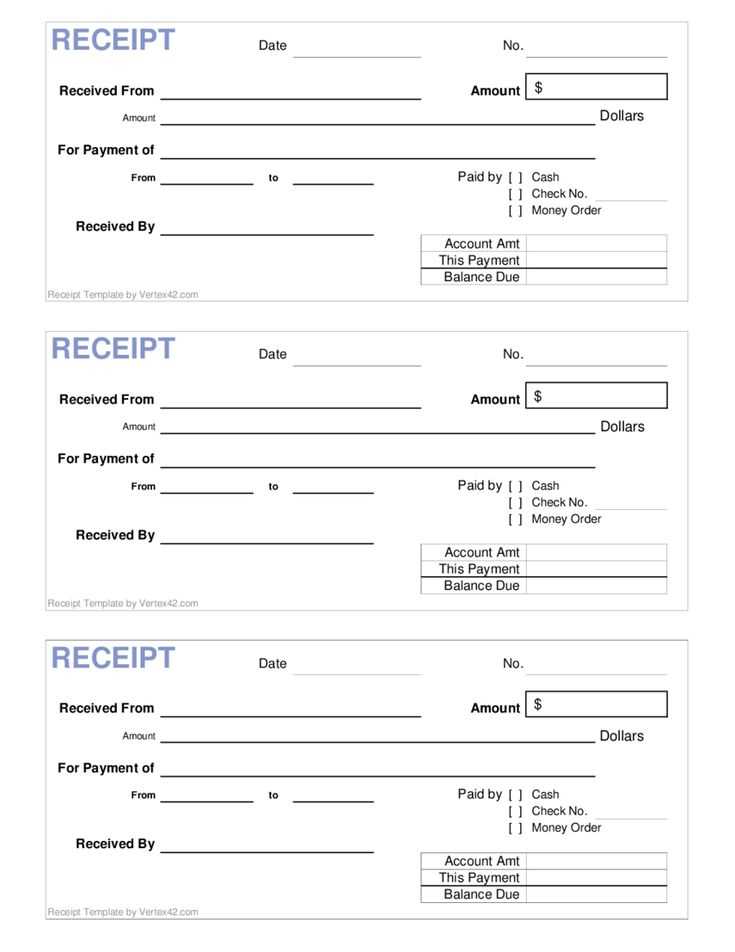
When customizing the content, consider adding your organization’s branding, such as logos or specific fonts, to make the receipt look professional. You can also adjust the layout to include or exclude certain fields like the donor’s address or payment method.
Advanced Formatting
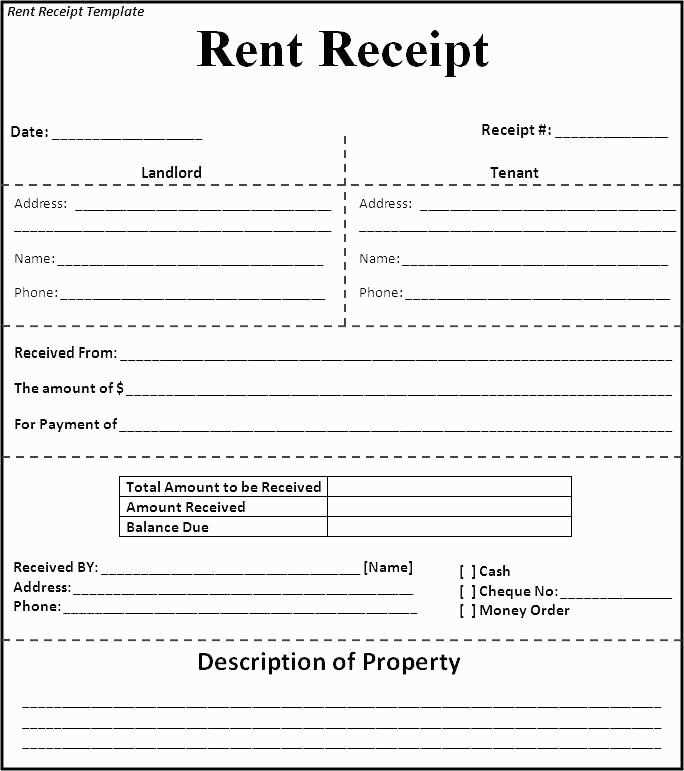
If you’re familiar with HTML and CSS, you can further style the receipt. For example, wrap sections in <div> tags or apply inline CSS to fine-tune the look and feel. Make sure to test it on various devices for compatibility.
Finally, ensure that the receipt content is clear and concise, containing all necessary details for both the donor and your organization’s records.
- How to Use Templates in CiviCRM Receipts
To customize receipts in CiviCRM, go to CiviCRM > Administer > CiviContribute > Receipt Settings. Here’s how to set up and use templates:
Step 1: Open the Receipt Settings and choose to either edit an existing template or create a new one. Click on “Add New Receipt” to start from scratch. The template editor allows you to modify HTML and insert dynamic tokens.
Step 2: Insert tokens such as {contact.display_name}, {contribution.amount}, and {receipt_id} to auto-populate donor information. These tokens dynamically fill in each receipt with relevant details for each donor.
Step 3: Customize the template layout with basic HTML. Adjust text, spacing, and images to match your organization’s branding. You can also use CSS for more advanced formatting if needed.
Step 4: Add conditional tokens to show different content depending on the type of contribution. For example, display a thank-you message for recurring donations or provide tax-related details for large contributions.
Step 5: Preview the receipt to make sure everything appears correctly. Test with sample data to confirm that all tokens are working and that the layout looks as expected.
Step 6: After finalizing the template, assign it as the default or link it to specific campaigns or contribution types. This lets you tailor receipts based on donation details.
Customizing your CiviCRM receipts with templates ensures that donor communications are personalized, clear, and aligned with your organization’s branding.
To create a custom receipt template in CiviCRM, navigate to the “Receipts” section within the “CiviCRM Settings” menu. From there, select “Receipt Templates” under “Financial Settings.” Here, you can modify existing templates or create a new one. Click “Add Receipt Template” to start with a clean slate or choose an existing template to edit.
Step 1: Set Up Template Variables

CiviCRM uses template variables to populate dynamic content on receipts. You can use standard variables like donor name, donation amount, date, and campaign details. These variables are enclosed in curly braces, such as {contact.display_name}, {contribution.amount}, or {contribution.receive_date}. Use these to ensure that the information pulled from your database appears in the final receipt.
Step 2: Customize the Template Layout
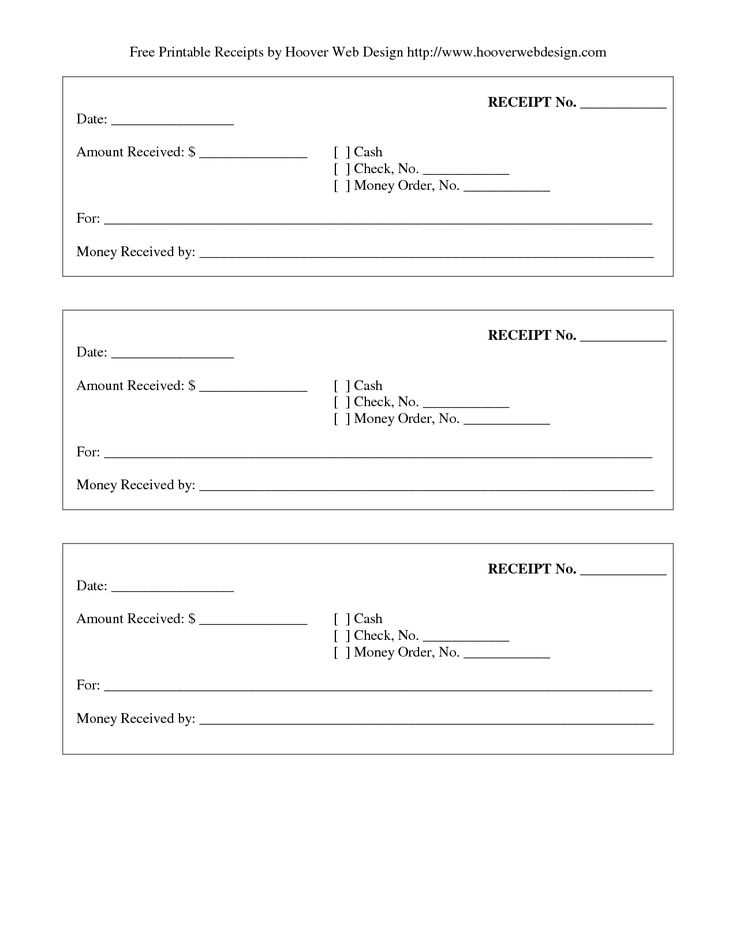
Modify the layout using basic HTML and CSS. Adjust the order of fields, add logos, and change font sizes as needed. For example, you might place the donor’s name at the top, followed by the donation details, and close with your organization’s contact information. You can also add custom fields like personalized thank-you notes or tax details. Make sure the template is responsive to ensure a clean presentation on both desktop and mobile devices.
When finished, save your template and set it as the default for your organization or assign it to specific campaigns or events. This ensures that the custom template will be used for relevant receipts automatically.
To include dynamic fields in your CiviCRM receipt template, first, ensure you know which fields need to be displayed (e.g., donation amount, donor name, or transaction ID). These fields are accessible through CiviCRM’s merge variables, which allow you to pull specific data into your template.
In the receipt template editor, use merge variables like {donation.amount}, {contact.first_name}, or {contribution.transaction_id} to display the relevant information. These variables are replaced with actual data when the receipt is generated, ensuring personalized and accurate receipts for each donor.
If you want to add a custom field, find the field’s merge variable in the CiviCRM documentation or your field settings. For example, if you’ve created a custom field for a donor’s company, use a merge variable like {custom_1} in the template to pull that data.
Make sure to test your receipt template after adding dynamic fields. This helps ensure that all information is correctly pulled from the database and displayed as intended. CiviCRM offers a preview option so you can see how the final receipt will appear before sending it out.
For more advanced customizations, consider adding conditional logic. For instance, if a donor has opted for a recurring donation, you might want to display additional information about their subscription. Use the {if} statement in your template to include or exclude specific content based on donor attributes or donation details.
By using these dynamic fields and variables, you ensure that each donor receives a receipt that is both accurate and personalized, reflecting their specific contribution and other relevant details.
To ensure your receipt template works correctly, begin by previewing it in CiviCRM. Navigate to the “Preview” tab after editing your template to see how it renders with actual data. This gives you a quick visual check before proceeding with further testing.
Next, test with different scenarios–such as various types of donations or memberships–to confirm that all dynamic variables (like donor names or amounts) are populated properly. You can simulate different transactions in CiviCRM by using the “Test” feature in the contribution or event modules.
If the template doesn’t display as expected, use CiviCRM’s debug mode. Go to “Administer” > “System Settings” > “Debugging & Logging” and enable debug logging. This will provide detailed error messages, which can help pinpoint issues like missing variables or syntax errors in the template.
For more granular debugging, inspect the HTML output in the browser’s developer tools. Look for broken or misplaced tags, and check if any CSS is preventing the content from displaying properly. If you’re not seeing the expected result, verify the template syntax against CiviCRM’s documentation to ensure all tags are used correctly.
Another valuable method is to use CiviCRM’s “Tokens” feature. These allow you to insert placeholders for dynamic data in your template. Test these tokens by replacing them with hardcoded values to isolate issues, or by printing them to the screen for further investigation.
When testing is complete, be sure to test email templates by sending yourself a test email. This ensures that email formatting matches what you expect, as discrepancies may arise between the on-screen preview and the final email output.
By systematically testing each part of your template, you can catch errors early and refine your design for a smoother user experience.
To properly implement templates in CiviCRM receipt generation, ensure that the closing tag for unordered lists is correctly placed. An improper closure can result in incomplete or broken HTML structures. The tag must follow after all list items (
Here’s how you can manage the unordered list in your receipt template:
| Action | Description |
|---|---|
| Place list items inside
|
Each item should be enclosed in
|
Close
|
This ensures all items are contained within the list. |
| Test rendering | After applying changes, preview the receipt to confirm proper display. |
By managing the
tags with care, your receipts will render cleanly and efficiently without layout errors.

