Use this free template to create clear and professional sales receipts for your business. It’s designed to be simple, ensuring you can quickly generate accurate records without unnecessary complexity.
Fill in key details like customer name, purchase items, and total amount. Customizable sections allow you to add specific data relevant to each sale. The template is streamlined to cover all essentials while maintaining clarity.
By using this template, you eliminate confusion and stay organized, whether you’re operating a small store or managing a side business. Keep track of transactions and provide customers with clear documentation that helps avoid misunderstandings.
Free Simple Sales Receipt Template
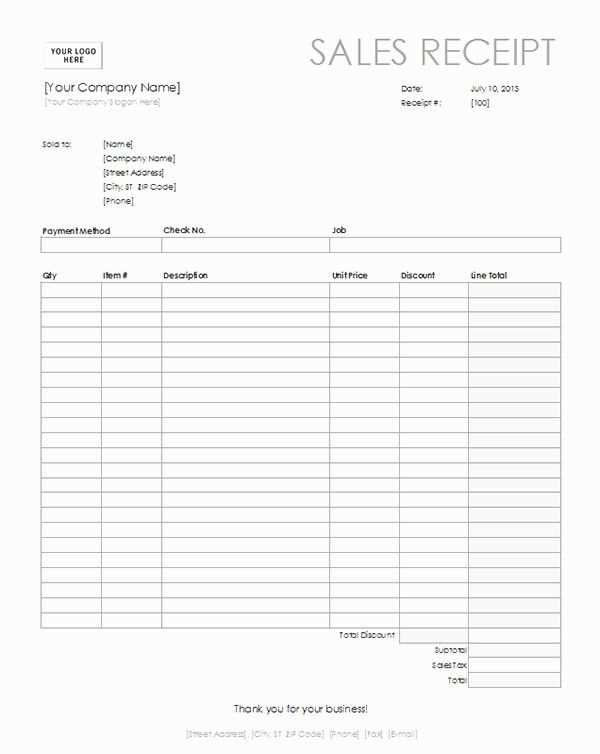
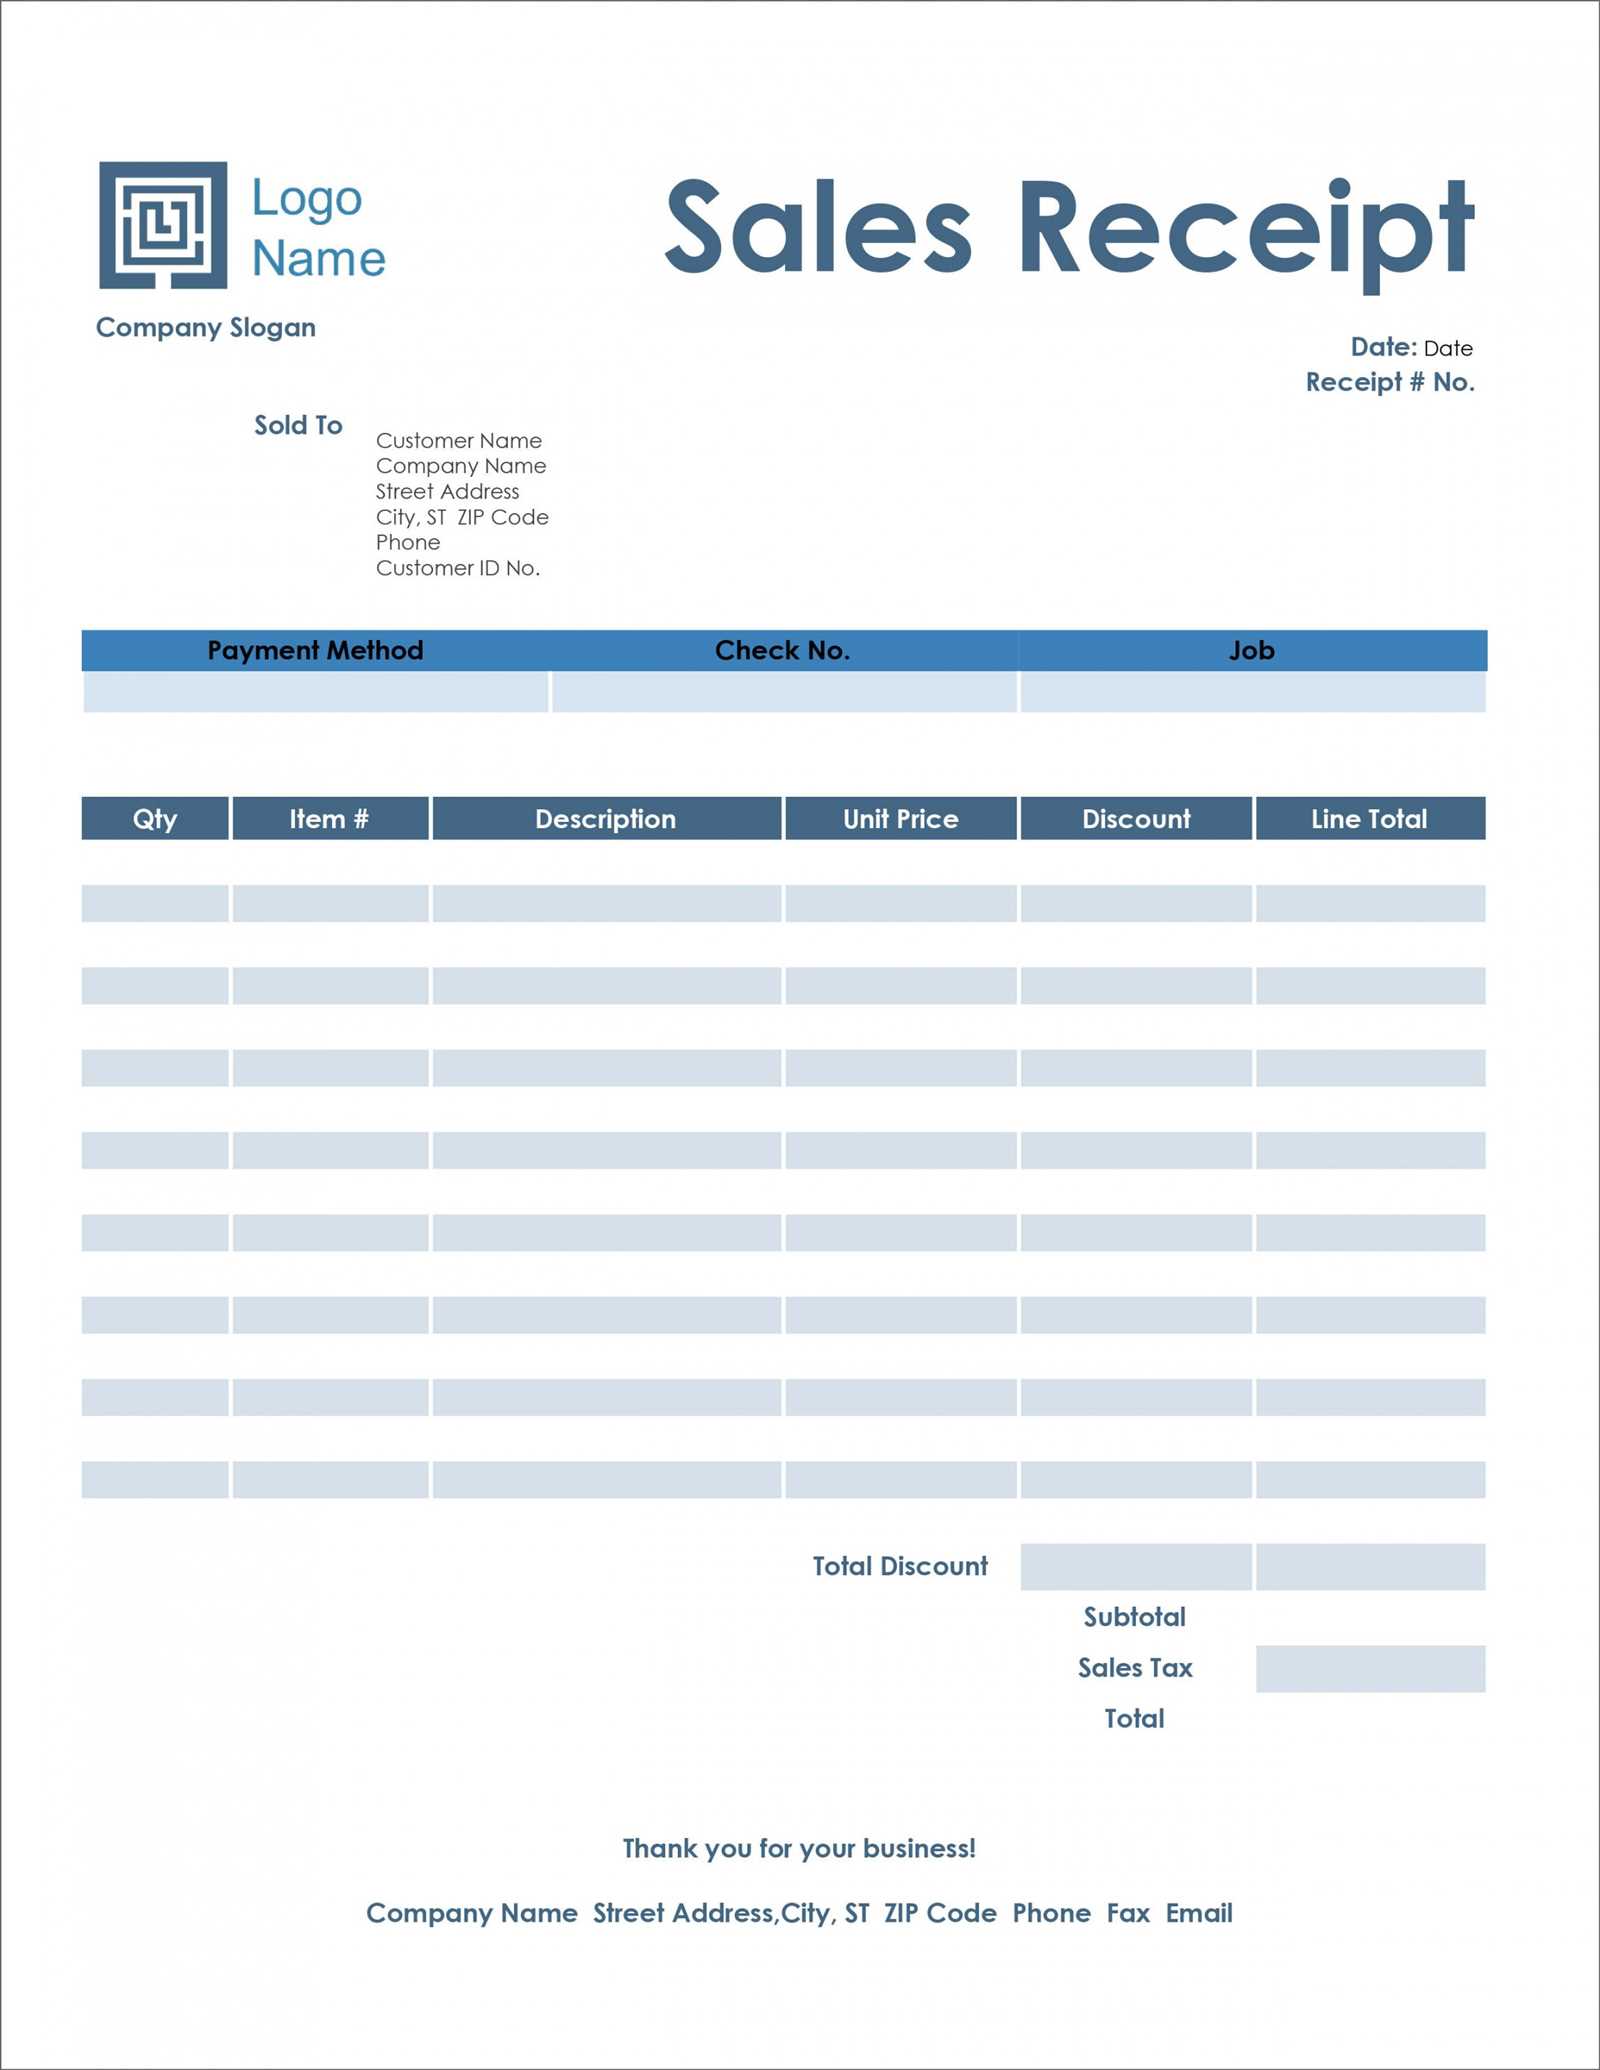
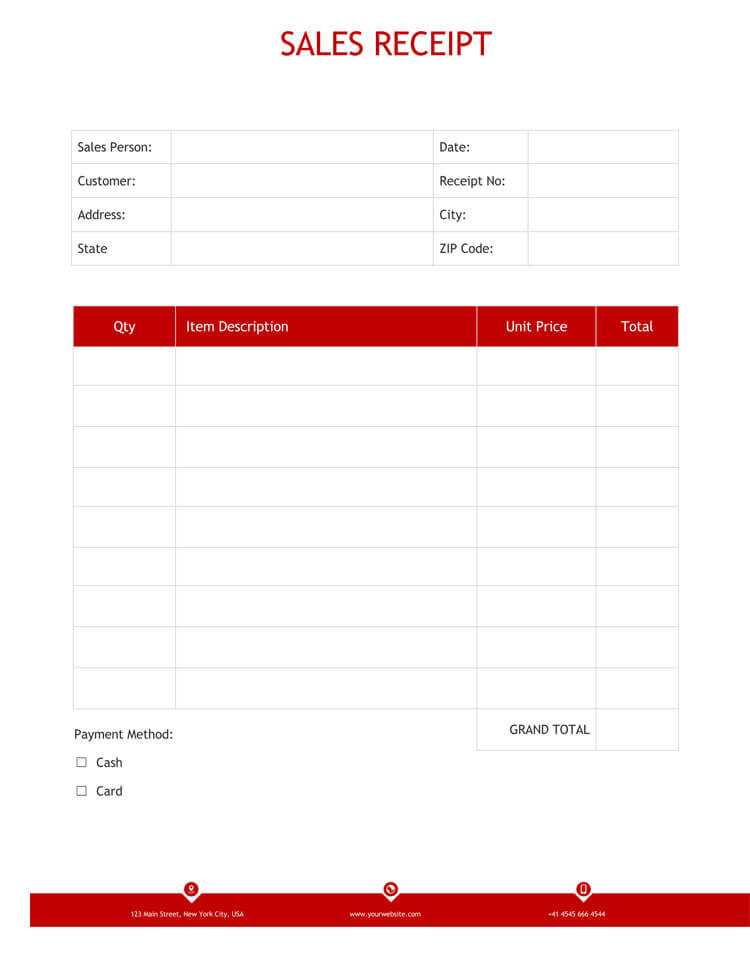
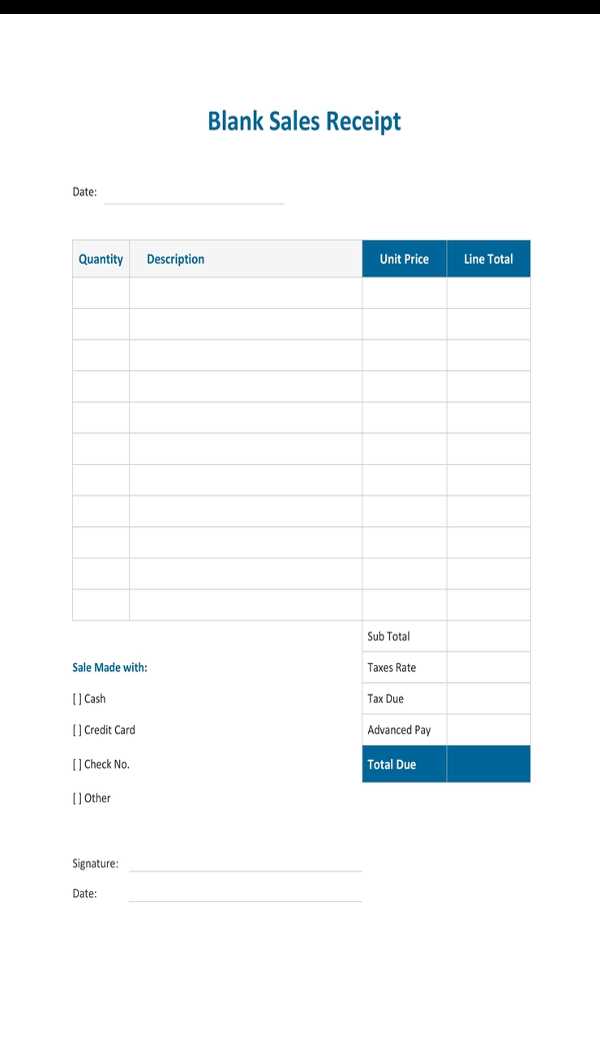
Download a free and simple sales receipt template that you can customize for your business. It’s designed to be easy to use, with all the key details included. Just fill in the date, buyer’s name, items, prices, and total amount, and you’re good to go.
The template includes fields for item descriptions, quantity, unit price, and total cost, helping you maintain clarity for both your records and the customer’s. A space for sales tax is also provided if you need to include it. You can easily adjust it to suit your needs, whether it’s a one-time sale or an ongoing transaction.
Ensure the template includes the seller’s information, like company name and contact details, to make it official. Having a clear and straightforward receipt builds trust and helps with future reference or returns. You can find these templates in various formats such as Word, Excel, or PDF for easy download and use.
Tips: Always check the format before using it for transactions to ensure accuracy. Make sure all amounts are correctly calculated to avoid errors in financial records. Adjust the template based on whether you include shipping or additional charges.
Choosing the Right Template Format
Choose a format that matches your business needs. A simple, clear layout works best for most situations. Templates with clearly defined sections for item names, prices, and totals will make your receipt easy to read and understand.
Consider the File Type
- PDF: Great for printing and sending as an attachment. It ensures formatting remains intact.
- Excel or Google Sheets: Ideal if you need to track sales and calculate totals automatically. Easy to edit and customize.
- Word: A solid option if you prefer a simple, editable format. You can adjust the design without complex software.
Think About Customization Options

- Branding: Look for templates that allow you to add logos or custom headers. This helps present a professional image.
- Color Scheme: Choose templates with color schemes that align with your brand. This gives a consistent feel across your materials.
How to Customize Your Sales Receipt
Modify your sales receipt to match your business style by adding your company logo, adjusting the color scheme, or changing the font. Use a simple tool or a template editor to make these updates. Start with your logo–place it at the top for easy recognition. You can upload a high-quality image file or use a built-in logo editor, depending on the tool you’re using.
Adjust Layout and Information

Ensure the receipt contains necessary details such as the date, transaction number, and items purchased. You can reorder sections to prioritize information that matters most to your customers, like the total amount due or payment method. Remove any unnecessary fields to keep the receipt clear and concise.
Modify Text and Add Legal Information
Customize any default text, such as “Thank you for your purchase,” with something more personalized. If applicable, include tax information, return policies, or terms and conditions at the bottom. This ensures your receipt is both functional and compliant with local regulations.
Adding Company Details to the Template
Include your company’s name, address, and contact information at the top of the receipt. This helps customers easily identify where the purchase came from. Position the company name prominently, using a larger font size or bold text for better visibility.
Next, add the business address beneath the name. If you operate in multiple locations, list the address of the store where the transaction occurred. This ensures clarity for the customer regarding the location of the purchase.
For contact details, include a phone number, email address, or website link. This makes it easier for customers to reach out for inquiries or support after the sale. If applicable, add your business registration number or VAT number for added professionalism.
Pro tip: Use a simple and clean format to avoid clutter. A clear layout with appropriate spacing enhances readability and ensures your company details are easy to find on the receipt.
Incorporating Product Information Efficiently
Start with listing the key details for each product: name, quantity, and price. This provides a clear, quick view of the items on the receipt.
- Product Name: Keep it short and precise to avoid confusion, especially when multiple items share similar names.
- Quantity: Ensure the number is easy to read, particularly for products sold in bulk.
- Price: Display both individual and total prices clearly to minimize any ambiguity.
Consider grouping similar items together. This saves space and enhances readability. For example, list all similar accessories or related products under a single heading or category.
- Category Grouping: Arrange products by type or function.
- Clear Description: Use brief, easy-to-understand descriptions that allow customers to identify what they bought without extra effort.
Include any applicable discounts or taxes separately. Present these in a way that doesn’t overwhelm the customer but still offers transparency in pricing.
- Discounts: Show the amount saved to highlight the value of the purchase.
- Taxes: Clearly label taxes so customers can easily identify the breakdown of their total charge.
Tracking Payments and Taxes in Receipts
Include a separate line for each payment method on the receipt. This makes it easy to track whether a customer paid with cash, credit card, or another method. Clearly label each section so it’s obvious how much was paid with each method. This transparency helps both the customer and the seller confirm the transaction details.
Calculating Taxes
Display taxes clearly by listing the tax rate and the amount paid. Be sure to include the total price before tax and after tax. This allows for straightforward comparison and ensures that customers can easily spot how taxes were applied to the sale. If your area has varying tax rates, indicate which items are taxed at different rates.
Invoice Number and Date

Always include a unique invoice number and the date of the transaction. This ensures the receipt can be referenced easily for future inquiries or returns. These details also help you track payments in case of audits or for tax purposes.
Best Practices for Printing and Sharing Receipts
Ensure the receipt is printed clearly with legible fonts and appropriate spacing. Choose a clean, easy-to-read typeface, and maintain consistent font sizes for each section of the receipt. Avoid overcrowding the layout; leave enough space between itemized details for easy viewing.
For physical receipts, use high-quality paper that prevents fading over time. Thermal printers are popular, but make sure to provide a high contrast between the ink and the background for durability. Consider offering digital versions of receipts via email or text to provide convenience to customers.
When sharing receipts digitally, choose formats like PDF or JPEG to preserve formatting. PDFs are ideal for official records, while JPEGs are suitable for less formal use. Ensure the file is optimized for size without compromising clarity, allowing customers to view or download it easily.
Ensure that every receipt includes key details: the company name, date, list of purchased items or services, total amount, and payment method. If applicable, include a transaction number for easy tracking. This ensures clarity and minimizes confusion for both the customer and the business.
Be cautious about storing sensitive information. If receipts are stored digitally, make sure they are encrypted or stored in secure systems to protect customer data. Avoid printing excessive personal information on receipts, which could lead to privacy concerns.
| Receipt Feature | Best Practice |
|---|---|
| Font Choice | Use legible, clean fonts for readability |
| Paper Quality | Opt for durable, fade-resistant paper for physical receipts |
| Digital Format | Use PDF or JPEG formats for easy access and preservation |
| Essential Information | Include transaction details, company name, and payment method |
| Data Protection | Securely store and encrypt digital receipts |


