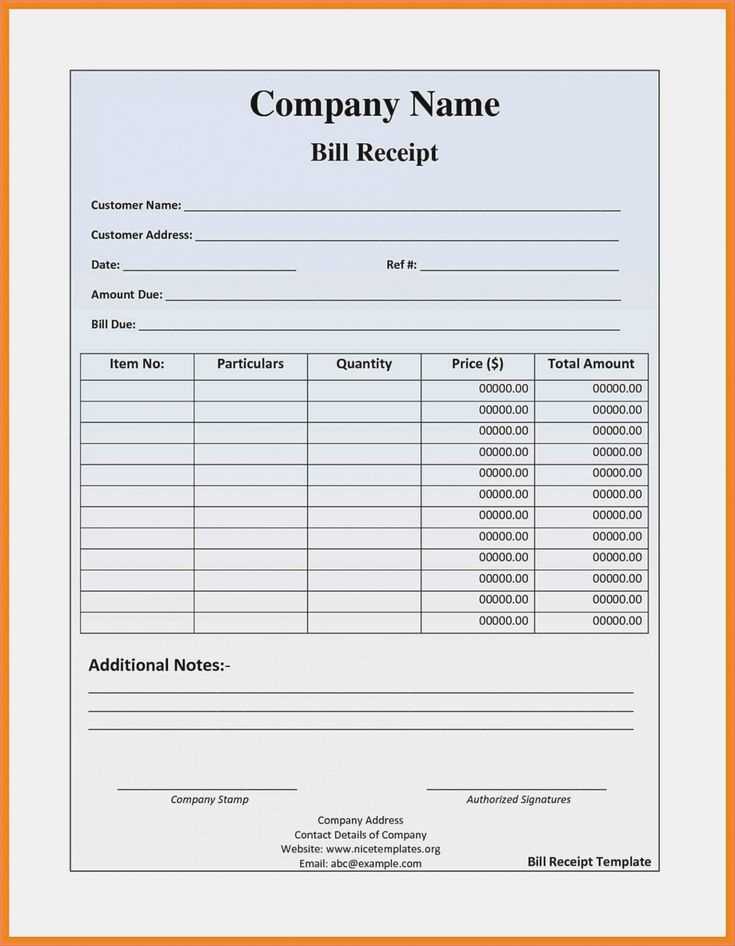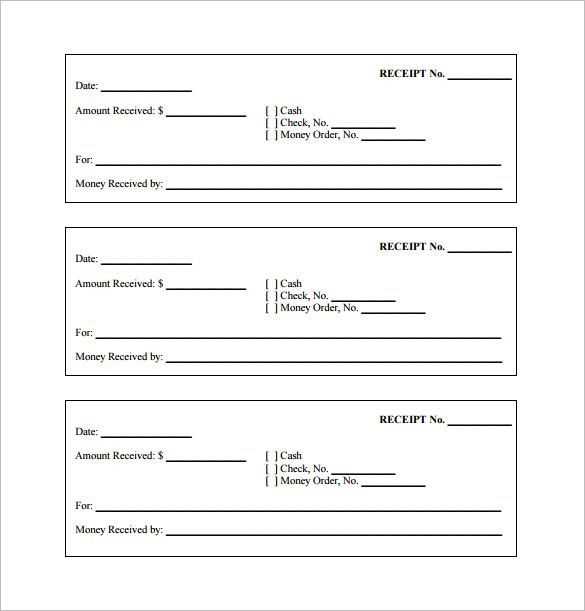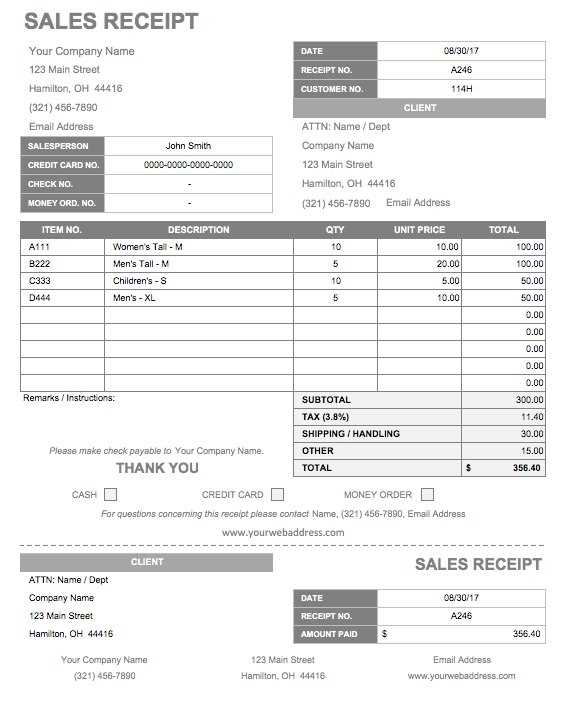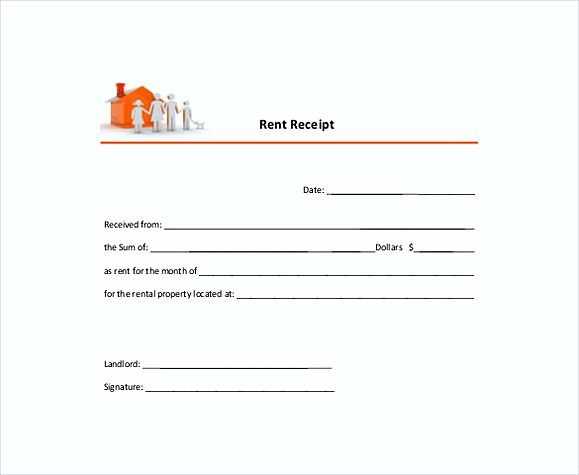
Creating a receipt template begins with knowing the basic information that should appear. At a minimum, include the date, the seller’s contact details, a list of purchased items, their prices, and the total amount due. This structure ensures the receipt provides all the necessary details in a clear and concise format.
Next, decide on a format for your template. You can design it in a word processor, spreadsheet software, or even a dedicated receipt generator tool. Choose a layout that aligns with your business style, making sure it’s easy to read and print. Keep the font sizes appropriate and use bold for key sections like the total amount and item names.
After laying out the key components, consider adding a section for payment method, tax information, and any terms or conditions if applicable. These additions can help provide a complete and professional touch to the receipt. Make sure the spacing is consistent and nothing looks crowded.
Once you have finalized your template, test it by creating a few sample receipts. Review the layout for any potential adjustments, ensuring all text is legible and aligned properly. By following these steps, you will have a functional and clear receipt template ready for use.
How to Create a Receipt Template
Begin by choosing a format that suits your needs. Decide whether you want a simple text-based template or a more detailed layout with tables. Include the basic information: business name, address, phone number, and email. This should be placed at the top of the receipt for easy identification.
Next, add a section for transaction details. List the items or services provided, including descriptions, quantities, and prices. Make sure to clearly distinguish between different columns to avoid confusion. If applicable, include taxes, discounts, or fees in separate lines for transparency.
Provide a total amount field, which should be clearly visible. If you’re including taxes or additional charges, ensure the breakdown is clear. Finally, add a field for the payment method, whether it’s cash, credit card, or another form of payment.
Leave space for a date and receipt number. This helps with record-keeping and can assist with future reference or returns. Customize the template with a logo, colors, or fonts that match your brand for a polished appearance.
Test the template to ensure everything aligns properly, especially if you plan to print it. Adjust spacing, font sizes, and columns as needed to guarantee clarity. Once finalized, save the template for reuse or make it available in digital form for customers.
Choosing the Right Software for Receipt Creation

Pick software that matches your needs. Start by identifying your requirements–whether you need a simple template or more advanced customization options. Here are some things to consider:
Ease of Use

- Choose software with a user-friendly interface. A clear layout can save time and reduce errors.
- Look for drag-and-drop options if you’re not familiar with design tools.
Customization Options
- Opt for software that lets you adjust fonts, logos, colors, and layout. This ensures your receipts align with your brand.
- Ensure the software allows for both adding and removing specific fields to suit different receipt types.
Look for cloud-based platforms if you want easy access from multiple devices. Desktop apps work well for businesses that need offline access. Finally, check compatibility with your accounting or point-of-sale systems for smooth integration.
Understanding Key Elements of a Receipt Template
Include the date and time of the transaction at the top of the receipt to ensure clarity. This allows both the business and the customer to easily reference the specific purchase.
Vendor Information
Clearly display the business name, address, and contact details. It helps establish trust and makes it easier for customers to reach out if needed.
Purchase Details
List each item sold along with its price, quantity, and any applicable taxes or discounts. This provides transparency and helps avoid misunderstandings.
End the receipt with a total amount, including any applicable tax and shipping charges. A detailed breakdown is key for both business and customer record-keeping.
Designing a Clean and Professional Layout
Use a simple, consistent color scheme with neutral tones like white, grey, and black. Avoid overly bright or distracting colors that can overpower the content. Ensure the company logo, contact information, and total amount are clearly visible and easy to read.
Organize the information logically by grouping related items. A clean, well-structured format helps users locate essential details quickly. Use adequate spacing between sections, like item lists, subtotal, and taxes, to keep everything clear and easy to follow.
Utilize a simple font style, like Arial or Helvetica, and keep font sizes consistent across the receipt. Use bold text for important details such as the total amount, tax, and invoice number, making them stand out without being overwhelming.
| Item | Price |
|---|---|
| Product 1 | $10.00 |
| Product 2 | $5.00 |
| Total | $15.00 |
Keep borders and lines minimal. A thin line between sections can help, but too many lines or boxes may clutter the design. Ensure alignment is consistent across all elements to maintain a tidy look.
Adding Customizable Fields for Flexibility
To make your receipt template adaptable to various business needs, incorporate customizable fields. These fields allow for dynamic content, like customer names, order numbers, and unique discounts, that can be modified per transaction. Start by including placeholders such as {customer_name}, {order_number}, or {discount} within your template. This way, users can easily fill in or alter the fields based on the transaction details.
Using Dynamic Form Fields

Utilize form fields that can be filled out or left blank, depending on the situation. Dropdown menus, text boxes, and date pickers provide an easy way for users to input data. For example, you could add a field for “payment method” with options like cash, card, or online. This approach allows for clear, consistent data entry across different receipts without overcomplicating the design.
Incorporating Conditional Logic
Conditional logic in your template can enhance flexibility by showing or hiding fields based on specific conditions. For instance, if a customer opts for a gift wrap service, you can dynamically display an additional field for the wrapping cost. This can be achieved through simple scripting or using advanced features in template software to adjust the layout based on input.
Ensuring Compliance with Legal Requirements
Include all necessary details such as the business name, address, and tax identification number on your receipt template. This ensures your template aligns with legal standards for invoicing in many regions.
Clearly display the date of the transaction and a detailed description of the goods or services provided. This helps maintain transparency and protects both the seller and buyer in case of disputes.
Ensure that the tax rates are specified correctly, and indicate the applicable tax amount separately. If your business is VAT-registered, the receipt must reflect VAT-inclusive or VAT-exclusive pricing, depending on the law in your jurisdiction.
In some countries, digital receipts need specific security measures. Consider including a unique transaction or receipt number for traceability purposes. This is required in many places for electronic record-keeping.
Stay updated on local tax laws and regulations to ensure your receipts remain compliant. Regularly consult with a legal advisor to verify that your template meets all the required legal obligations.
Saving and Exporting the Template for Easy Use
Save your receipt template in a format that suits both your needs and the software you are using. For most, exporting as a .docx, .pdf, or .xlsx ensures compatibility across various platforms. Each format provides a different benefit–.pdf preserves layout and formatting, while .docx and .xlsx offer flexibility for further edits.
Choosing the Right Format

When saving, consider whether you need to make future edits. A .docx file allows easy updates to the template, while a .pdf is ideal for sharing finalized receipts. For use in spreadsheet programs, export as .xlsx for quick adjustments in the future. If sharing with others, pick a format widely supported, like .pdf.
Streamlining Access with Cloud Storage
Store your template in cloud storage services like Google Drive or Dropbox for quick access. This ensures you can retrieve the file from any device and avoid losing it due to hardware failure. Sharing the file with colleagues or clients becomes seamless, eliminating the need for back-and-forth emailing.
To further simplify, create a shortcut or bookmark to the file location on your computer or mobile device for immediate access whenever you need to generate a new receipt.


