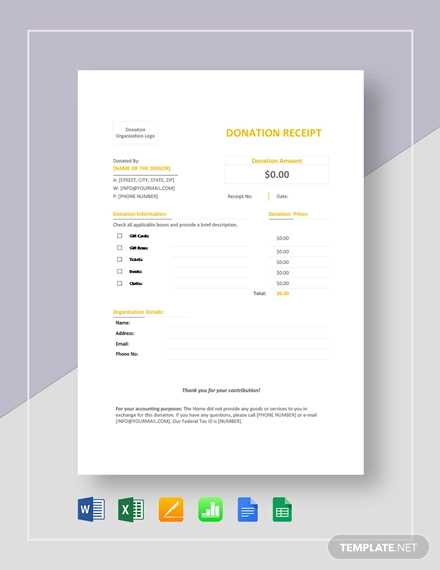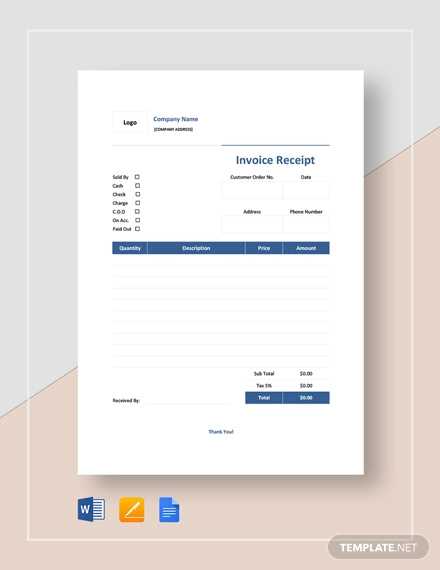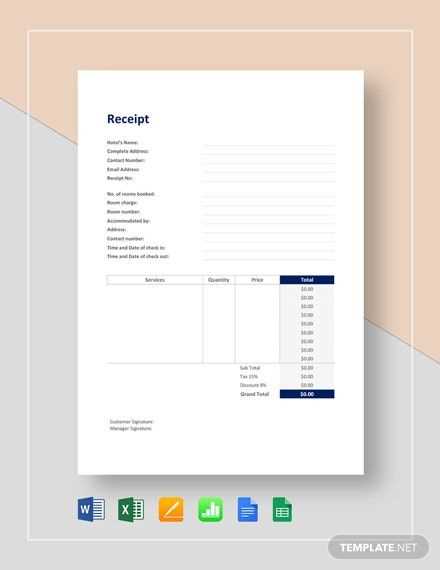
Using a Google Sheets receipt template streamlines the process of creating and managing receipts for your business or personal use. You can easily customize it to suit your specific needs without relying on expensive software.
Start by setting up columns for important details such as date, item description, quantity, price, and total. This ensures that you have all the necessary information in one place for both tracking and record-keeping. Google Sheets also allows you to use simple formulas to calculate totals automatically, saving you time and reducing errors.
For better organization, you can color-code or group items into categories like services, products, or discounts. This helps with clarity, especially when dealing with multiple transactions. Additionally, setting up a section for tax and shipping fees gives you the flexibility to adjust each receipt according to the sale specifics.
Once your template is ready, you can easily replicate it for future transactions. Google Sheets also provides cloud storage, so you can access your receipts from any device, making it ideal for businesses or individuals who need to manage receipts on the go.
Google Sheets Receipt Template Guide
To create a simple and organized receipt template in Google Sheets, begin by setting up the basic structure. Use the first few rows for the header, including the business name, address, and contact details. It’s helpful to place this information in merged cells for clarity.
Next, create columns for the date, receipt number, and item details. Consider adding specific columns for quantities, unit prices, and total amounts. This structure ensures you can easily input and calculate values for each transaction.
Set up formulas for automatic calculations. For example, use a formula like =B2*C2 to multiply the quantity (B2) by the unit price (C2) for a total amount. Make sure to include a row at the bottom to calculate the grand total by summing all the individual totals. The formula would be =SUM(D2:D10), where D2 to D10 represent the individual totals.
To improve readability, apply conditional formatting to highlight the total and tax amounts. Use bold text for important figures like the grand total and taxes. This makes it easy to identify key information at a glance.
Finally, customize your receipt template by adding your logo or any relevant notes, such as return policies or payment terms. You can do this by inserting an image in the top row and formatting the sheet as needed.
How to Create a Custom Receipt Template in Google Sheets
To build a personalized receipt template in Google Sheets, begin by organizing the essential elements you’ll need: your business name, contact information, transaction details, and itemized list of goods or services. Start with a clean sheet, and label the first few rows with headings such as “Receipt Number,” “Date,” “Customer Name,” and “Payment Method.”
Design the Layout
Begin by setting up the rows and columns to structure the receipt. You can use merged cells for the title and subtotal section. Highlight the cells with different background colors to create visual separation between categories like item descriptions, prices, and totals.
Formula for Totals and Tax Calculation
To automate the calculations, use simple formulas. For example, to calculate the subtotal, use the formula =SUM(B2:B10) (replace “B2:B10” with the actual range of your prices). To calculate the tax, use the formula =subtotal*tax_rate. Replace “tax_rate” with your local tax percentage (e.g., 0.08 for 8%).
| Item | Price | Quantity | Total |
|---|---|---|---|
| Example Item | 15.00 | 2 | =B2*C2 |
| Another Item | 25.00 | 1 | =B3*C3 |
| Subtotal | =SUM(D2:D3) | ||
| Tax (8%) | =D4*0.08 | ||
| Total | =D4+D5 | ||
Once the formulas are set, your receipt will automatically update as you input or modify the item list. Add any additional sections like “Discount” or “Notes” to suit your needs. Finally, save the template for future use, and make a copy each time you issue a receipt to ensure consistency.
Adding Itemized Lists and Calculations for Tax and Total
To structure a clear receipt in Google Sheets, begin by listing each item separately in a column. Include columns for item description, quantity, unit price, and total cost per item. For total calculations, use simple formulas that reference the relevant cells. For example, to calculate the total cost per item, multiply the quantity by the unit price. The formula will look like this: =B2*C2, assuming quantity is in column B and unit price in column C.
Adding Tax Calculation
Next, include a tax column. To calculate tax, use a formula to multiply the total cost by the applicable tax rate. If the total cost is in column D and the tax rate is 8%, enter the following formula in the tax column: =D2*0.08. This will give you the tax amount for each item. Ensure that your tax rate is consistent across all rows to maintain accuracy.
Calculating the Grand Total
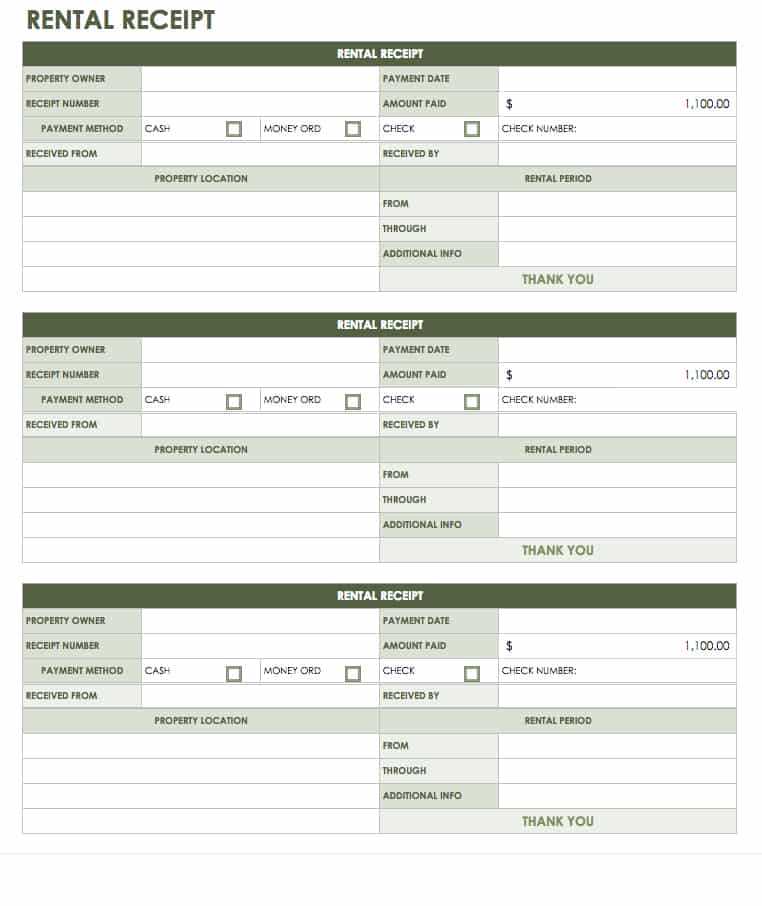
To calculate the grand total, sum up all the individual item totals and tax amounts. Use the SUM function for both. For the item totals, use a formula like =SUM(D2:D10) to add up the values in column D. For the total tax, use =SUM(E2:E10), assuming taxes are in column E. Finally, to get the overall total including tax, sum both the item total and tax total in a new cell with this formula: =SUM(D2:D10) + SUM(E2:E10).
Formatting Your Template for Professional Appearance
Choose a clean, simple font like Arial or Calibri for readability. Stick to a uniform font size (10-12 pt) for body text and slightly larger (14-16 pt) for headings. Avoid using more than two different fonts.
Organize your template with clear sections. Use bold or larger font sizes for headings to separate different parts of the receipt like the vendor’s name, itemized list, and total amount. This creates a visual hierarchy, making the document easier to navigate.
Align text properly. For a neat look, left-align all text in the itemized list and the vendor’s information. Ensure that numerical values, especially totals, are right-aligned. This enhances clarity and prevents misreading.
Use borders and shading sparingly. A thin border around the receipt gives it structure without making it too cluttered. You can use subtle background shading for header rows to help them stand out, but avoid bright or distracting colors.
- Make sure the margins are even on all sides to create balance.
- Consider adding space between rows of items to avoid a cramped appearance.
Integrate your logo or business name in the header or footer, but keep it minimal. The receipt should look professional, not overly branded.
For totals, use bold text or a larger font to make them stand out. Avoid using too many decimals or unnecessary symbols to keep the focus on the important figures.
Test the template with actual data to ensure that text fits within the set borders and that the overall layout remains visually appealing.
Incorporating Payment Methods and Date Fields
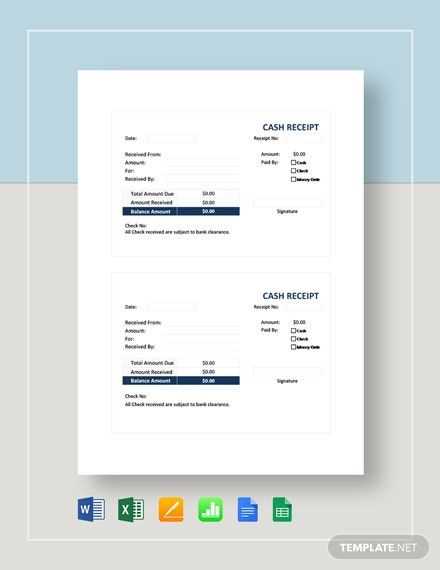
To streamline payment tracking and document details in your Google Sheets receipt template, you need to include fields for payment methods and dates. These fields help you keep accurate records and offer flexibility for various transaction types.
Payment Method Field
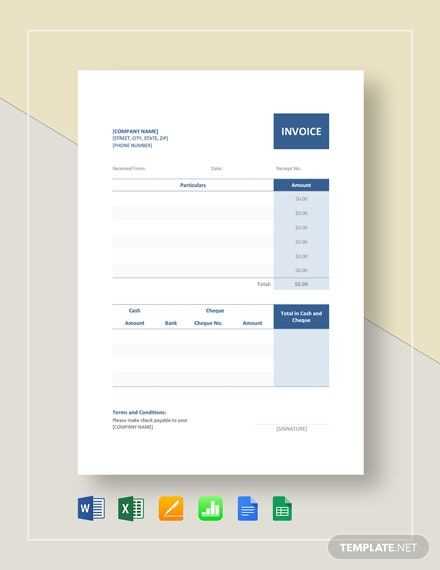
Set up a dropdown list to capture different payment methods such as cash, credit card, bank transfer, or mobile payment. This makes it easy for users to select the appropriate method without manual data entry. Here’s how you can set up the dropdown:
- Select the cell where you want the payment method to appear.
- Go to the “Data” menu and choose “Data validation”.
- Under “Criteria”, select “List of items”.
- Enter the payment methods separated by commas (e.g., Cash, Credit Card, Bank Transfer, Mobile Payment).
- Click “Save”.
This method ensures consistency and helps categorize payments effectively across multiple receipts.
Date Field
A date field is necessary to record the transaction date. This allows for quick referencing and helps maintain a clear timeline of payments. To add a date field:
- Click on the cell where the date will be entered.
- Go to “Format” in the top menu, then select “Number” and choose “Date”.
- Alternatively, you can use a date picker by enabling the “Data validation” option, selecting “Date”, and choosing the appropriate criteria (e.g., within a specific range).
With the date field in place, you can easily filter or sort the receipts by date, allowing for better financial tracking and reporting.
How to Automate Data Entry for Recurring Transactions
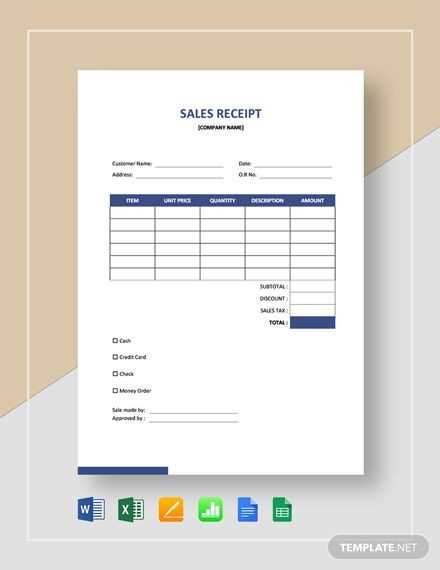
Use Google Sheets’ built-in functions like “ARRAYFORMULA” and “IF” to automate the input of recurring data. You can set a formula to fill in fields for specific dates, such as monthly payments or subscriptions, by referencing the previous entry. This eliminates manual updates.
Set Up Your Template
First, create columns for transaction details like date, description, amount, and status. Use the “ARRAYFORMULA” function in the date column to fill in future dates automatically based on a starting point. For example, you can have a formula that increments the date by one month for recurring payments.
Using Google Sheets Scripts for Customization
If you need more customization, Google Apps Script allows you to write scripts that automatically input transaction details. Create a simple script to copy a row of data at specific intervals (e.g., weekly, monthly) to maintain accurate records without manual intervention.
Sharing and Printing Your Receipt Templates
To share your Google Sheets receipt template, click on the “Share” button in the top-right corner. Enter the email addresses of those you wish to share with, or generate a shareable link. Adjust permissions to either “Viewer” or “Editor” depending on the level of access you want to give. For printed versions, go to “File” and select “Print.” Choose the layout and paper size, ensuring the receipt fits correctly. You can opt for portrait or landscape orientation, and adjust margins to fit the content perfectly. Preview your document before printing to ensure everything looks as expected.
If you need a PDF version for sharing or archiving, select “Save as PDF” in the print dialog. This allows you to save a clean, high-quality copy of the receipt template. You can also customize the file name and choose the destination for easy access later.
