Always provide a detailed record of transactions. A well-structured receipt includes key details such as the exchanged amount, currency type, exchange rate, and transaction date. Without a clear format, misunderstandings can arise, leading to disputes or accounting errors.
Simplicity and accuracy matter. The receipt should be easy to read, with clearly labeled sections for both the sender and recipient. Essential fields include names, contact details, and any identification numbers required by financial regulations.
To enhance transparency, include a breakdown of fees, taxes, and any additional charges. This ensures that both parties understand the total cost and received amount. A structured template eliminates confusion and helps maintain financial records with confidence.
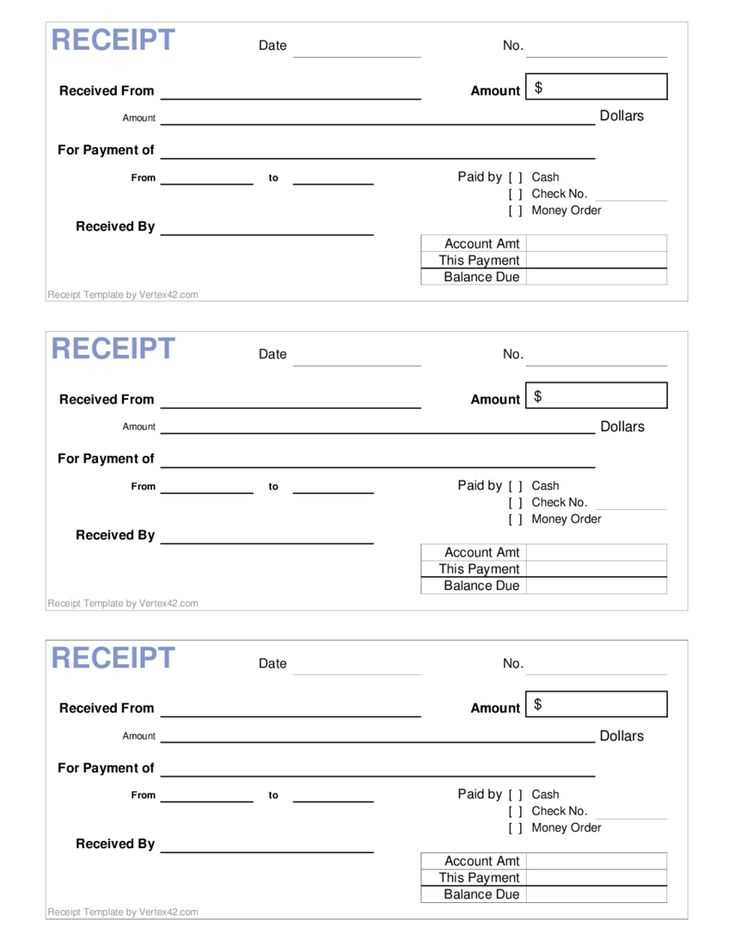
Money Exchange Receipt Template
A money exchange receipt should clearly display key transaction details. The template should include the exchange date, the amount of currency exchanged, the currency rates used, and the exchanged amounts in both currencies. Ensure the receipt includes both the buyer’s and seller’s information, such as names, contact details, and any applicable identification numbers for verification.
Key Details to Include
Provide the following information on the receipt:
- Transaction Date: Specify the exact date of the exchange.
- Amount Exchanged: Clearly state how much currency was exchanged in both the original and converted amounts.
- Currency Rates: Display the rate used for conversion to ensure transparency.
- Fees: Include any transaction fees, taxes, or additional charges.
- Transaction ID: Include a unique identifier for each transaction for tracking purposes.
Tips for Clarity
For better readability, avoid using complex language. Use a simple layout, with distinct sections for each piece of information. Keep the design clean and professional. For digital receipts, consider providing a PDF format option for easy printing and record-keeping.
How to Design a Money Exchange Receipt
Begin by selecting a clear and simple layout. Organize the receipt into distinct sections such as “Transaction Details,” “Currency Exchanged,” and “Total Amount.” This structure helps users quickly identify the key information.
Include the date and time of the transaction at the top. This is crucial for record-keeping and reference purposes. Ensure that the date format is easy to read, such as DD/MM/YYYY or MM/DD/YYYY, depending on the region.
Next, clearly state the amount of money exchanged. Break this down into the amount of foreign currency and the equivalent in local currency. This transparency ensures that both parties understand the transaction value.
| Foreign Currency | Amount | Exchange Rate | Local Currency Equivalent |
|---|---|---|---|
| USD | 100 | 1.25 | 125.00 |
| EUR | 50 | 1.10 | 55.00 |
Include any applicable transaction fees. Specify the fee type (fixed or percentage-based) and the total cost deducted from the exchanged amount. Transparency in fees is critical to avoid confusion later.
Finally, display the exchange service’s contact details, such as the business name, address, and customer service number. This offers easy access for follow-up questions or disputes.
Key Elements to Include in Your Template
To make your money exchange receipt template functional and clear, include these key elements:
Transaction Details
- Date and time: Always record the exact moment the exchange occurred.
- Amount exchanged: Clearly state both the amount received and the amount given.
- Currency types: Specify the currencies involved, including their respective exchange rates.
Parties Involved
- Sender and recipient: Include the full names and contact details of both parties.
- Transaction method: Indicate whether the exchange was made in cash, through a bank transfer, or using a mobile payment system.
Transaction Fees
- Fee breakdown: List any service charges or fees applied to the exchange.
- Total amount paid: Clearly mention the total cost, including both the exchanged amount and any additional fees.
Including these elements helps ensure clarity and accountability for both parties involved in the exchange.
Formatting Guidelines for Clarity and Accuracy
Align text consistently to the left to create a clean layout. Avoid text justification as it can create uneven spacing, making it harder to read. Use simple fonts like Arial or Helvetica, ensuring the font size is legible–around 10-12pt for the main body and slightly larger for headings.
Ensure all numerical values, especially amounts and dates, follow a standard format. Use currency symbols and decimals properly, keeping consistency across all figures. For example, write “$100.00” rather than “$100” or “100 dollars” to maintain uniformity.
Provide clear section headers for each part of the receipt. Use bold formatting for these to differentiate them from the rest of the text, making it easy to locate specific information at a glance. Group related items together logically–such as transaction details and payment methods–so that the reader doesn’t have to search for related information.
Use bullet points for listing items or services to avoid clutter. Break down long paragraphs into smaller sections, making the receipt easier to scan. When listing exchanges, specify the exchange rate and any service charges applied to provide transparency.
Ensure there is enough white space between sections. Crowding text can cause confusion. Proper margins and spacing between lines will allow the information to be digestible and visually organized.
Double-check the alignment of columns and rows for tables. Make sure numbers and text line up to avoid confusion, especially when presenting amounts and exchange rates. A clear, structured table format with borders can further help in distinguishing different types of information.
Review and proofread all content to ensure that there are no spelling, grammatical, or numerical errors. Even small mistakes can affect the accuracy and professionalism of the document.
Customizing Your Receipt for Different Currencies

Adapt the currency symbols and formatting based on the specific region of the transaction. Start by using the correct currency symbol, such as $ for USD, € for EUR, or £ for GBP, and make sure it aligns with local preferences. For example, in the US, the dollar sign typically precedes the amount, while in many European countries, the currency symbol follows the amount.
Consider Locale-Specific Decimal and Thousand Separators

Currency formatting differs by region. In some countries, a comma is used as a decimal separator (e.g., 1.000,50 in Germany), while in others, a period is used (e.g., 1,000.50 in the US). Ensure your receipt format matches local standards for clarity and correctness.
Include Local Tax Information
Incorporate tax rates relevant to the location of the transaction. Some countries include VAT in the total amount, while others might list it separately. Ensure the receipt accurately reflects the tax system of the country in which the transaction occurs to avoid confusion for the customer.
Common Mistakes to Avoid When Creating Receipts
Ensure that all amounts are accurately entered. Even small errors can cause confusion and create problems later. Double-check the total and individual amounts before finalizing the document.
1. Missing Date or Time
Always include the transaction date and, if relevant, the time. This helps to establish a clear timeline and avoids any disputes over when the exchange took place.
2. Incorrect Currency Symbols
Using the wrong currency symbol or mixing up symbols from different currencies can lead to misunderstandings. Confirm that the correct symbol is used for the specific transaction.
3. Unclear Item Descriptions
Provide precise descriptions of the exchanged amounts, including whether the transaction involved cash or digital payment. Ambiguous descriptions can make it difficult to verify the transaction later.
4. Missing Contact Information

Always include the business or individual’s contact details. This allows for easy follow-up in case of errors or inquiries.
5. Lack of Unique Reference Number
A unique reference number ensures that each receipt is easily identifiable. Without this, tracking transactions could become more challenging.
6. Skipping the Signature
If required, always obtain a signature from both parties involved in the exchange. This adds an extra layer of validation to the receipt.
7. Not Updating Templates
Regularly update receipt templates to include any necessary legal or regulatory changes. Using outdated templates can cause legal or administrative issues.
8. Overcomplicating the Layout

Keep the layout simple and easy to read. A cluttered receipt can confuse the recipient and make the document hard to verify later.
Best Practices for Digital and Printed Receipts

Ensure clarity by using legible fonts and organizing information logically. Keep all text readable, with a good balance of font size and spacing. Avoid cluttering receipts with unnecessary details.
For digital receipts, make them accessible across devices. Use PDF format or email receipts with clearly visible purchase details. Avoid large file sizes to ensure they open quickly.
Provide transaction specifics such as the date, time, product description, quantity, and total amount. Including these ensures the receipt serves its purpose for both parties.
When creating printed receipts, choose high-quality paper and print at a size that suits the details. Ensure the print quality is clear and consistent, so all details are legible.
For both formats, include a unique reference number or barcode to streamline tracking. This aids in easy retrieval and verification of transactions later on.
For digital receipts, consider including clickable links to support pages or terms and conditions. This keeps the receipt informative without overloading it with text.
Finally, make sure to include contact information for customer support. This should be easy to find without disrupting the overall design or purpose of the receipt.