Creating a rental receipt in Excel is a straightforward process. Start by setting up a table with clear categories. The key elements you need include the tenant’s name, rental property address, rental amount, payment date, and due date. You can also include a space for additional fees like maintenance or late charges.
Basic Structure for Rental Receipt

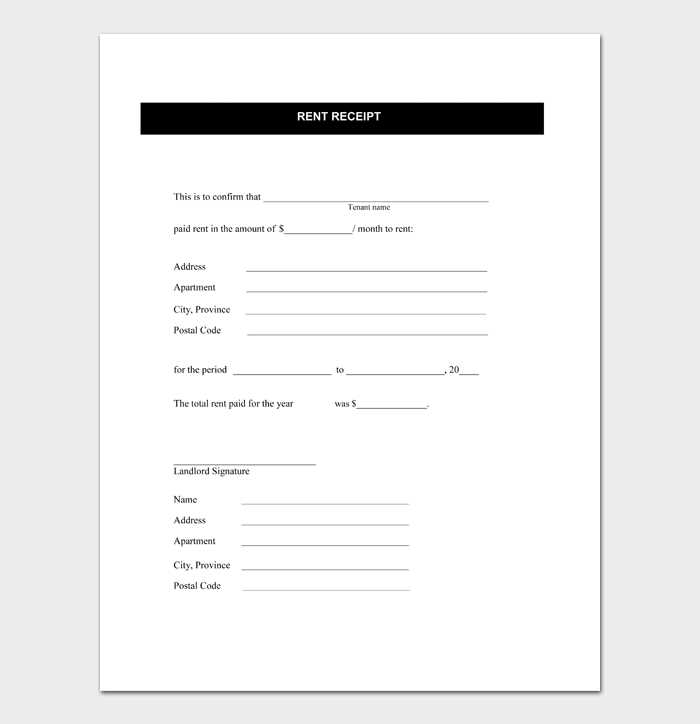
The template should follow this basic structure for clarity:
- Tenant Information: Full name, contact information, and rental unit details.
- Payment Details: Amount paid, payment method, and payment date.
- Property Information: Address of the rented property or unit.
- Receipt Number: Unique identification for each receipt.
- Landlord’s Signature: Space for signature and date to confirm payment receipt.
Step-by-Step Instructions for Creating the Template

- Create a new Excel file and set up column headers: Tenant Name, Rental Address, Payment Date, Amount Paid, Payment Method, and Receipt Number.
- In the rows, enter the corresponding data for each transaction. Use data validation for fields like payment method to maintain consistency.
- Apply simple formulas to calculate totals, including any additional fees or adjustments. Use cell formatting to keep the layout clean and readable.
- Add a footer with a space for landlord’s signature and the date.
Tips for Customizing the Template

Customize the template further by adding sections for advanced details such as:
- Security deposits
- Pro-rated rent calculations for partial months
- Rental due dates for recurring payments
Make sure the template is easy to update. Leave room to add new fields or make adjustments as necessary without disrupting the format.
Using the Template for Multiple Rentals

If you manage multiple rental units, you can create a master template with a separate sheet for each property. This helps you track receipts more efficiently while keeping all data organized in one file.
Rental Receipt Template XLS: A Comprehensive Guide
Choosing the Right Spreadsheet Software for Rental Receipts
How to Customize a Rental Receipt Template in XLS Format
Key Information to Include in Your Receipt Template
Formatting Tips for Clear and Professional Documents
Calculating Rent and Additional Charges Automatically in Your Template
Sharing and Storing Your Templates for Easy Access
To create an accurate and professional rental receipt template in XLS format, the first step is selecting the right spreadsheet software. Popular choices include Microsoft Excel and Google Sheets. Both allow for customization, but Excel offers more advanced functions for calculations and formatting. If you need a free option with cloud access, Google Sheets might be more suitable.
Customizing the template is straightforward. Start by defining the sections you need: tenant and landlord information, rental property details, payment dates, and amounts. Include formulas to automatically calculate totals and any additional fees such as late charges or utilities. This reduces the chances of human error and streamlines the process.
The key information in your template should include tenant name, landlord name, rental period, amount paid, payment method, and receipt number. These details ensure clarity and help keep records organized. You may also want to add a section for any additional comments, such as maintenance requests or payment adjustments.
Formatting plays a critical role in making your receipt look professional. Use bold for headings, align text properly, and adjust column widths to ensure everything fits neatly. Adding a logo or contact information at the top of the document adds a polished touch, but make sure it doesn’t overcrowd the receipt.
Set up formulas for calculating rent automatically. For instance, create a cell where the rent amount can be entered, then use formulas to calculate any late fees, additional charges, or discounts. This saves time and prevents mistakes when calculating final totals. You can also include conditional formatting to highlight overdue payments.
Once you’ve finalized your template, make it easily accessible. Store it in a cloud service like Google Drive or OneDrive for easy access and sharing. You can also create a template folder with different versions (e.g., for different rental types) to keep everything organized and ready for quick use.