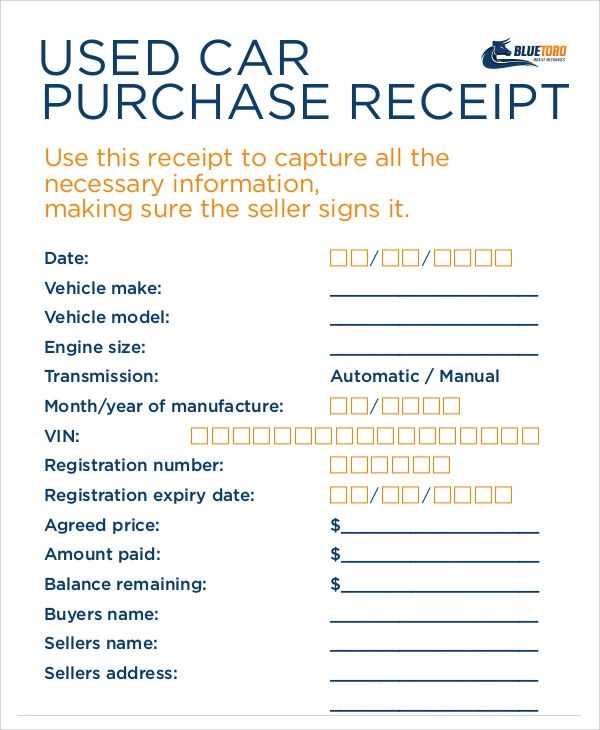
When crafting a purchase receipt, focus on clarity and accuracy. A well-structured template ensures both the buyer and seller have a clear record of the transaction. Include the buyer’s details, itemized list of products or services, the total amount, taxes, and payment method. This template provides a reliable framework for any purchase, whether it’s for physical goods or services rendered.
Incorporate these key sections:
- Receipt Number: Assign a unique identifier for each transaction.
- Date: Specify the date of the purchase for future reference.
- Seller’s Information: Include business name, contact details, and address.
- Item Details: Clearly list each purchased item, quantity, price, and any applicable discounts.
- Payment Details: Outline payment methods, including credit card, cash, or online payment.
By following these guidelines, you create a functional and professional receipt template that can be customized to fit various types of transactions.
Here’s the corrected version:
To make your “Fre Purchase Receipt” template clearer and more structured, follow these steps:
1. Include Purchase Details
Start by adding the buyer’s name, purchase date, and the items or services bought. Include a description, quantity, price per item, and total amount for clarity.
2. Highlight the Transaction Summary
Provide a clear breakdown of the total amount, including taxes, discounts, and additional fees. This makes it easier for the buyer to understand the final cost.
Example:
Item 1: $20.00
Item 2: $15.00
Sales Tax: $3.00
Total: $38.00
3. Ensure Contact Information is Clear
Include your business name, address, phone number, and email for easy follow-up in case of any issues. This promotes trust and professionalism.
4. Provide Payment Details

If applicable, mention the method of payment, such as credit card or PayPal, and any relevant transaction or authorization numbers.
5. Add Terms and Conditions
Include any return policies, warranties, or conditions that apply to the purchase. It can help prevent confusion or disputes later.
By structuring your receipt with these sections, you’ll provide a more transparent and professional document that your customers can easily understand.
- Free Purchase Receipt Template
A free purchase receipt template helps you create clear and professional receipts for your business or personal transactions. Customize it easily to suit your needs and keep accurate records for future reference.
Key Features
- Itemized list of products or services purchased
- Spaces for transaction date, payment method, and total amount
- Business or personal contact information for easy identification
How to Use the Template

- Download the template from a trusted source.
- Fill in the necessary transaction details, such as items purchased and their prices.
- Include any applicable taxes or discounts, if necessary.
- Save and print the receipt for distribution or personal records.
Adjust the structure of your receipt to fit your business’s needs. Focus on key areas like the header, product details, and footer. These sections should be clearly defined and easy to read, without unnecessary clutter.
Header Design
Place your business name, logo, and contact information at the top. Ensure the font is legible and properly sized to draw attention. Use bold or larger text for the business name, and keep the contact information concise.
Product and Pricing Information
List products or services in a clean, tabular format. Include columns for product names, quantities, unit prices, and totals. Align the text for readability, ensuring that prices are aligned to the right for easier scanning. Use bold or italic text to highlight discounts or special offers.
Be mindful of spacing between items to prevent a cramped look. Include a subtotal and any applicable taxes, and clearly indicate the final total. This layout helps the customer quickly confirm their purchase details.
Footer and Additional Information
The footer should contain essential details like your return policy, website link, or customer service contact. Keep it simple, but provide enough information for the customer to easily reach you if needed. Make sure the font size is smaller than the main receipt content, but still legible.
By keeping the layout clean and organized, customers will appreciate the clarity and professionalism of your receipt.
Include the date of the transaction. This helps clarify when the purchase occurred and is crucial for tracking. Without it, referencing the transaction later becomes more difficult.
Clearly list the items or services purchased. Be specific about the product name, description, and quantity. This provides transparency and prevents misunderstandings in case of returns or disputes.
Show the price for each item or service. Ensure that taxes, discounts, and any additional fees are broken down clearly. This ensures that both parties understand the total amount paid.
Include the total amount paid at the bottom of the receipt. This gives a quick overview of the final charge, preventing confusion and making it easy to verify against payment records.
Provide the payment method used. Whether it’s cash, credit card, or another form of payment, this confirms how the transaction was completed and is useful for financial record-keeping.
Include contact information for the seller. This could include an email address, phone number, or business address. It’s important for follow-up questions or issues regarding the transaction.
For accurate and consistent recordkeeping, always use a standardized date and time format. This ensures that all receipts are easy to read and understand, preventing confusion across different systems or regions.
Use the ISO 8601 format for dates: YYYY-MM-DD. This format avoids ambiguity, as it is universally recognized and minimizes errors related to regional date variations.
For time, adopt the 24-hour clock format: HH:MM, followed by the time zone if necessary. This eliminates any confusion between AM and PM, offering a clearer representation of time.
| Example | Format | Explanation |
|---|---|---|
| 2025-02-05 | YYYY-MM-DD | Clear date representation, eliminating ambiguity between day and month. |
| 14:30 | HH:MM | 24-hour time format without AM/PM confusion. |
| 14:30 UTC | HH:MM Time Zone | Include time zone for global consistency. |
Always ensure that both date and time are visible on the receipt to maintain clarity and prevent future disputes regarding transaction timelines.
To integrate payment details into a receipt template, list all relevant transaction information clearly and concisely. This section should include the payment method, amount, and any applicable taxes or fees. Start by specifying the total amount paid, followed by a breakdown of individual components like discounts or additional charges.
Payment Method
- Indicate the payment method used (e.g., credit card, debit card, PayPal, cash).
- For electronic payments, provide the transaction ID or reference number for tracking.
Transaction Details

- Clearly list the subtotal of items or services purchased before taxes or fees.
- Specify the tax rate applied and show the tax amount separately.
- If applicable, include any shipping or handling charges.
Including this information ensures transparency and provides customers with a complete record of their transaction.
Ensure your receipt template adapts to different printers by considering their specific requirements. Start by designing your template with universal measurements, such as 80mm for thermal printers, as it’s a common paper width. Avoid intricate fonts or heavy graphics that might not render well on all printing devices.
Paper Size and Margins

Always choose standard paper sizes (like A4 or 80mm wide for receipt printers) and leave sufficient margins to prevent content from getting cut off. Printer models may vary in their printable area, so it’s important to test your design on different machines. Use margins of at least 5mm on all sides.
Font Selection
Choose legible, simple fonts such as Arial or Helvetica. These fonts are widely supported across both thermal and inkjet printers. Avoid small font sizes that may be unreadable or hard to print on low-quality machines. A minimum of 8pt is recommended for clarity.
Testing Across Devices
Before finalizing your template, test it on a variety of printers to ensure the design works seamlessly. This includes thermal printers, inkjet printers, and even dot matrix printers. Each type has different capabilities, such as print resolution and color output, which could affect how your receipt looks.
| Printer Type | Recommended Font Size | Paper Size |
|---|---|---|
| Thermal Printer | 8pt-12pt | 80mm x 60mm |
| Inkjet Printer | 10pt-12pt | A4 |
| Dot Matrix Printer | 10pt | A4 |
Incorporating these elements ensures that your receipt template remains compatible across various printing methods, enhancing its practicality and user experience.
Clearly state any applicable legal information, such as tax identification numbers, business registration details, or return policies, on your receipt. Tax rates should be accurately reflected, especially if you’re collecting sales tax. Make sure to include any disclaimers regarding refunds or exchanges, along with the terms under which they are valid. If you’re in a regulated industry, mention any compliance requirements that apply to your business. Providing this information ensures transparency and helps avoid future disputes.
For example, if your business is subject to specific consumer protection laws or if certain items cannot be returned, explicitly state these conditions. Include contact information for customer service, so clients know how to resolve issues or ask questions. Keep the tone straightforward and clear, ensuring customers can easily understand their rights and obligations.
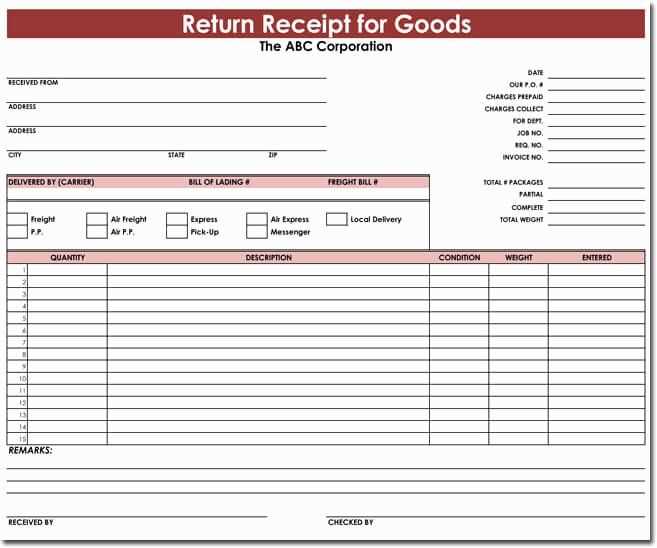
Formatting Your Purchase Receipt with Proper Lists

Ensure that you properly format the items on your receipt using an unordered list. This helps in maintaining a clean and organized look. Start by using <ul> to create the list container, followed by <li> for each item.
Each item in the list should be clearly described with quantity, price, and relevant details. For example:
- Item Name: 3 x Product A – $15.00
- Item Name: 2 x Product B – $30.00
- Item Name: 1 x Product C – $10.00
This structure keeps the receipt simple and readable. Don’t forget to close your list with </ul> to complete the layout.
Using lists ensures that each product or service is individually noted and can be easily understood by the customer. It’s also easier to modify in case of refunds or returns.