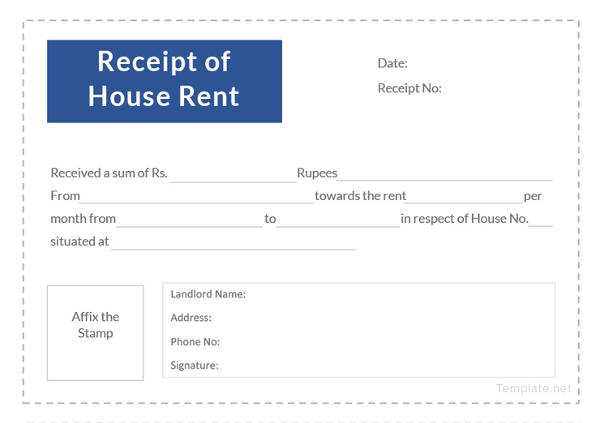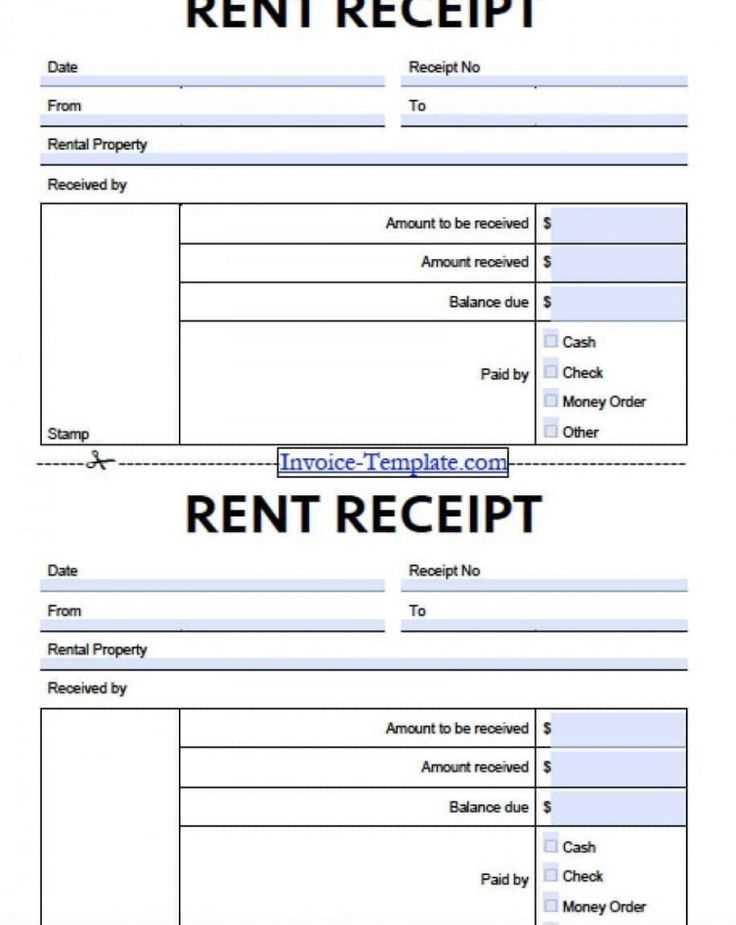
If you are a landlord or tenant in India, a rent receipt serves as proof of payment for the rental property. This document is often required for tax purposes, legal matters, or personal record-keeping. To avoid confusion or disputes, it’s important to use a clear and professional template for rent receipts.
A basic rent receipt template should include the following details: tenant’s name, landlord’s name, property address, rental amount, payment date, and mode of payment. Additionally, specifying the rental period covered by the payment and any applicable taxes or extra charges helps maintain transparency. These details ensure that both parties are on the same page regarding the transaction.
The rent receipt template should also include a space for the landlord’s signature, confirming the payment was received. Including a receipt number can further help in tracking payments and avoiding future misunderstandings. Make sure that the template is simple and includes all the necessary information to prevent confusion or mistakes during future transactions.
Here’s the revised version with minimal repetition:
Use clear and concise language when drafting a rent receipt template. Start by including the tenant’s name and address, followed by the property details. Make sure the amount paid, along with the payment date, is clearly mentioned. Avoid unnecessary descriptions that might clutter the document.
Key Elements to Include:
- Tenant’s Name and Address: Clearly identify the tenant and their location for accurate record-keeping.
- Payment Amount: State the exact rent paid in words and figures for clarity.
- Payment Date: Specify the exact date the payment was made.
- Landlord’s Details: Include the landlord’s name and contact information for transparency.
- Property Address: Mention the full address of the rented property.
Finish the receipt with a simple acknowledgment of the payment, confirming the transaction with a signature or stamp. This approach avoids over-complicating the receipt while keeping all necessary details intact.
- Sample Rent Receipt Template for India
Use this straightforward template to create a rent receipt in India. It includes all the necessary details required for legal and tax purposes.
- Landlord’s Name: [Full Name of Landlord]
- Tenant’s Name: [Full Name of Tenant]
- Property Address: [Complete Address of Rented Property]
- Rent Amount: ₹[Amount in Figures] (Rupees [Amount in Words] only)
- Payment Mode: [Cash/Cheque/Online Transfer]
- Receipt Number: [Unique Receipt Number]
- Payment Period: [Start Date] to [End Date]
- Rent Paid For: [Mention the specific period, e.g., “March 2025”]
- Date of Payment: [Date when the payment was made]
- Late Payment (if applicable): [Late fee details if applicable]
This format provides clarity and transparency. It helps both the landlord and tenant keep accurate records of payments made and received.
Keep this receipt safe for future reference or in case of disputes. Each payment made must be recorded with the same level of detail to ensure that all transactions are properly documented.
To format a basic receipt in India, include clear details of the transaction, such as the names of the parties involved, the amount paid, and the date. A receipt must also include a brief description of the item or service provided.
1. Include Key Information
Start by listing the date of the transaction. This is critical for tracking payments and ensuring both parties have a record of the exchange. Next, clearly mention the full names and contact information of the payer and payee. For added clarity, include the address and GSTIN (if applicable) of the business issuing the receipt.
2. Itemization and Amount
Break down the transaction by listing each item or service separately. Include the quantity, unit price, and total cost for each. Sum up the amounts at the bottom to show the grand total. If applicable, specify the tax rate and amount separately.
Keep the language simple and direct to avoid confusion. Make sure both parties sign the receipt to acknowledge the transaction.
Include the tenant’s full name, address, and contact information. This ensures clear identification of both parties involved.
Specify the rent amount paid, the payment date, and the rental period covered. This helps avoid confusion and ensures clarity for both parties.
Clearly state the method of payment (cash, cheque, online transfer, etc.). This verifies the transaction method and reduces disputes.
Include the landlord’s details, including their name and contact information. This provides transparency and enables easy communication if needed.
Note the receipt number or reference code. This offers a way to track payments and maintain organized records for both parties.
If applicable, list any advance payments or security deposits made. This helps track any pre-payments and clarifies what has been paid upfront.
Clearly state whether the rent includes utilities or if these are billed separately. This prevents any misunderstandings regarding additional costs.
Ensure the document is signed and dated by both the landlord and tenant. This confirms both parties acknowledge and agree to the details outlined in the receipt.
Select the language that matches the region of your rental agreement. In India, it is common to use English for official documents, including rent receipts, as it ensures clarity for both landlords and tenants. However, you may opt for regional languages if both parties are comfortable with it, especially if the rental agreement is not bilingual.
Language Based on Location
For tenants and landlords residing in non-English speaking regions of India, it is wise to include the local language on the receipt. For instance, in Hindi-speaking areas, rent receipts in Hindi are preferred. This ensures that both parties can fully understand the terms without any confusion.
Legal and Formal Language
Regardless of the language chosen, make sure that the terms are formal and clear. The rent amount, payment date, and other specifics should be outlined without ambiguity. Avoid casual or colloquial language as it can lead to misunderstandings.
Ensure the language you choose is easily understood by all parties involved, reducing the risk of disputes or confusion. For official use, consider using English or a combination of English and the local language to cover all bases.
Rent receipts are legally binding documents that must meet specific criteria to be valid in India. The receipt should clearly state the amount of rent paid, the period for which the rent is applicable, and the names of both the tenant and the landlord. Additionally, the receipt must include the landlord’s address and signature. This ensures that the document is recognized for tax purposes and other legal matters.
It is necessary to mention whether the payment is made in cash, cheque, or digital transfer. For tenants who make payments through electronic modes, it’s crucial to note the transaction details in the receipt. This protects both parties in case of any disputes about payment verification.
Landlords must issue receipts for every rent payment made by the tenant. Failure to provide a receipt can lead to complications in legal matters, including tax audits. Tenants should retain these receipts as proof of payment for future reference, especially when the need arises to claim deductions for house rent allowances or resolve disputes.
To create a rent receipt in Microsoft Word, follow these clear steps:
1. Open Microsoft Word and start with a blank document.
2. Set up the header with the title “Rent Receipt” at the top of the page.
3. Below the title, add the following details:
| Tenant’s Name | Landlord’s Name |
|---|---|
| John Doe | Jane Smith |
4. Mention the rental period. This could include the start and end dates of the rental agreement, for example, “From January 1, 2025, to January 31, 2025.”
5. Specify the rent amount received. For example: “Amount Received: ₹15,000.”
6. Include the payment method, such as cash, cheque, or bank transfer.
7. Add the date of receipt and ensure the document is signed at the bottom by the landlord.
8. Save the document and, if necessary, print or send it to the tenant.
Tailor your rent receipt template to match the specifics of each rental agreement. The details in the agreement, such as rental duration, payment schedules, and any special clauses, should directly influence how you format and adjust your templates. Below are a few adjustments you can consider:
1. Rental Duration and Payment Terms
- For short-term leases, specify the exact start and end dates clearly in the template.
- For long-term agreements, include monthly or quarterly payment schedules and note the renewal options or terms of contract extension.
2. Rent Amount and Additional Charges
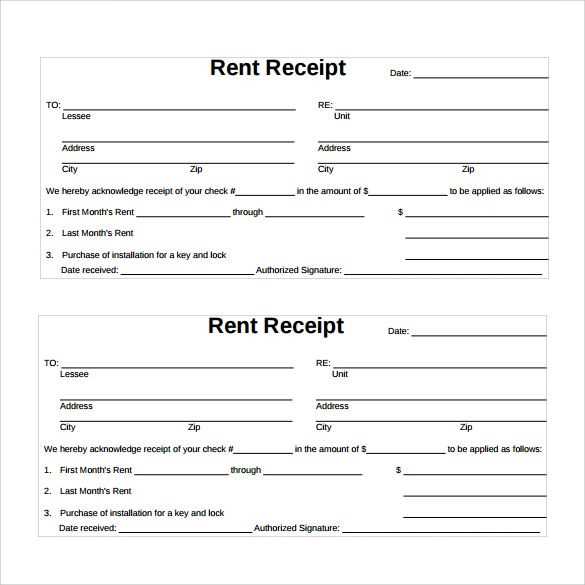
- Clearly outline the rent amount in words and figures. If the rental agreement includes additional charges like maintenance or utilities, specify these separately in the template.
- Include any security deposit and its return conditions, especially for rental agreements with deposit requirements.
3. Special Clauses and Conditions
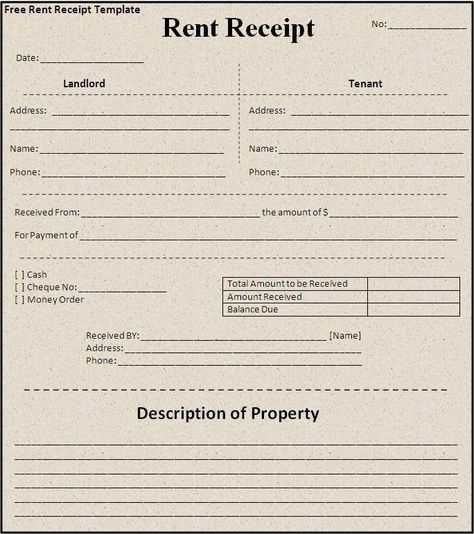
- For agreements with clauses about early termination, damages, or maintenance responsibilities, mention these explicitly in the template.
- Adjust your template to reflect tenant and landlord responsibilities according to the rental terms, including any penalties or late fees for delayed payments.
By aligning the template with the details of the rent agreement, you ensure clarity and minimize misunderstandings between parties. The more specific you are, the easier it will be to manage future rentals and renewals.
Thus, repetition of words is minimized, and the meaning of each sentence is preserved.
To create a rent receipt template for India, include the tenant’s name, address, and the rental period clearly. Mention the amount paid and the mode of payment, such as cash, cheque, or online transfer. Always include a unique receipt number for each transaction and specify the landlord’s name and address for verification purposes.
Template Format
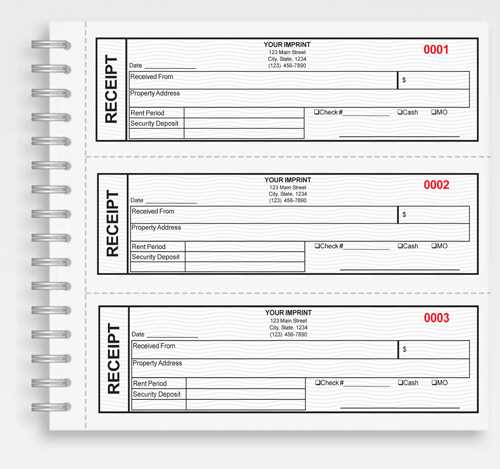
The structure should be simple: at the top, list the title as “Rent Receipt.” Below, provide the landlord’s and tenant’s contact information. Add a table with columns for the date, payment amount, payment mode, and the rental period. Conclude the receipt with a signature from the landlord.
Important Details
Ensure to date each receipt properly and avoid leaving blank spaces. This will prevent future disputes. Keep a digital copy of each receipt for easy access and for accounting purposes.
