Creating a Receipt Template in Microsoft Word

To create a professional receipt template in Word, follow these steps:
- Open Microsoft Word and create a new document.
- Add your business logo or name at the top of the document to make it official.
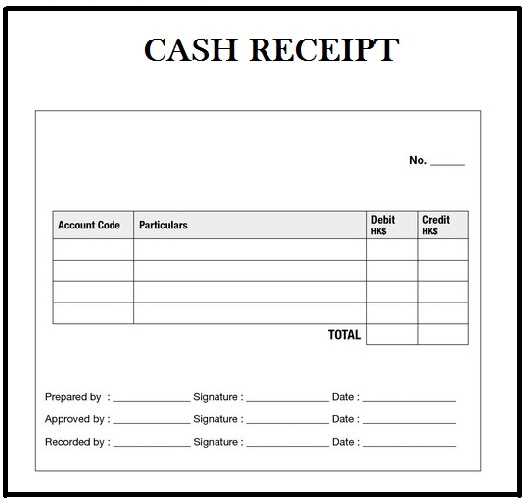
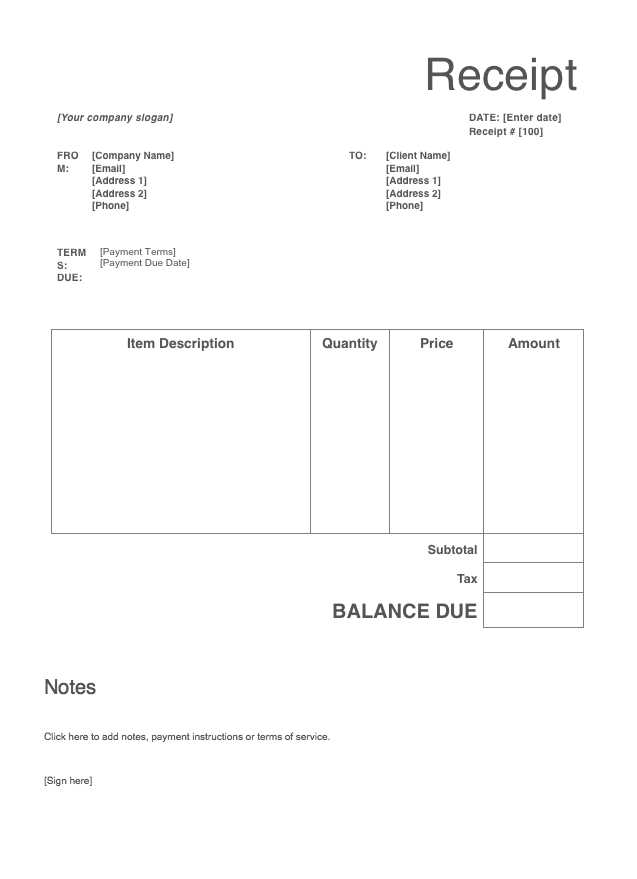
- Insert a table with columns for the item description, quantity, price per unit, total amount, and any applicable taxes. This helps organize information clearly.
- Include business details such as address, phone number, and email for contact.
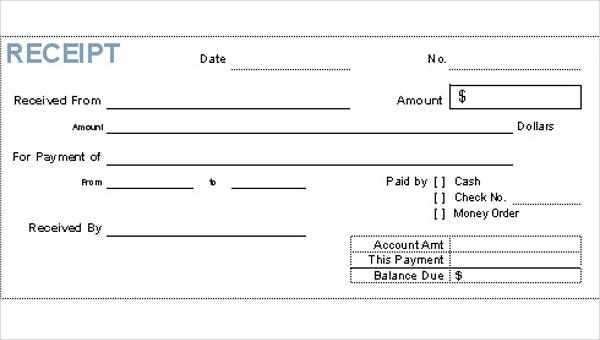
- Provide payment details, including payment method (e.g., cash, credit card) and the date of transaction.
- Format your receipt to make it easy to read. Adjust font sizes and table borders for clarity.
- Save your template for reuse, ensuring it’s easy to customize for future transactions.
Customizing the Template for Specific Needs
If your business has unique requirements, consider these tips for customization:
- Add a discount section if applicable. Include a column to calculate discounts or promotions.
- If you deal with multiple currencies, set up the template to accommodate various currency symbols and exchange rates.
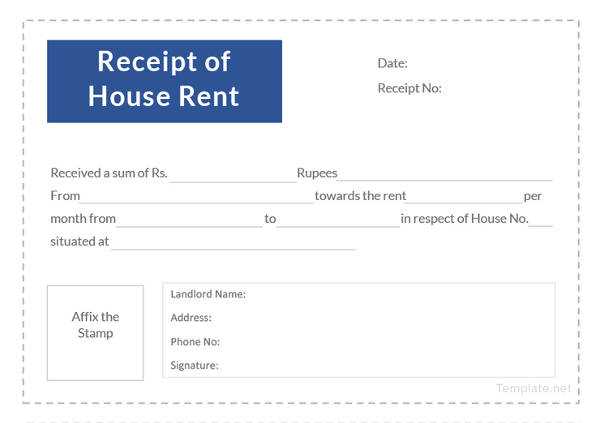
- Add a receipt number for tracking purposes. This helps maintain proper records.
Once your template is designed and saved, it’s ready to be filled out and printed or emailed to your customers. Adjust as needed for different types of transactions and ensure it aligns with your business standards.
Receipt Template UK Word: A Practical Guide
Choosing the Right Template for Your Business
How to Personalize a Receipt in Microsoft Word
Essential Details to Include in a UK Receipt
Adjusting Layout and Design for Clear Presentation
Ensuring Compliance with UK Legal Standards for Receipts
Common Mistakes to Avoid When Using a Receipt Template
Select a receipt template that suits the style and needs of your business. A clear and professional design will improve customer experience and streamline your record-keeping. Microsoft Word offers various options to help you get started, but focus on one that allows for customization without overcomplicating the process.
How to Personalize a Receipt in Microsoft Word

Modify the template to reflect your company’s identity. Start by adding your business name, logo, and contact details. Adjust the font, color scheme, and layout to match your branding. You can also insert a unique receipt number, which is important for tracking transactions efficiently.
Essential Details to Include in a UK Receipt

Include the following information on all receipts: the name and address of your business, date of transaction, itemized list of goods or services purchased, the price, and applicable VAT details. Ensure the total amount is clearly displayed, and specify payment method (e.g., cash, card, or bank transfer). These details are required for compliance with UK regulations.
When designing your receipt layout, ensure it is clean and easy to read. Avoid clutter by using clear headings and separating sections logically. Place the most important details, such as total and payment method, at the top for quick reference.
Lastly, make sure your receipt complies with UK legal requirements. This includes correct VAT treatment for taxable goods or services and the appropriate details for any refunds or returns. Failure to include mandatory information can lead to legal issues or customer dissatisfaction.
Avoid common mistakes like omitting transaction numbers, incorrect VAT details, or unclear item descriptions. Always proofread the template before use to ensure everything is accurate and up-to-date.


