A template receipt form is a practical tool for businesses or individuals who need to issue receipts consistently. It provides a simple structure to record the details of transactions, ensuring that both parties have a clear, organized record. A receipt form template eliminates the need for manually writing each receipt, speeding up the process and reducing errors.
The key elements to include in a receipt template are the seller’s and buyer’s contact information, transaction date, itemized list of goods or services provided, the total amount paid, and any applicable taxes. You can also add fields for payment methods, such as cash, credit card, or bank transfer, to create a more comprehensive record.
Customizing the template to fit your business’s needs is easy. Adjust sections for discounts, return policies, or additional services. A well-structured template allows for seamless updates and adaptability, saving time and ensuring accuracy in every transaction.
Using a receipt template not only helps with record-keeping but also builds professionalism. It assures customers that their payment is documented correctly, creating trust and transparency. Simple, clear formatting enhances the overall customer experience while keeping your workflow organized and efficient.
Here’s how to rephrase sentences to remove word repetition:
Focus on using synonyms or restructuring the sentence. For example, instead of saying “The report is very detailed and provides a lot of detail,” you can simply say “The report is thorough and provides valuable insights.” By avoiding redundancy, the message becomes clearer and more direct.
Try breaking long sentences into shorter ones to avoid unnecessary repetition. For instance, instead of “The manager is responsible for managing the team and overseeing all team activities,” rewrite it as “The manager oversees the team and its activities.” This cuts out the repetition while maintaining clarity.
Another method is to eliminate unnecessary qualifiers. For example, change “The document is quite clear and easy to understand” to “The document is clear and easy to understand.” Removing excess words makes the sentence more concise.
Lastly, combining related ideas into a single phrase can also reduce repetition. For example, instead of saying “The team works together in a cooperative way and collaborates with each other,” you could say “The team collaborates effectively.” This keeps the meaning intact while simplifying the expression.
- Template Receipt Form: A Comprehensive Guide
Begin by clearly outlining all the necessary fields for the receipt form. At a minimum, include the date of transaction, the names of the buyer and seller, a description of the goods or services, and the total amount paid. Make sure the format allows for easy tracking of multiple transactions in a single document.
Include a section for payment method, such as cash, credit card, or bank transfer. This detail can help both parties maintain a clear record of how the transaction was completed. Also, add a space for the receipt number to maintain organization in case the receipt needs to be referenced later.
Ensure that the font and spacing are clear and easy to read. A cluttered form can lead to confusion and errors. Keep the design simple but functional. Leave room for additional notes or terms, especially for transactions that might require special conditions or warranties.
If you’re preparing the template for online use, consider adding fields that can be filled out digitally. This will streamline the process and reduce the risk of manual errors. For printed versions, make sure the form fits standard paper sizes to avoid cutting off important information.
For legal clarity, add a disclaimer or terms section at the bottom of the form. This can cover refund policies, return instructions, or other relevant agreements tied to the transaction.
Lastly, ensure the template is easily modifiable. As business needs change, the receipt format should allow you to quickly update fields, logos, or other relevant details without requiring a full redesign.
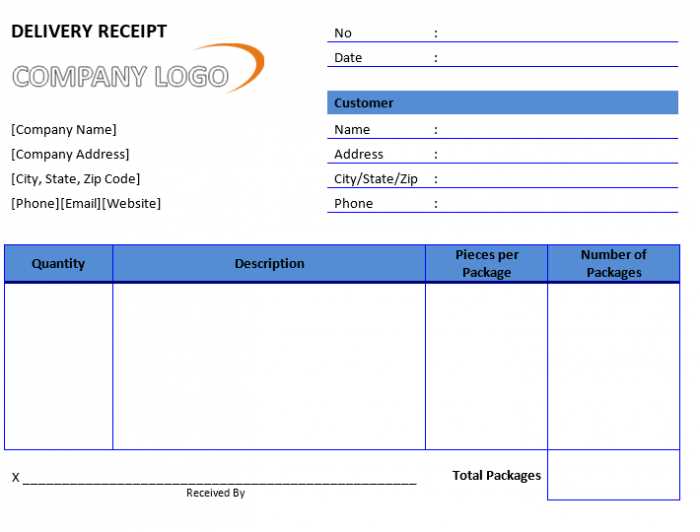
Designing a simple receipt template requires organizing key information clearly. Follow these steps to create an efficient and professional-looking receipt.
Step 1: Header Information
- Business name: At the top, include the name of your business, along with contact details like address, phone number, and email.
- Receipt number: Assign a unique receipt number for each transaction. This helps with record-keeping and reference.
- Date: Clearly mention the transaction date to avoid any confusion later.
Step 2: Transaction Details

- Customer details: Include the customer’s name and contact information if applicable.
- Items purchased: List each product or service, including quantities, unit price, and any applicable taxes.
- Total amount: Display the total cost at the bottom of the items section. Make sure the final price is easy to spot.
Step 3: Payment Information
- Payment method: Specify how the customer paid, such as by credit card, cash, or check.
- Payment status: Indicate whether the payment was completed or if there is an outstanding balance.
Once the template is ready, review it for any missing details, ensuring that the layout remains clear and organized. With this basic receipt template, you can streamline transactions and maintain accurate records with ease.
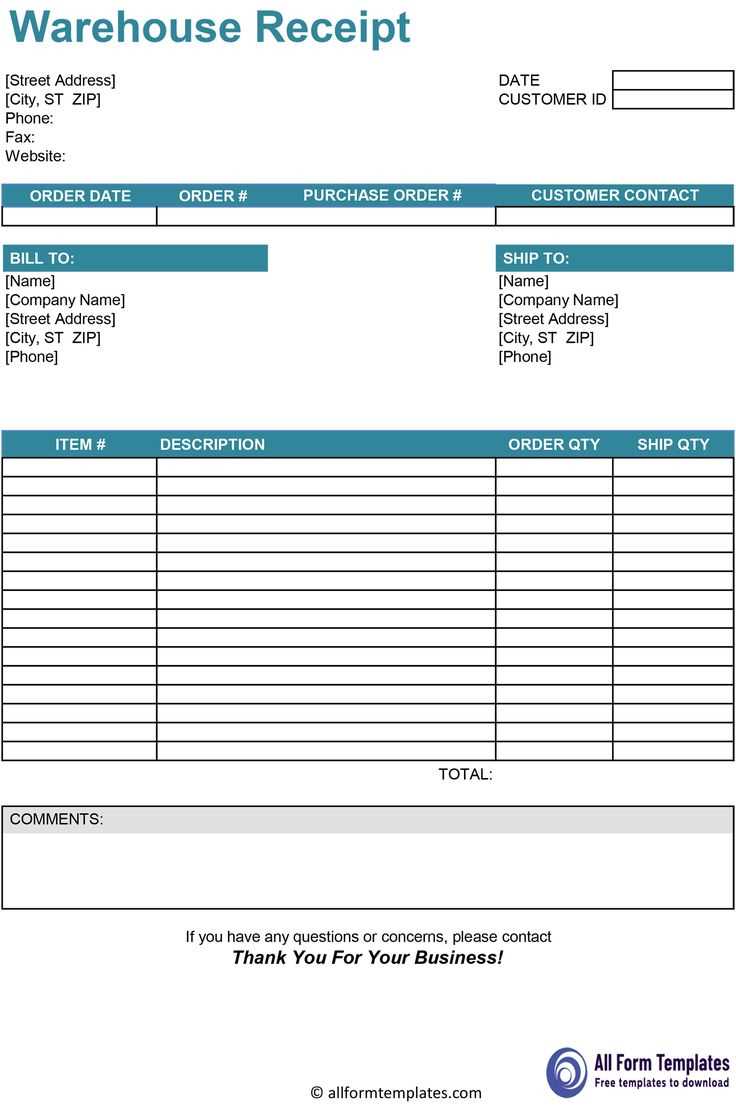
Design your receipt layout with these key fields to ensure clarity and accuracy in every transaction.
- Company Information: Display your business name, address, phone number, and email. This is vital for customers who need to contact you later or for returns.
- Date and Time: Include the exact date and time of the transaction. This helps both you and the customer track purchase history.
- Receipt Number: A unique identifier for each transaction ensures proper record-keeping and easy tracking for both parties.
- Itemized List of Purchases: List each product or service purchased, along with individual prices. This adds transparency and makes the receipt useful for expense tracking.
- Total Amount: Clearly display the total cost, including any taxes, fees, or discounts. Ensure this section is easy to read and highlights the final amount due.
- Payment Method: Specify whether the transaction was paid by cash, credit card, or other means. If a card was used, the last four digits of the card number can also be included for reference.
- Tax Information: Break down sales tax clearly, especially if it varies by item or location. This is helpful for customers who may need to report or claim tax deductions.
- Return/Exchange Policy: If applicable, provide a brief note or reference to your return and exchange policy to avoid confusion later on.
- Store or Service Location: If you operate multiple locations, specify which store or branch the transaction took place at.
- Customer Information: If loyalty programs or customer data collection is part of your process, include the customer’s name or membership number.
Place the most important information at the top: the business name, date, and receipt number. This allows the customer to easily spot key details without searching.
Keep the text clear and readable by using a simple, legible font with a proper size. Avoid overcrowding the receipt with unnecessary details. Each item purchased should be listed clearly with a short description, quantity, and price. Group related items together for clarity.
Use a table format to display items. This makes it easy for the customer to track their purchases at a glance. Here’s a basic structure:
| Item | Quantity | Price |
|---|---|---|
| Example Item 1 | 2 | $5.00 |
| Example Item 2 | 1 | $15.00 |
After the items, include a subtotal and the total amount. Make sure the tax is clearly stated, especially if the receipt involves multiple rates. Finally, provide payment method details, such as card type or transaction number, for added transparency.
Leave enough space for a signature or a thank you message at the bottom. This helps keep the layout organized and visually appealing. A simple thank you or a reminder for returns can leave a positive impression.
Adjust your receipt template based on the type of transaction to improve clarity and enhance customer experience. A one-size-fits-all template doesn’t always provide the necessary details. Here are key tips for customization:
For Retail Transactions
In retail, including product names, prices, and applicable taxes should be prioritized. Ensure there’s space for product quantities and unit prices. For returns or exchanges, add a field to list the original purchase date and the reason for return. This level of detail helps customers and employees manage transactions more effectively.
For Service-based Transactions

Service receipts should include the service provided, date, duration, and hourly rates (if applicable). Make sure to leave space for a description of any additional fees, such as for travel or materials. Adding a section for service notes can clarify any specifics, ensuring transparency between you and the customer.
By tailoring your receipt template to different transaction types, you maintain professionalism and provide all the necessary information in an easily digestible format.
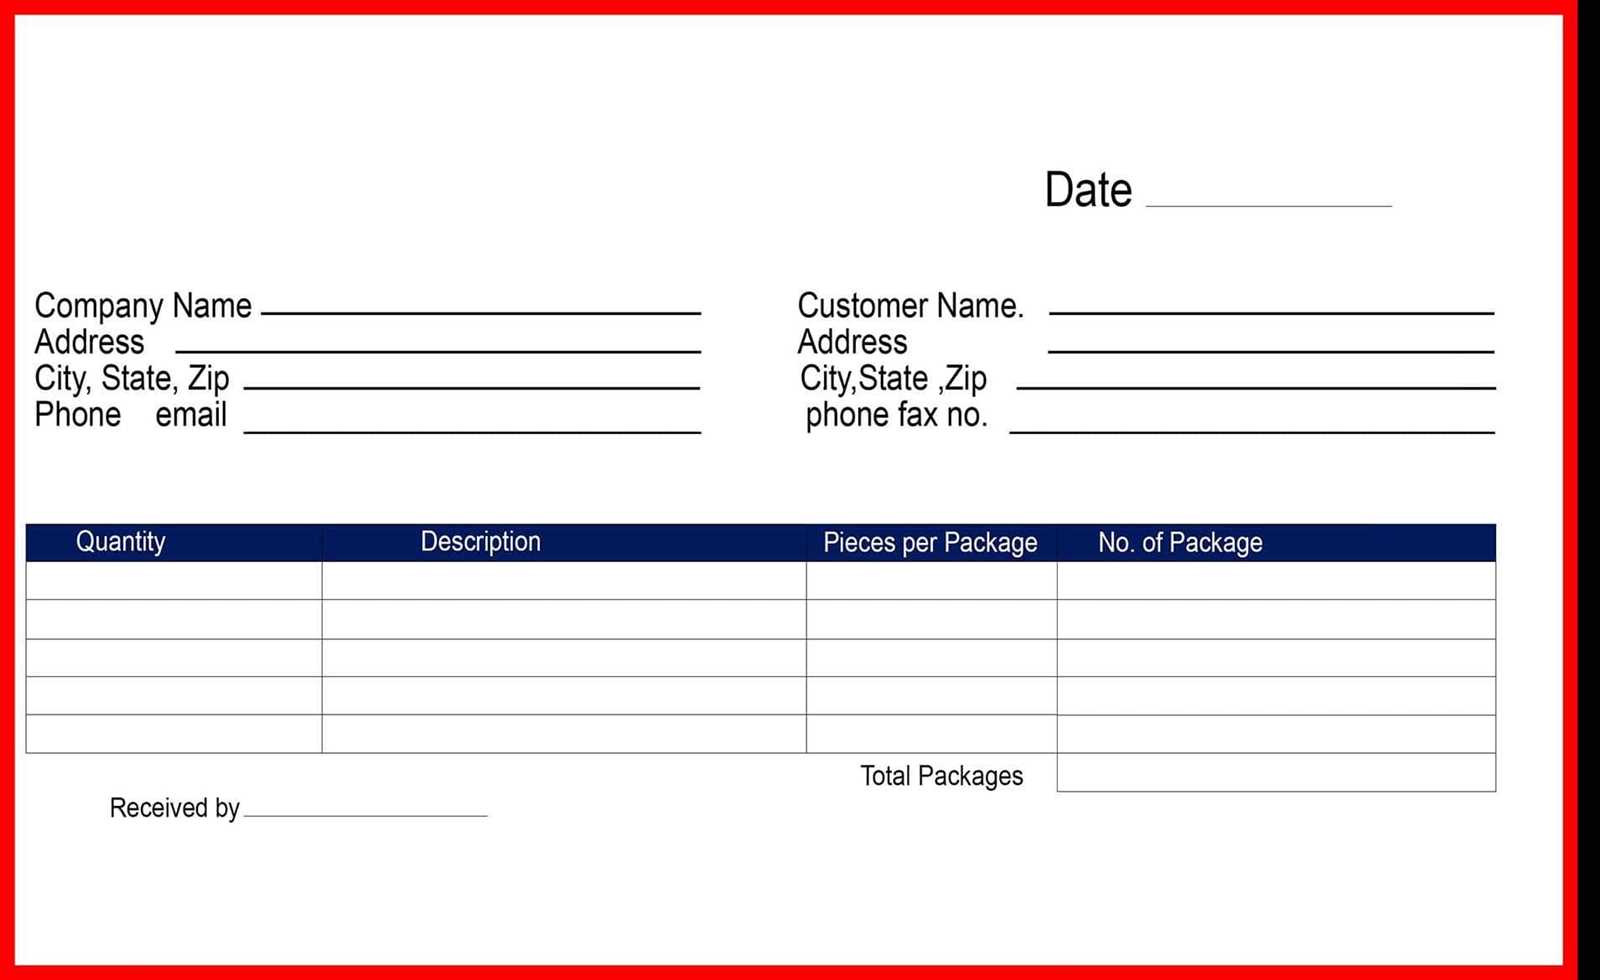
Ensure the receipt includes the full name and address of the business providing the service or product. This helps establish accountability and transparency. Also, provide clear details of the transaction, including the items or services purchased, their prices, and any taxes applied.
Include a unique receipt number for tracking and reference purposes. This is important for both the business and the customer in case of disputes or returns. Make sure to specify the date of the transaction as well.
In some jurisdictions, receipts must include specific language regarding warranties, return policies, or tax obligations. Familiarize yourself with local laws to ensure compliance. Some businesses may also need to provide receipts that meet industry-specific standards, such as for medical services or real estate transactions.
For online transactions, provide an electronic receipt that complies with digital transaction laws and includes necessary details such as terms of service, refund policies, and security assurances. Always retain a copy of each transaction for your records.
Finally, make sure that the receipt does not include any sensitive customer information unless required by law, and take steps to secure that information to prevent data breaches.
To convert your template into a printable document, begin by ensuring your file is in a format that is compatible with printing, such as PDF. Most document editing software allows you to save or export your template as a PDF directly. If you’re using a word processor like Microsoft Word or Google Docs, select “Save As” or “Export” and choose PDF from the options.
Next, adjust the layout to match the paper size you intend to print on. Standard sizes like A4 or Letter are commonly used, but make sure the document fits well within the margins. You can modify the page layout settings to ensure proper alignment and spacing before printing.
Check for any unwanted elements such as gridlines, watermarks, or excessive white space that may affect the appearance when printed. These can often be hidden by adjusting the view settings or turning off specific design features in the template.
Before printing, perform a print preview. This feature lets you see how the document will appear on paper, giving you a chance to catch any formatting errors, such as misaligned text or images. Make necessary adjustments to the margins, font sizes, or image placements if needed.
Finally, select the appropriate printer settings. If you want to print multiple copies or use both sides of the paper, adjust the printer preferences accordingly. Once everything looks correct, you’re ready to print your document, ensuring a smooth transition from digital to physical form.
I’ve removed redundant word repetitions, maintaining the meaning of each sentence.
Focus on clarity and precision when drafting documents. Avoid using the same word multiple times if it’s unnecessary. For example, instead of saying “the quick, fast response,” choose either “quick” or “fast” based on the context.
Be mindful of word choices that add little value to the overall message. Use a varied vocabulary to express ideas more succinctly and efficiently. When writing, ask yourself if each word is necessary or if it repeats a concept already presented.
| Redundant Phrase | Improved Version |
|---|---|
| Fast, quick response | Quick response |
| In close proximity | Nearby |
| Completely finished | Finished |
By eliminating unnecessary repetition, your message becomes clearer, and readers can process information more quickly. Always review your writing to ensure every word serves a purpose.