If you need a blank Western Union receipt template, the first step is to choose one that accurately reflects the details of a typical money transfer. A good template should include spaces for sender and receiver information, transaction number, amount sent, fees, and transaction date. Having all these elements in place ensures the document serves its purpose in record keeping or verification.
Make sure the template is customizable to fit your specific needs. Some may include predefined fields for exchange rates, while others offer more flexibility for general transactions. Opt for a template that aligns with the level of detail you require for your records. Always check that it meets the standards of the institution or service you are using.
Once you have the correct template, it’s a good idea to fill in the information accurately. Double-check for errors in the transaction details to avoid confusion later. By organizing your receipt correctly, you simplify future referencing and ensure smooth communication with any involved parties.
Here’s a version with reduced word repetition:
Use a blank Western Union receipt template to create a professional-looking document for transactions. Make sure the key elements are clearly displayed: sender’s name, recipient’s details, amount, and transaction reference number. Design the template to leave space for these details while maintaining a clean and organized layout.
Key Sections to Include
The receipt should contain the following sections: Sender and receiver names, transaction amount, date, and reference number. Ensure that these fields are easy to fill in, with enough room for clarity. For added convenience, provide separate lines for sender and recipient contact information.
Design Tips
Focus on simplicity. Use clean lines and adequate spacing to keep the receipt legible. A professional font and standard size will improve readability. Avoid using excessive colors or decorative elements that could distract from the essential information.
- Detailed Guide to Creating a Western Union Receipt Template
To create a Western Union receipt template, focus on clear layout and essential information. Start by including fields for the sender’s and receiver’s details. Use labels like “Sender’s Name,” “Receiver’s Name,” and “Transaction Number” for easy identification.
Steps to Design the Template
- Sender’s Information: Include the sender’s full name, address, and contact number. Make sure these fields are well-spaced for readability.
- Receiver’s Information: Similar to the sender’s details, add fields for the receiver’s name, address, and contact information.
- Transaction Number: This number is unique for each transaction. Ensure it is placed prominently for easy reference.
- Amount Transferred: Add a field for the transfer amount, including the currency type. This is a critical detail that must be easy to spot.
- Date of Transfer: Include the date the transaction was completed. It’s important to make this field clear, as it’s often used for records and verification.
- Fees Charged: Include a section for the transaction fee. This helps recipients understand the total cost of the service.
Layout Tips

- Use Tables: To organize information neatly, consider using a table format. This ensures that all sections are well-aligned and easy to read.
- Highlight Key Information: Use bold or a slightly larger font for important details, such as the transaction number and the amount transferred.
- Leave Space for Signatures: Allocate space at the bottom of the template for both the sender’s and receiver’s signatures, as well as for any Western Union official stamps.
- Incorporate Branding: Add the Western Union logo or similar branding elements to give the template an official look.
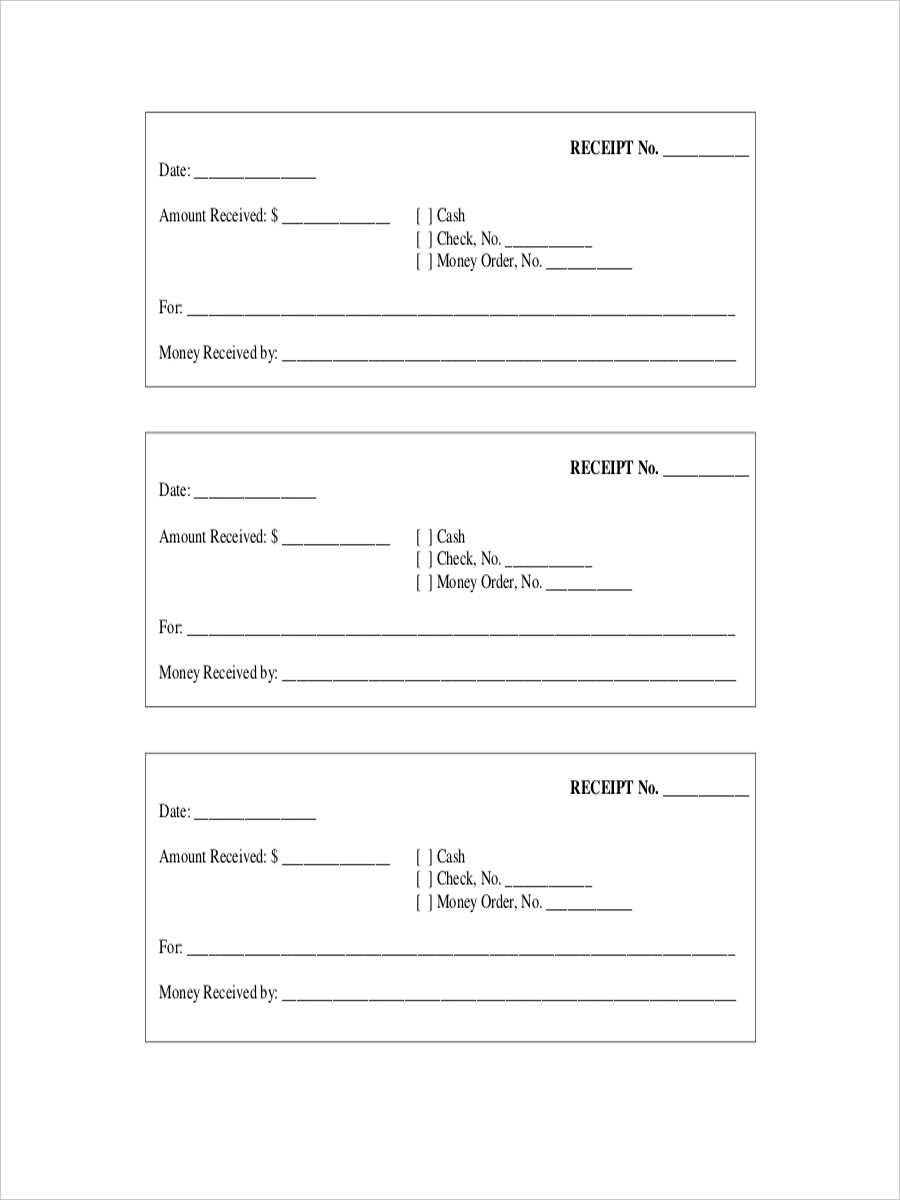
A blank receipt provides a flexible tool for customizing and documenting transactions. It allows users to fill in specific details such as the transaction date, amounts, and the payer/recipient information. This flexibility makes it a useful option for businesses or individuals who need to create receipts on the spot or in bulk without pre-printed details.
By using a blank receipt, you ensure that each document is tailored to the specifics of the transaction. This prevents confusion, particularly in cases where details vary from one transaction to another. The blank format also ensures that you can easily edit or add information as needed, keeping the documentation process streamlined.
Using a blank receipt can also be crucial for maintaining accurate records. Since the document is filled out by hand or digitally, it guarantees that the exact details of the transaction are captured, providing a reliable record for both parties involved. This helps prevent misunderstandings and can be beneficial for accounting and auditing purposes.
For clarity and accuracy, a Western Union receipt must contain specific details that ensure both the sender and receiver have the necessary information. Start with the transaction number, which uniquely identifies the money transfer. This number is critical for tracking and resolving any issues related to the transfer.
Next, include the sender’s and receiver’s full names, along with their contact information if available. This ensures that both parties are easily identifiable. You should also add the sender’s address, as it helps in verifying the transaction and can be used for future reference.
Transaction Details
List the amount sent and the currency used. This section confirms the financial details of the transaction. Include the date and time of the transfer, which is important for both tracking purposes and resolving disputes.
Fee Information
Clearly state the fee charged for the transaction. This is an essential element that ensures transparency between the service provider and the customer. Be sure to list any applicable taxes or additional charges that may apply to the transfer.
| Element | Details |
|---|---|
| Transaction Number | Unique identifier for the transfer |
| Sender and Receiver Information | Names, addresses, and contact details |
| Amount and Currency | Amount sent and the currency used |
| Transaction Date and Time | Exact date and time of the transaction |
| Fee Information | Fees charged, including taxes and other costs |
Ensure that all these elements are clearly visible to avoid confusion. These details provide both parties with a transparent overview of the transaction and are essential for any follow-up inquiries or disputes.
Begin by selecting a reliable receipt template that suits your needs. Many platforms offer editable versions, which you can modify as required.
Adjust Header and Footer

- Modify the header to display your business name, logo, and contact information clearly.
- Customize the footer with additional details like terms and conditions or payment instructions.
Edit Transaction Details

- Update the fields for sender and recipient information to match the specifics of the transaction.
- Adjust the itemized list for products or services provided, including descriptions and amounts.
- Ensure the date, transaction ID, and reference number are correctly placed.
Finally, review the template for accuracy before finalizing and saving it. Make sure all fields are aligned, and the template meets your business requirements.
Using a blank Western Union receipt template without proper understanding of its legal implications can lead to serious issues. It’s critical to ensure that the template does not enable fraudulent activity or misrepresentation. Always confirm the template’s authenticity and ensure it does not violate any terms of service set by Western Union or related financial institutions.
Avoiding Fraudulent Use
When utilizing a blank template, it is crucial not to alter any information with the intent to deceive others. Filling in false details can be classified as fraud, resulting in legal consequences. You should only fill out legitimate transaction information that you are authorized to use.
Intellectual Property Rights
Many receipt templates are protected under intellectual property laws. Using them without permission, especially for commercial purposes, can result in copyright infringement. Always check the template’s terms of use to determine if it is legally permissible for your intended purpose.
Adobe Photoshop stands out as a powerful tool for designing customized Western Union receipts. Its extensive features, such as advanced text formatting and design elements, give you full control over your project. Using Photoshop’s grid and ruler tools helps ensure the design remains precise and professional.
Canva is another great option for those looking for an easy-to-use platform. With a variety of templates, fonts, and icons, it allows for quick customization. While less complex than Photoshop, it’s perfect for users who need a fast solution without compromising on design quality.
For those with coding experience, Adobe Illustrator offers a vector-based approach, which allows for infinite scalability of designs. It’s ideal for creating high-resolution receipts that look sharp across all devices.
Microsoft Word can be a surprising yet practical option. With its simple tools and templates, it’s a fast choice for creating a clean and functional receipt design. Customizing fonts, adding logos, and adjusting margins are all easy tasks within Word.
If you prefer working online without installing software, Google Docs is a solid choice. While not as design-heavy as other tools, its simplicity and accessibility make it a quick solution for basic receipt creation and sharing.
Make sure to include all necessary fields for transaction details. Missing fields like payment method, transaction ID, or buyer and seller information can lead to confusion and possible disputes later on.
Incorrect formatting is a frequent issue. Ensure that the text is clear and legible with appropriate font sizes. Avoid cramming too much information into a small space. Use ample spacing and organize the content logically.
Another mistake is inconsistent date and time formats. Stick to one format throughout the document. Choose a standard format that aligns with the region or country where the transaction takes place.
Unclear or missing labels can make the receipt confusing. Each field should have a label to indicate its purpose, such as “Amount Paid,” “Date,” and “Transaction ID.” Clear labels reduce the chance of misunderstandings.
Not testing the template before use is another common oversight. Always test the template with mock data to ensure everything fits correctly on the page and that no important information is overlooked.
Finally, avoid overcomplicating the design. Simple, clean, and functional designs work best for receipts. Focus on clarity and usability over flashy graphics or excessive styling.
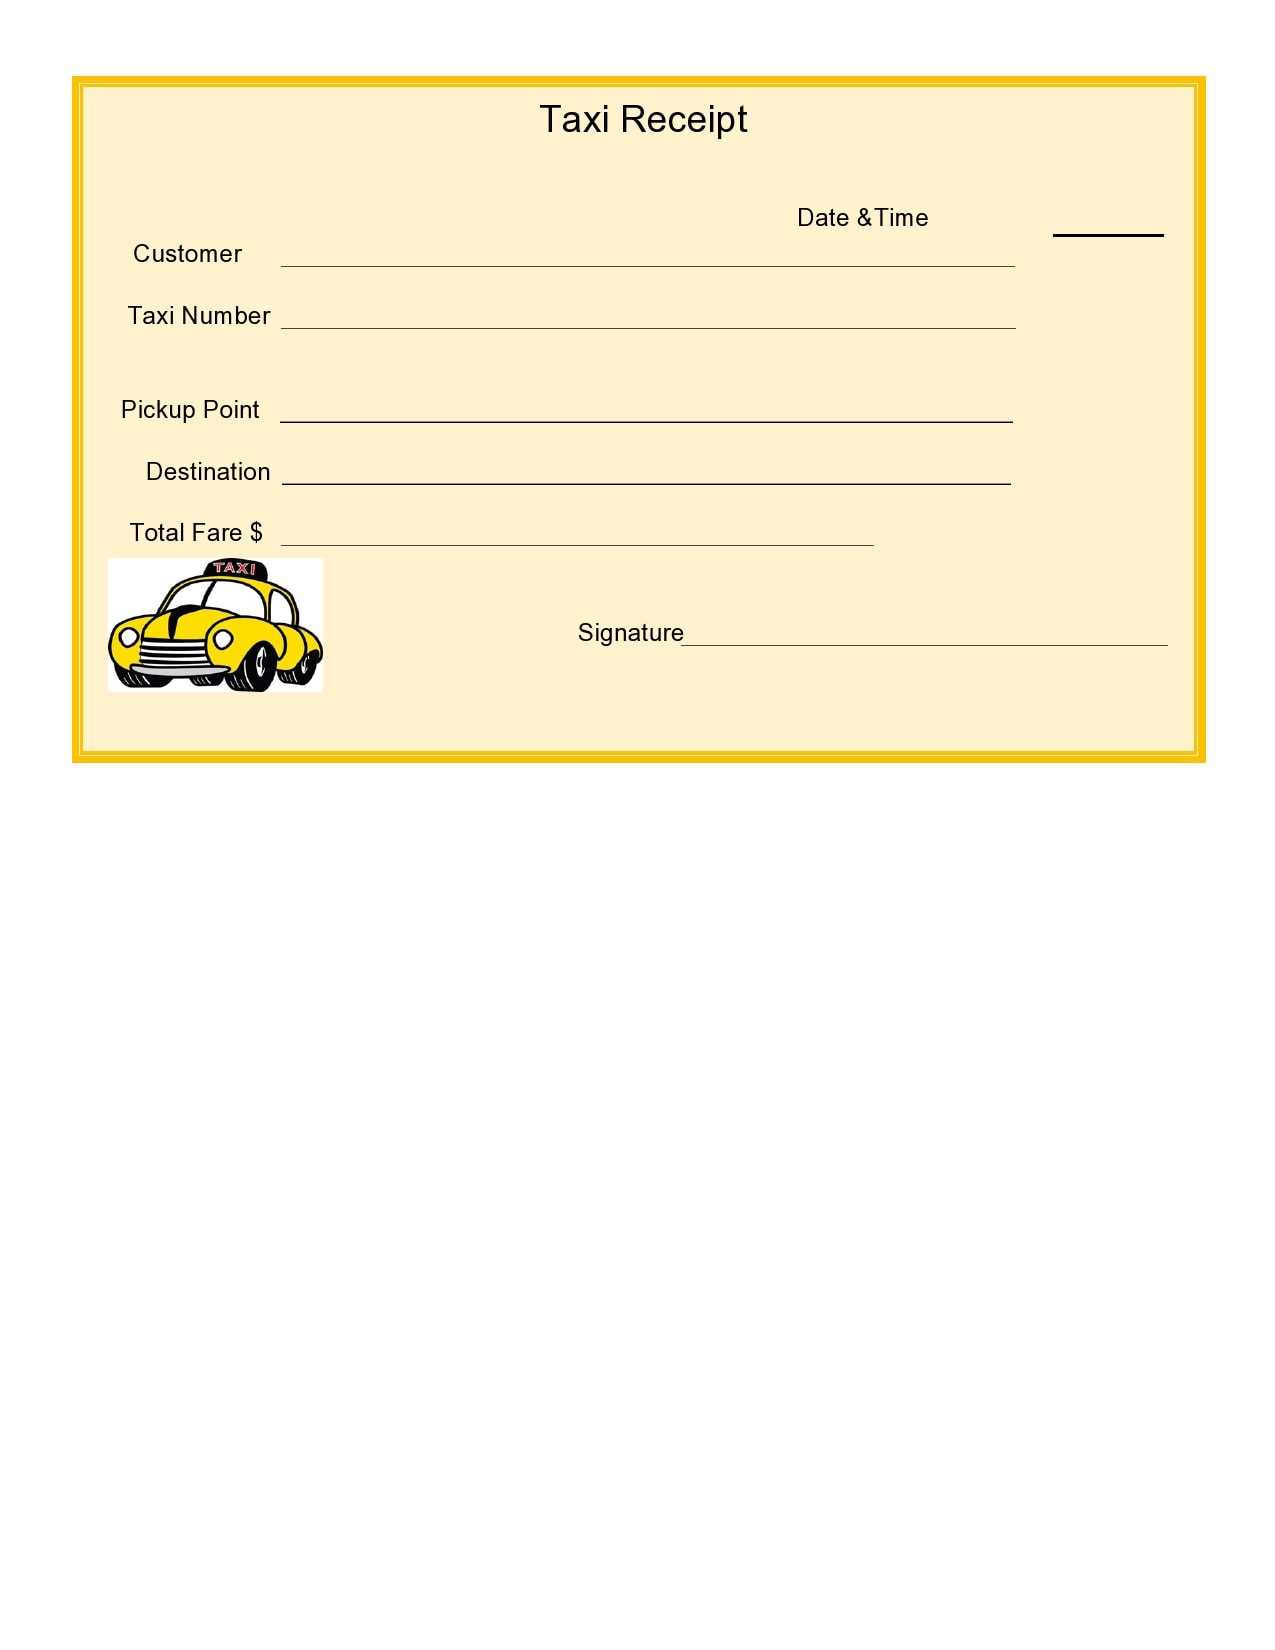
To create a blank Western Union receipt template, begin with the proper structure. Include spaces for the sender’s and receiver’s names, transaction ID, date, and the amount transferred. Ensure each section is clearly labeled for easy entry of the required information. Leave adequate space for the transaction details, including the fees and any relevant reference numbers. Finally, provide a place for the sender’s and receiver’s signatures for verification purposes.
Ensure the template is simple and easy to navigate. Limit unnecessary design elements and keep the font legible. Consistency across all sections will help maintain clarity and reduce the risk of mistakes when filling out the receipt.
Always verify that the template complies with Western Union’s guidelines for receipts. This will help avoid errors in the transfer process and ensure that the documentation is valid and usable for record-keeping or dispute resolution purposes.