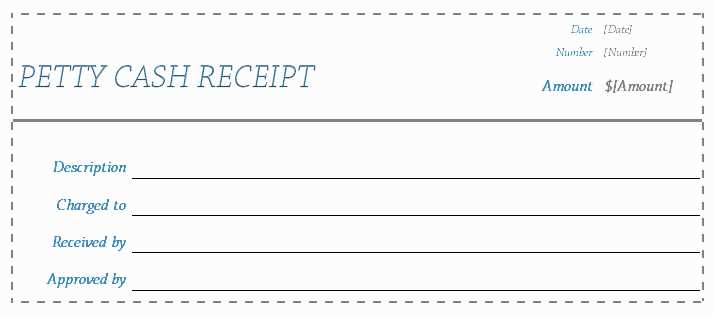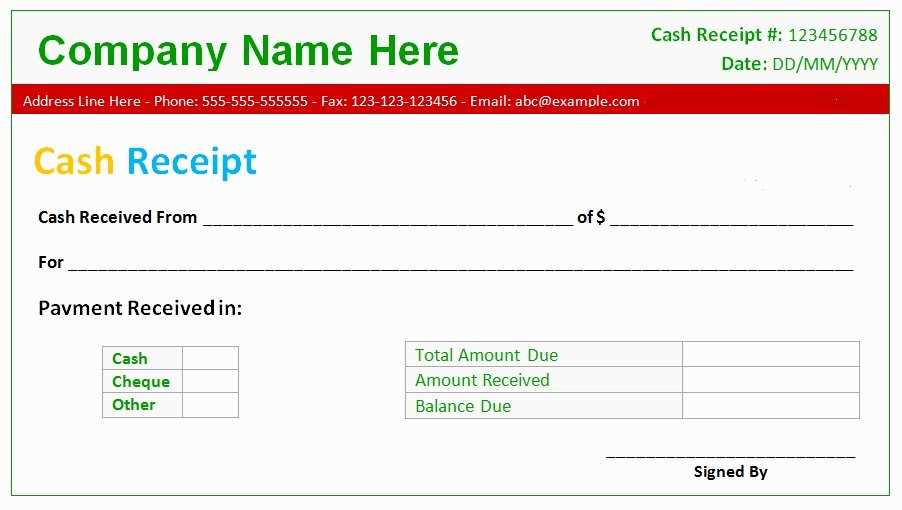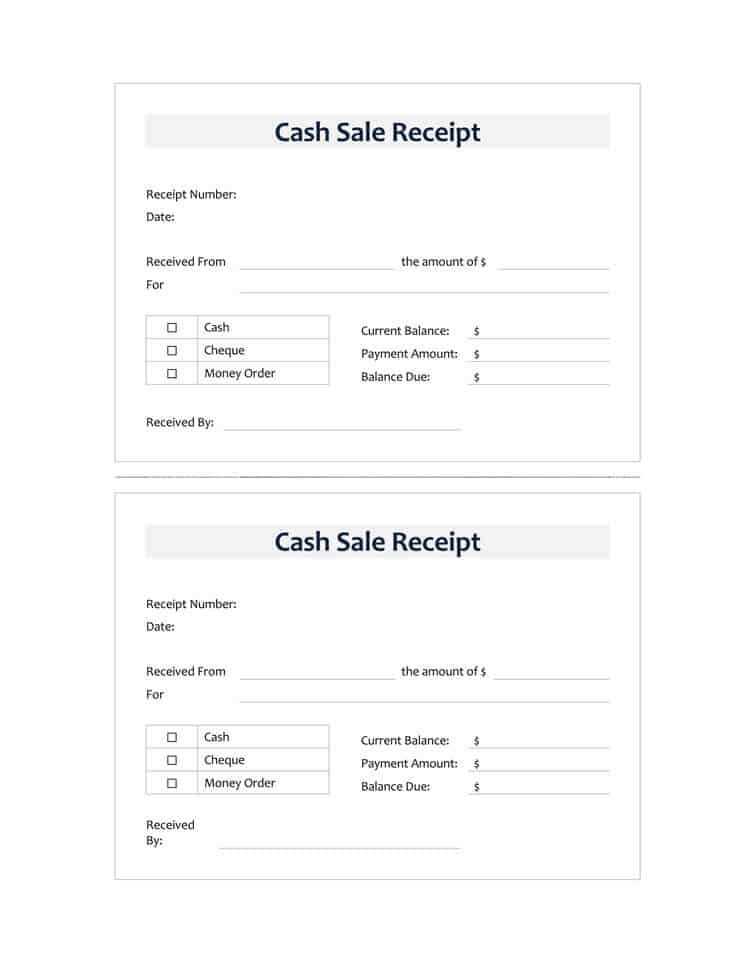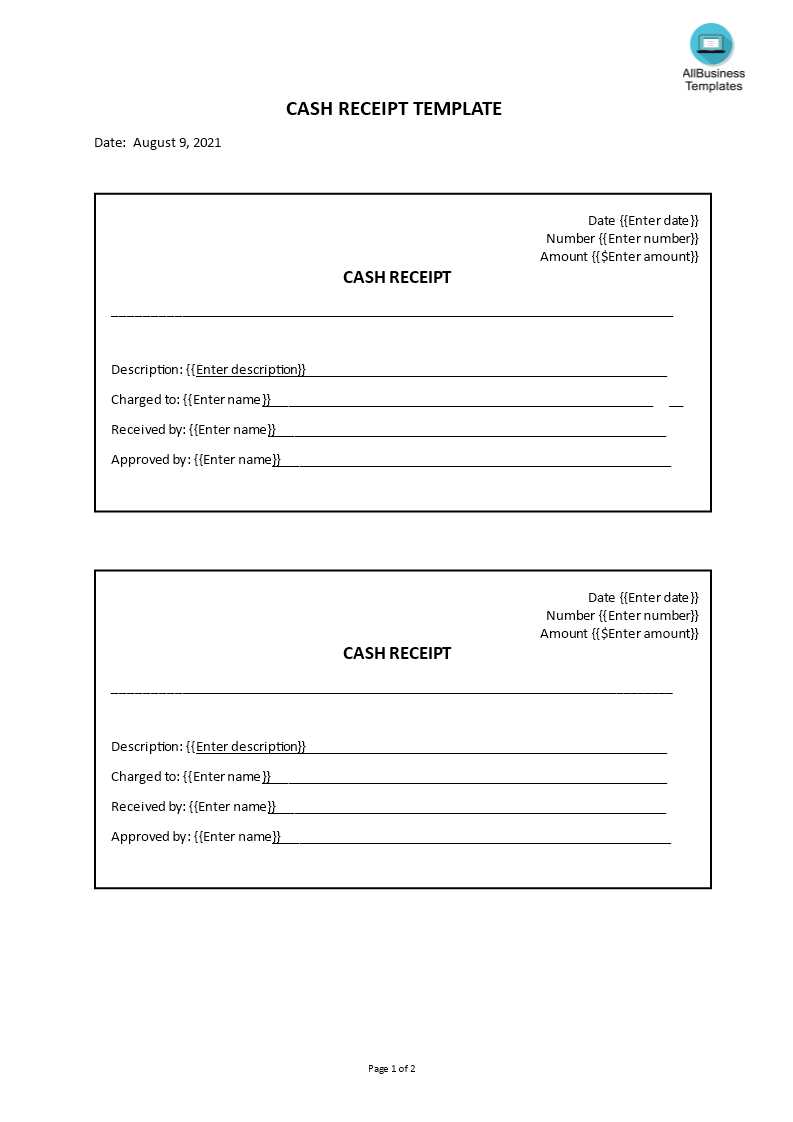
Managing cash receipts can be a time-consuming task, but using an Excel template simplifies the process significantly. With a well-structured template, you can quickly record and track every cash transaction, ensuring accuracy and transparency in your finances. A cash receipt template enables you to maintain organized records, which is especially useful for small businesses, freelancers, or individuals managing personal funds.
The template should include key fields such as the date, payer’s details, payment amount, and purpose of the receipt. This makes it easy to capture all necessary information in a structured format. The simplicity of an Excel spreadsheet also allows for customization, so you can add columns for additional details such as payment methods or specific project names if needed.
For smooth operation, set up automatic calculations to tally totals for receipts over time, allowing for easy financial analysis. This helps you monitor incoming cash flow and makes generating reports straightforward. When you make use of Excel’s built-in functions like SUM and IF statements, your records are updated dynamically with every entry, reducing the chances of human error.
By using a cash receipt template in Excel, you gain control over your financial records without needing complex accounting software. It’s a practical solution that enhances clarity and makes day-to-day cash management more manageable.
Here’s the revised version with minimal word repetition:
To create a streamlined and effective cash receipt template in Excel, focus on organizing key elements for clarity. Start with a clear table layout that separates the transaction details into distinct sections, such as Date, Receipt Number, Payor, Amount, and Payment Method. This ensures easy tracking and reference for each receipt.
Template Structure
The table should be simple but comprehensive, capturing all necessary details in an organized manner. A typical structure might look like this:
| Date | Receipt Number | Payor | Amount | Payment Method |
|---|---|---|---|---|
| 2025-02-05 | 001 | John Doe | $150 | Cash |
| 2025-02-06 | 002 | Jane Smith | $200 | Credit Card |
Key Elements to Include
Ensure the template includes a space for a signature or initials to confirm the transaction. Additionally, add a comment section for notes, especially useful for detailing the nature of the payment or any special conditions tied to it.
Use Excel’s built-in formatting tools to highlight key information, such as bolding the headings or shading the header row, which will help visually distinguish the most important elements. Avoid clutter by keeping the layout clean and focused on what’s needed for proper tracking and future reference.
- Excel Template for Cash Receipt
Set up your cash receipt tracking with an Excel template to ensure accuracy and simplify record-keeping. Start by creating columns for important details like the receipt number, date, payer’s name, amount received, payment method, and any additional notes or references. Each entry should have its own row to easily track individual payments.
Include formulas for totals, such as a sum at the bottom of the amount column, to automatically calculate the total cash received. To further organize your records, use conditional formatting to highlight overdue payments or discrepancies. This will help identify and address any issues promptly.
For better control, design separate sheets within the same file for different months or periods. This will allow you to maintain organized records and access past receipts quickly. Additionally, consider using data validation to ensure the consistency and accuracy of your entries, such as limiting payment methods to specific options or dates to a valid range.
Using this structure, you can easily track all incoming payments, generate reports, and monitor cash flow. This approach helps prevent errors and simplifies audits, offering a clear, detailed record of transactions.
To create a straightforward cash receipt template in Excel, begin by setting up the layout with all necessary fields. First, label the columns and rows to capture transaction details such as receipt number, date, payer information, amount, payment method, and any notes. These fields ensure that every essential detail is accounted for in an organized manner.
Step-by-step Instructions
Start by creating a new Excel workbook. Label each column for key transaction details. For example:
| Receipt Number | Date | Payer Name | Amount Received | Payment Method | Notes |
|---|---|---|---|---|---|
| 001 | 02/05/2025 | John Doe | $500 | Cash | Payment for invoice #123 |
Once the structure is in place, use Excel’s formatting options to make the template more user-friendly. Adjust the width of columns to ensure all data fits neatly. Apply borders to separate different fields for clarity. You can also format the “Amount Received” column to display currency by selecting the cells and choosing the currency format from the toolbar.
Final Adjustments
If you want the template to automatically calculate totals, you can insert a sum formula at the bottom of the “Amount Received” column. This way, after filling in the amounts for multiple receipts, Excel will tally the total for you.
Once the template is set up, save it as a reusable document or even a template file (.xltx) so that you can quickly fill in data for each new transaction.
To ensure your cash receipt template is clear and organized, customize the columns for “Amount” and “Payment Method” effectively. Here’s how to approach these customizations:
- Amount Column: Set the amount column to display currency values correctly. Format the cells to show the currency symbol (e.g., $ or €) and ensure the number of decimal places aligns with your local standards (usually two decimal points). You can use Excel’s “Currency” or “Accounting” format for consistency.
- Payment Method Column: For tracking payment types, customize this column to include a dropdown list of common methods (e.g., Cash, Credit Card, Bank Transfer). This ensures uniformity in data entry. To create the dropdown, use the “Data Validation” feature in Excel. This allows users to select from predefined options, reducing errors.
- Adjusting Width: Tailor the column widths to accommodate both the payment method labels and monetary values. Wider columns for the “Payment Method” section are helpful if you list multiple options. Adjust the “Amount” column to fit typical currency values, avoiding any unnecessary blank space.
- Conditional Formatting: To make data stand out, use conditional formatting to highlight large amounts or specific payment methods. For example, color-code rows where a payment was made by credit card or where the amount exceeds a set threshold.
- Column Alignment: Align the “Amount” column to the right for better readability of numbers, while centering the “Payment Method” text. This improves the clarity of the receipt, especially when reviewing multiple entries.
By customizing these columns, you streamline data entry and create a more professional and easy-to-read cash receipt template.
Using Formulas to Automatically Calculate Totals and Balances
In an Excel cash receipt template, formulas are key to streamlining calculations. By setting up simple formulas, you can save time and avoid manual errors when calculating totals and balances.
- Sum Formula for Total Receipts: Use the SUM function to automatically add up all the amounts received. For example, in cell C10, you can enter:
=SUM(C2:C9), where C2 to C9 are the cells containing individual amounts. This instantly gives you the total receipt amount. - Running Balance Formula: To track your balance, you can use a formula that subtracts payments or adds receipts as they come in. In cell D2, input the starting balance (e.g.,
1000). Then in D3, use:=D2+C3to add each new receipt amount in column C. For deductions, you can replace the “+” sign with a “-“. Drag this formula down for subsequent rows. - Conditional Totals with SUMIF: If you need to calculate totals based on specific criteria (like category or date), use the SUMIF function. For example, to sum all receipts for a specific category listed in column B, you can use:
=SUMIF(B2:B9, "CategoryName", C2:C9). Replace “CategoryName” with the actual category name. - Balance After Specific Date: To calculate the balance from a specific date onward, use the SUMIFS function. In this case,
=SUMIFS(C2:C9, A2:A9, ">=1/1/2025")will sum all receipts on or after January 1st, 2025, based on date values in column A.
By incorporating these formulas, you ensure accurate totals and balances without manual intervention. Excel does the heavy lifting for you, leaving you with more time to focus on other tasks.
Adding Date and Time Stamps for Accurate Record Keeping

Integrating date and time stamps into your Excel template improves accuracy and provides a reliable reference point for each cash receipt. This allows for proper tracking of transactions, making it easier to spot trends or discrepancies in your records.
Use Excel Functions for Automatic Timestamps
Instead of manually entering dates and times, utilize Excel functions such as =NOW() or =TODAY(). The =NOW() function adds both the current date and time, while =TODAY() only adds the current date. These functions update automatically when the spreadsheet is modified, ensuring your timestamps are current.
Prevent Unwanted Updates with Static Timestamps

If you need to keep a record of a transaction without the timestamp changing when the file is edited, use Ctrl + ; for the date and Ctrl + Shift + ; for the time. This action inserts a static date or time that remains unchanged, preserving the original entry.
- For consistent formatting, ensure the timestamp cells are in the correct date/time format. Use
Format Cells>DateorTimeto select the desired style. - If multiple receipts are entered on the same day, adding a timestamp for each helps distinguish between transactions without confusion.
By implementing timestamps, you’ll create a well-organized record-keeping system that supports transparency and accuracy in tracking cash receipts.
To protect your cash receipt template, begin by setting a strong password for the document. Use a mix of uppercase and lowercase letters, numbers, and symbols. Avoid simple combinations or easily guessable terms.
Next, restrict editing permissions. In Excel, enable password protection to prevent unauthorized users from making changes. This will ensure that only designated individuals can modify the document.
For added protection, consider encrypting the file. Excel provides an option to encrypt files with a password, making it harder for unauthorized users to access the content, even if they manage to acquire the file.
Regularly back up your template. Store it in a secure cloud service with automatic backup features, or keep it in an encrypted external drive. This will protect your data from loss or corruption.
If your template contains sensitive information, limit access. Share it only with those who need it and keep track of who has access at all times. Use version control to monitor changes and roll back to a previous version if necessary.
Finally, keep your software up to date. Ensure that Excel and any security tools are running the latest versions to protect against vulnerabilities and breaches.
To export and print receipts from an Excel template, first ensure your receipt design is correctly formatted in the spreadsheet. Adjust column widths, row heights, and font styles to match your desired layout. After finalizing the receipt, save the Excel file as a PDF for easy export. Go to “File,” select “Save As,” and choose PDF from the dropdown menu.
For printing, ensure your print settings are configured to fit the receipt layout. In Excel, select the “Print” option and check the print preview to confirm that the content fits within the desired page margins. If necessary, adjust the page orientation or scale the sheet to fit the page.
For multiple receipts, you can either print all at once or select specific receipt ranges. In “Print,” choose either the entire workbook or a specific range of cells to print. This ensures you only print the receipts needed without extra pages.
Building an Excel Template for Cash Receipt
To create a straightforward cash receipt template, begin by laying out key fields: Date, Cash Amount, Payer’s Name, Payment Method, and Reason for Payment. Use separate columns for each, ensuring clarity and simplicity.
Structure Your Columns
The first column should be dedicated to the date of receipt. Make sure the format is consistent, using a date picker or specific date format. The second column will capture the cash amount; set the cell format to currency to avoid any confusion. The payer’s name goes in the third column, followed by the payment method (cash, check, or card) in the next. The final column should record the purpose of payment, like services, products, or donations.
Include Calculations and Totals

For accuracy, use Excel formulas to calculate total cash received. At the bottom of the cash amount column, insert a sum formula to tally up all the payments. This will help you monitor your incoming cash more effectively. You can also use conditional formatting to highlight any discrepancies in the amounts.
By keeping this structure simple and functional, you’ll have an easy-to-use cash receipt template that tracks all important details clearly.


