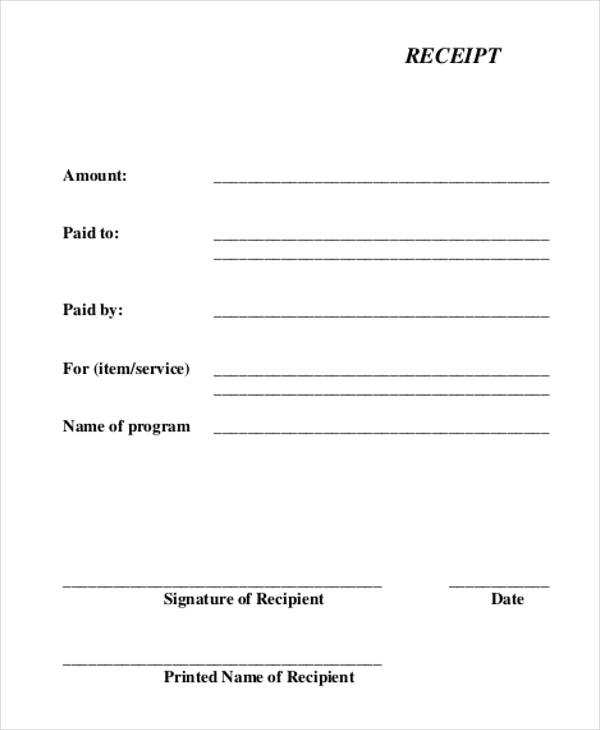
To create a reliable receipt for renovation services, start with clear identification of the service provider and the client. Include the company name, address, and contact details. For the client, add the name, address, and contact information. This ensures transparency and proper record-keeping.
Break down the services offered. Specify each task or work performed with a detailed description, such as painting, flooring, or electrical work. Quantify the service by adding the amount of materials used, the time spent, or any specific work completed, alongside the corresponding price for each section.
Include payment details. State the total cost, payment method, and any deposit or upfront payments made. Clearly indicate whether taxes are included in the final price or if they are listed separately. This will help avoid confusion for both the contractor and the client.
Finally, provide a space for both parties to sign and date the receipt. This confirms that both the renovation work and payment terms have been agreed upon. Having this documentation helps in case of disputes and ensures accountability for both parties involved.
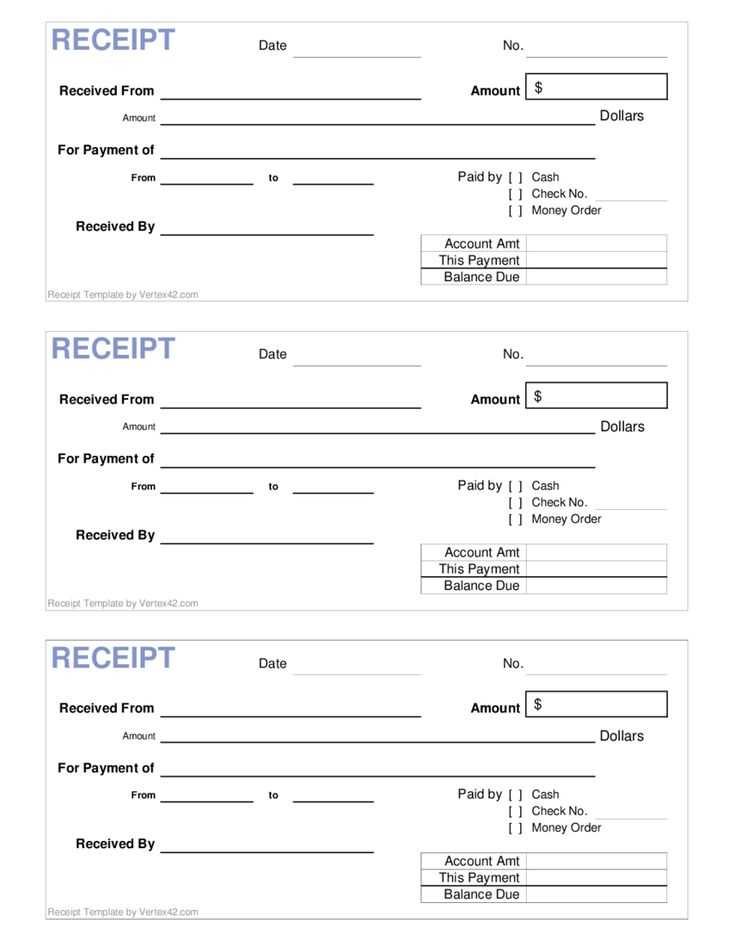
Receipt Template for Renovation Work
Design a simple and clear receipt template for renovation work. Include key details like the client’s name, the project address, and the renovation services provided. Make sure to list each service or task with an itemized cost. This helps in transparency and clarifies the total amount due.
Required Information
Include the following data in your receipt template:
- Client name and contact details
- Project address
- Date of service completion
- List of tasks completed with their individual costs
- Labor charges, if applicable
- Materials and their costs
- Discounts or adjustments, if any
- Total amount due and payment terms
Payment Terms and Conditions
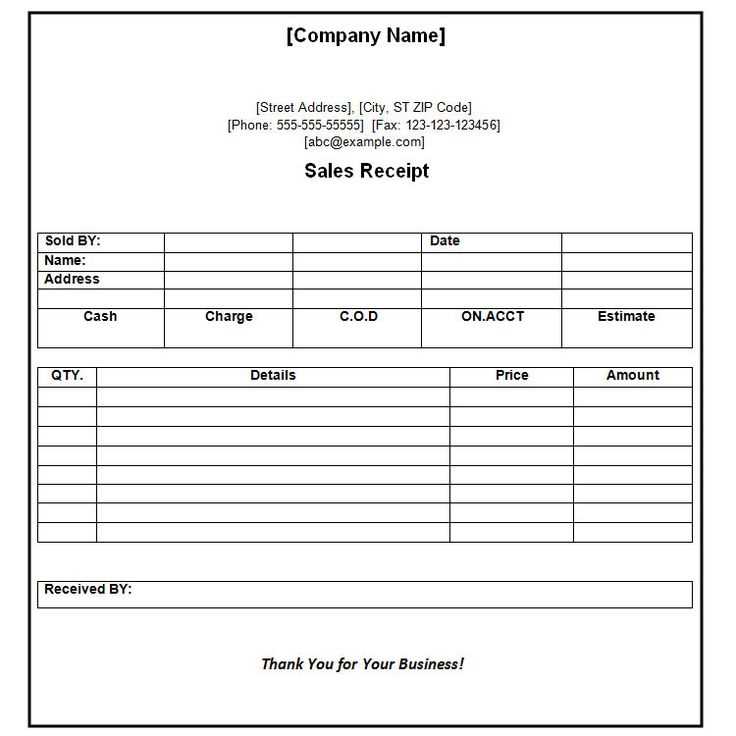
Clearly specify payment deadlines and acceptable payment methods. If there are any late fees or interest charges for overdue payments, mention these conditions too. Keep the receipt straightforward, ensuring the client knows exactly what they are paying for and when the payment is due.
How to Structure a Renovation Receipt
List the renovation project’s basic details first: the work performed, date, and the client’s contact information. This provides clarity and ensures proper tracking.
Include a breakdown of labor, materials, and additional services. Organize each category with clear itemization, showing the unit costs and quantities. This gives transparency on how the total amount is calculated.
| Description | Unit Cost | Quantity | Total |
|---|---|---|---|
| Labor (hours) | $50 | 8 | $400 |
| Paint | $30 | 3 cans | $90 |
| Tool Rental | $20 | 1 day | $20 |
Include taxes and fees as separate line items for clear documentation. Total everything at the bottom for an easy-to-read summary.
Ensure your contact details and payment terms are clearly stated. This helps prevent any confusion and establishes expectations for both parties.
Key Information to Include on the Template
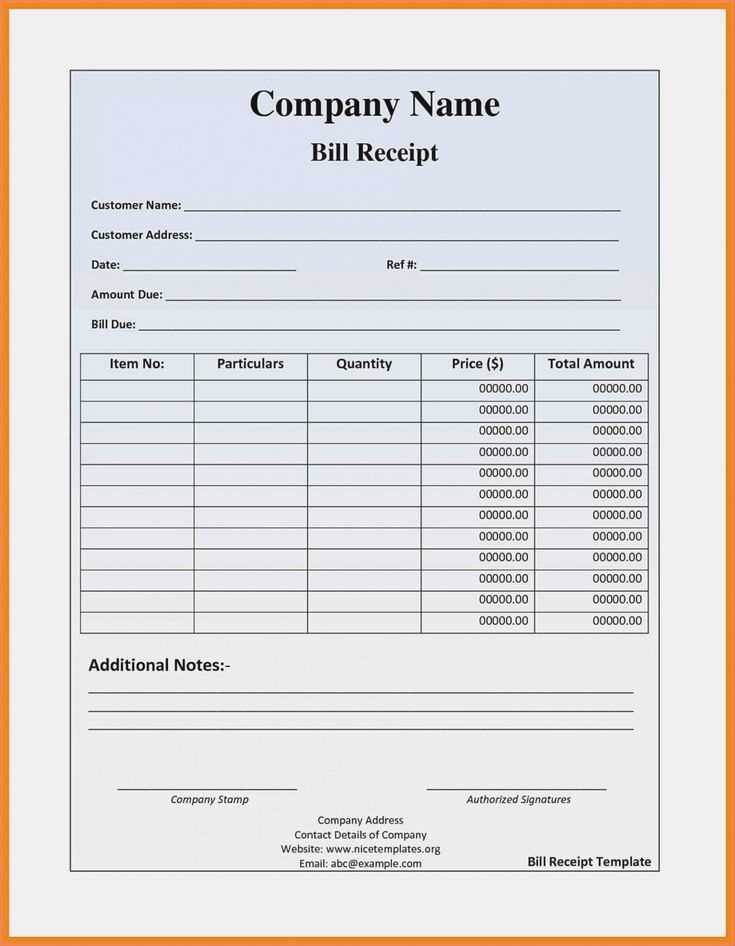
Include the full names and contact details of both the contractor and the client. Clearly state the project address and date of completion. List all services rendered and associated costs, breaking them down by task to avoid confusion. Specify payment terms, including deadlines and accepted payment methods. If applicable, include warranty information for any materials or labor provided. Note any permits required for the work and whether they have been obtained. Attach references to the contract, outlining the scope and agreements made. Lastly, ensure there is space for both parties to sign, confirming mutual acceptance of the terms.
Customizing Your Receipt for Specific Services
Tailor your receipt to clearly reflect the services provided. Break down each task into separate line items, specifying materials and labor costs. For instance, if you’ve repaired a roof, list the roofing materials and hours spent on the job separately. This provides transparency and helps the client understand the breakdown of costs.
Itemize services with clear descriptions. For example, instead of just “renovation,” specify “kitchen cabinet installation” or “flooring replacement.” This ensures the client knows exactly what was done and can easily reference each service.
Use customized headers for each type of service, such as “Electrical Work” or “Plumbing,” to make the receipt easier to read. Grouping services by type helps clients understand which specific tasks were completed and associated costs.
Include additional charges like transportation or disposal fees. Clients appreciate a clear breakdown, especially if these charges weren’t expected upfront. This transparency avoids misunderstandings and ensures that all costs are accounted for.
If applicable, add warranty or guarantee information to your receipt. This assures the client that the work is backed by a guarantee and provides them with information on how long it lasts and what it covers.
Ensure your receipt reflects payment methods clearly. Whether it’s cash, check, or credit card, mention the payment method to avoid confusion and provide a record for both you and the client.
Using Templates for Different Types of Renovation Projects
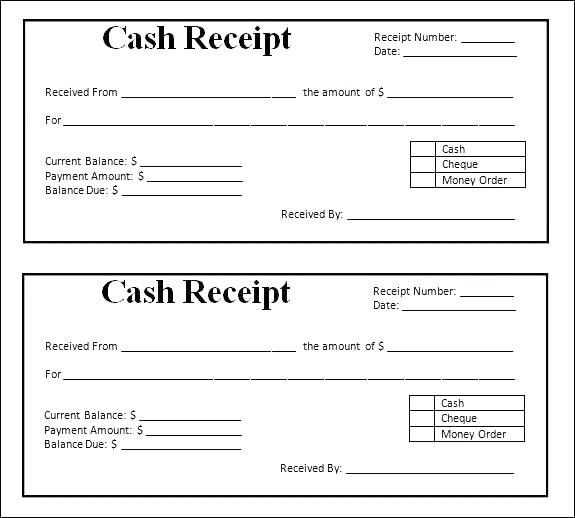
Templates help streamline documentation for various renovation projects, making it easier to track progress, estimate costs, and maintain consistency across tasks. Choose the template that best fits the type of renovation you’re handling.
For a simple room makeover, use a template focused on basic cost tracking, material lists, and labor hours. This template should include:
- Estimated cost of materials
- Labor charges
- Timeframe for completion
If the renovation is more extensive, such as a kitchen or bathroom overhaul, opt for a template that includes additional sections for permits, inspections, and specialized labor. The following details are essential:
- Permit requirements and application status
- Specialized contractors (plumbers, electricians)
- Detailed work stages and expected dates
For large-scale renovations, like whole-house renovations, a more robust template is needed. This template should include sections for project phases, subcontractor agreements, and long-term maintenance considerations:
- Overall project timeline with milestones
- Subcontractor payments and contracts
- Post-renovation maintenance guidelines
Choosing the right template ensures each aspect of the project is documented, tracked, and completed on time. Adapt templates as needed to cover unique aspects of your renovation project.
How to Handle Taxes and Discounts in Renovation Receipts
Apply the applicable tax rates directly to the subtotal of renovation services and materials. Ensure that the correct tax percentage is used, as it can vary depending on location and the type of service. For instance, some areas may have different tax rates for labor versus materials. Clearly state the tax amount on the receipt to avoid confusion.
When offering a discount, subtract the discount value from the total before applying taxes. This ensures that the tax is calculated on the amount after the discount has been applied. If you offer different types of discounts, such as seasonal promotions or bulk purchase discounts, be transparent in showing how the discount was calculated on the receipt.
It’s a good practice to list both the pre-tax and post-tax amounts separately, so the client can easily see the breakdown of costs. Also, if any specific tax exemptions or reductions apply, make sure they are noted clearly. This helps the client understand exactly what they are being charged for and ensures proper documentation for both parties.
Legal Considerations and Professional Standards in Receipts
Ensure that receipts for renovation work include clear and accurate details, as this is crucial for legal compliance. Include the full legal name and address of the business or contractor, as well as their registration number or tax ID. This helps establish the legitimacy of the transaction and provides transparency in case of disputes or audits.
List all services provided with a clear breakdown of costs. Descriptions should be specific enough to avoid ambiguity, detailing materials, labor, and any additional charges. This transparency ensures that the receipt is not only a payment record but also a detailed account of work completed.
Always provide the date of payment and specify the method (e.g., cash, bank transfer, check). This prevents potential confusion in case of follow-up claims or warranty issues. Including the contract or work order number, if applicable, strengthens the validity of the receipt.
Invoices and receipts should comply with local tax regulations, including whether VAT or other taxes apply. A failure to include the correct tax details may lead to fines or penalties. Ensure the receipt contains any legally required disclaimers regarding warranty or return policies to comply with consumer protection laws.
Following professional standards not only ensures legal compliance but also establishes trust with clients. A well-structured, transparent receipt can prevent misunderstandings and protect both parties in the event of a legal dispute.


