To create a reliable and clear receipt document template, start by including the essential elements such as the transaction date, itemized list of products or services, and total amount. A well-structured receipt not only ensures transparency but also enhances trust between the buyer and seller. It’s important to keep the format simple, so the details are easy to read and understand at a glance.
Ensure that your template includes clear labels for each section: buyer and seller information, payment method, and any relevant tax details. This makes the document straightforward for both parties. For digital receipts, include space for unique identifiers, such as a receipt number, to keep track of each transaction for future reference.
If you are customizing the template, consider adding a disclaimer or return policy section if applicable. This can prevent misunderstandings by clearly outlining the terms of service. Maintain a consistent layout to avoid confusion and ensure that the key details stand out.
Finally, use a font that’s easy to read and avoid clutter. The goal is to present all relevant information in a neat and orderly fashion, making the document both functional and professional.
Here’s the corrected version with minimal repetition:
Focus on reducing redundancy by keeping the language direct and to the point. Review your text for any repeated ideas or phrases that do not add value. Often, the same idea is expressed in multiple ways, which can confuse the reader or dilute the message.
How to Identify and Eliminate Redundancy
Scan the document for synonyms or phrases that convey the same meaning. Remove any duplicate expressions that do not serve a clear purpose. This will help streamline your content and make it easier for the reader to follow your key points.
Refining Your Language
Refine your sentences to ensure they are concise. Instead of repeating concepts, focus on presenting each idea clearly and in a straightforward manner. This enhances the overall clarity of the document and helps maintain the reader’s attention.
- Receipt of Document Template
The Receipt of Document template should clearly outline the terms of the transaction and the details of the document received. This template ensures both parties have a record of the receipt, which is crucial for verifying document exchanges in legal and business contexts.
Key Elements of a Receipt of Document
A well-designed template must include the following key details:
- Document Description: Specify the type of document received (e.g., contract, invoice, agreement).
- Date of Receipt: Record the exact date the document was received.
- Recipient Information: Include the name and contact details of the person or entity receiving the document.
- Sender Information: Provide the details of the sender or issuing party.
- Signatures: Space for the recipient’s and, if necessary, the sender’s signature.
- Document Condition: Optionally note the condition of the document when received (e.g., undamaged, complete).
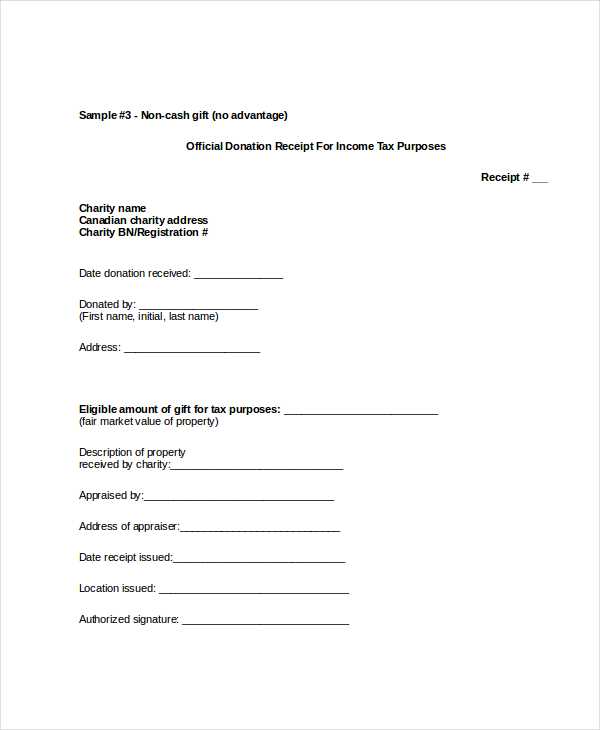
Receipt Template Example
Below is a sample Receipt of Document template. It can be adjusted depending on the specific needs of the parties involved:
| Section | Details |
|---|---|
| Document Title | _____________________________ |
| Document Type | _____________________________ |
| Date of Receipt | _____________________________ |
| Recipient’s Name | _____________________________ |
| Recipient’s Contact Info | _____________________________ |
| Sender’s Name | _____________________________ |
| Sender’s Contact Info | _____________________________ |
| Condition of Document | _____________________________ |
| Recipient’s Signature | _____________________________ |
| Sender’s Signature (Optional) | _____________________________ |
This template serves as an effective way to acknowledge the receipt of documents, offering transparency and a clear record for both parties. Customize it further to meet specific legal or business requirements as needed.
To create a simple and clear receipt, follow these steps:
- Header: Include your business name, logo, and contact details (phone number, email, website). Position this at the top of the receipt for easy identification.
- Date and Time: Always add the date and time of the transaction. This helps with future reference and record-keeping.
- Receipt Number: Assign a unique receipt number for each transaction. This allows both you and your customer to track the purchase if necessary.
- Buyer Details: Include the name or ID of the buyer if applicable, especially for business-to-business transactions.
- Itemized List of Products or Services: Break down each product or service purchased with a brief description, quantity, unit price, and total price. This keeps the receipt clear and transparent.
- Total Amount: Clearly show the total amount the customer paid, including taxes or any discounts applied. Make sure this figure is easy to spot.
- Payment Method: Indicate how the payment was made–cash, credit card, online transfer, etc. This helps in verifying the transaction later.
- Footer: Include any relevant terms, return policies, or customer service contact information. This adds value and clarity to the receipt.
Make sure the format is consistent across all receipts. Simple formatting tools, like bold for headings and bullet points for itemized lists, improve readability and ensure accuracy.
Adjust the layout of your receipt by focusing on the key elements: business name, contact information, transaction details, and payment summary. Make sure these sections are clearly defined with adequate spacing. Keep the font readable–use a simple, professional font like Arial or Times New Roman. Use bold or larger font size for important information, such as the business name or the total amount due, to draw attention.
Customizing the receipt header allows you to showcase your brand. Include your logo or a tagline that reflects your business identity. Ensure that these elements don’t overcrowd the document. Keep it clean and organized to maintain readability.
Adjust margins to prevent text from being too close to the edges of the page. A 1-inch margin on all sides is generally preferred for standard receipts. You may also consider adding a footer that contains terms and conditions, return policies, or other essential business details.
If you’re dealing with a lot of items, group them into categories for easier navigation. Use bullet points or tables for product names, quantities, and prices. If applicable, break down any discounts, taxes, or shipping fees so that the customer can see the full calculation.
Don’t forget to add a clear payment method section. Whether it’s cash, credit, or online payment, specify how the transaction was completed. Including the date and time of the transaction adds an extra layer of professionalism and helps with record-keeping.
Incorporate your company’s visual identity into the document template by adding key brand elements such as your logo, color palette, and font style. These elements should be seamlessly integrated into headers, footers, and any section breaks, ensuring they align with the overall layout of the document. Position the logo consistently across pages, ideally in the header or footer, so it becomes a natural part of the document’s flow.
Choose a color scheme that mirrors your company’s branding without overwhelming the document. Use brand colors for headings, bullet points, and important text, while keeping the background neutral for readability. This not only reinforces your brand but also ensures that the document remains professional and easy to read.
Maintain consistency with the fonts used in the document. If your company has specific typography guidelines, stick to those. For a clean look, limit the use of different fonts to no more than two: one for headings and another for body text. This keeps the document visually appealing and on-brand.
Incorporating branded elements should not interfere with the document’s readability or function. Ensure that any design choices enhance the user experience while maintaining the integrity of your brand. Simple and effective branding integration can make your documents stand out while remaining professional.
Ensure your receipts include all necessary legal information. Start with clear identification of the business, including its name, address, and tax identification number (TIN). This is critical for transparency and tax purposes. Customers should be able to easily verify the source of the transaction, which is vital for legal record-keeping.
State the date and time of the transaction. This provides an accurate record for both parties and can be important in case of disputes. Always include a unique receipt number for tracking purposes. It helps both the business and the customer refer back to a specific transaction quickly.
Indicate the total amount paid and break down the payment details, such as taxes, discounts, and any applicable fees. This breakdown not only ensures transparency but also complies with tax reporting regulations. Highlight any refund or return policy in clear terms to avoid confusion in case the customer needs to return goods or services.
If the transaction involves a credit card or payment processing system, make sure to follow security regulations such as masking credit card numbers to protect customer data. Adhere to data protection laws to safeguard customer information from unauthorized access.
Lastly, check local laws to see if any specific disclosures are required for your industry, such as product warranties or service terms. Legal compliance is a continuous responsibility, and updating your receipts in line with regulations ensures ongoing legal protection.
Save receipt templates in widely accepted file formats such as PDF or PNG to ensure compatibility across different devices and platforms. PDFs maintain formatting and are easy to share via email or messaging apps.
- Use cloud storage platforms like Google Drive or Dropbox to store templates. This provides easy access from multiple devices and ensures automatic backups.
- Organize your templates into clearly labeled folders within your cloud storage. This helps you locate the right template quickly, saving time when needed.
- If you plan to share templates with others, consider using a sharing link instead of sending attachments. It keeps the file up to date and avoids cluttering inboxes.
- For easy access, save templates on your mobile device with apps like Evernote or Google Keep. These apps allow you to store and access receipts directly from your phone.
Use consistent naming conventions for your files. Include specific details like the template type or version in the filename for better identification, especially if you have multiple templates.
- Compress large files into zip folders to make sharing easier, especially if you are sending multiple templates at once.
- Ensure that your templates are password-protected if they contain sensitive information, adding an extra layer of security when sharing.
Regularly assess your templates to ensure they align with any changes in legal regulations, company standards, or industry practices. Make adjustments whenever there is a shift in these areas, such as updates to tax codes or compliance guidelines. Setting a routine check–quarterly or semi-annually–helps you stay ahead of necessary updates.
1. Keep Track of Changes
Maintain a changelog for each template. This log should list the date of modification, the reason for the change, and the specifics of what was updated. This method provides a clear record and helps anyone involved in the document process understand what has changed and why.
2. Collect Feedback from Users
Get input from team members or other stakeholders who use the templates regularly. They can provide insights on areas that need improvement or functionality that may be missing. This feedback is valuable for making adjustments that improve the overall usability and efficiency of your templates.
Test templates periodically to ensure they function as intended in various scenarios. If you implement automation or new software, verify that your templates integrate seamlessly with these systems. Keep in mind that technology evolves, and templates may need updating to accommodate new tools or platforms.
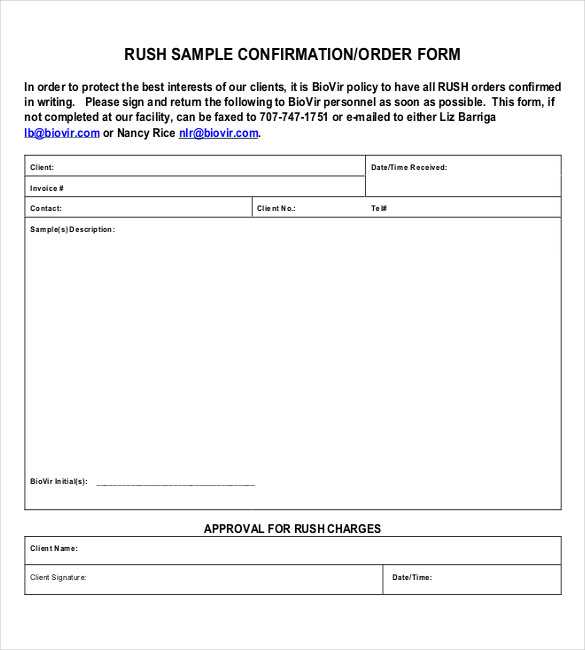
Structured Document Receipt
To streamline the document receipt process, create a clear and consistent layout that avoids redundancy. Focus on presenting the key components without overloading the reader with unnecessary details. For example, include only the critical information in a concise format, highlighting the sender, date, and purpose of the document. This will ensure clarity and improve overall comprehension.
Key Components
Start with the essential details such as sender’s name, document date, and a brief description of its contents. Be sure to list any actions or follow-ups required, if applicable. Using bullet points or numbered lists can make this information more digestible and allow easy identification of the next steps.
Clear Layout
Ensure the document is organized in a way that the reader can easily track key sections. Use headings and subheadings to divide content into logical chunks, providing a visual guide to the structure. Consider a straightforward table of contents if the document is lengthy, making it easier to locate specific areas of interest.