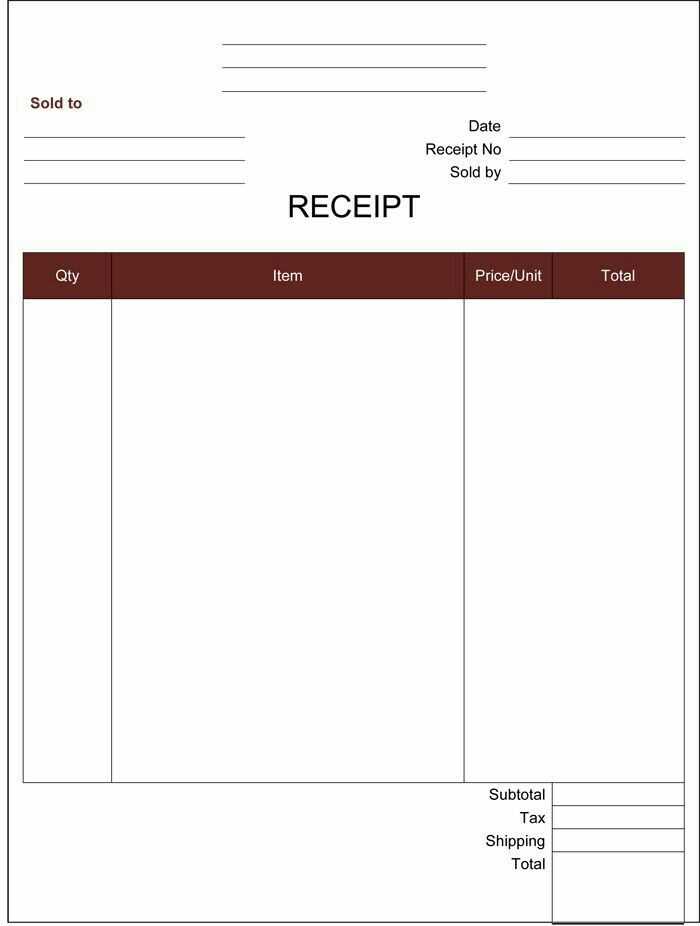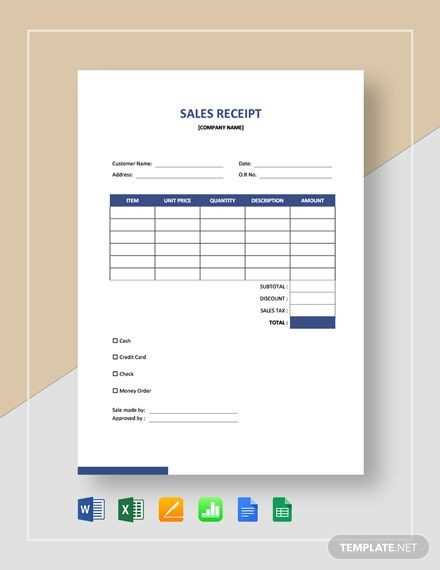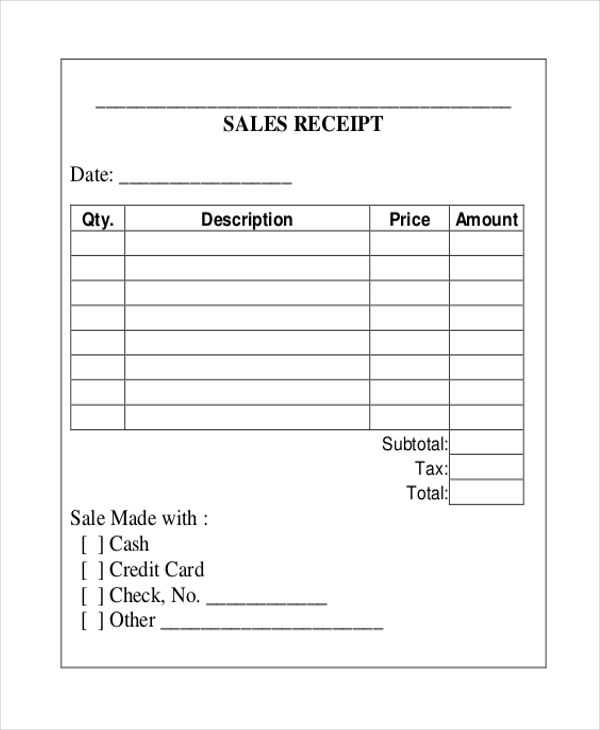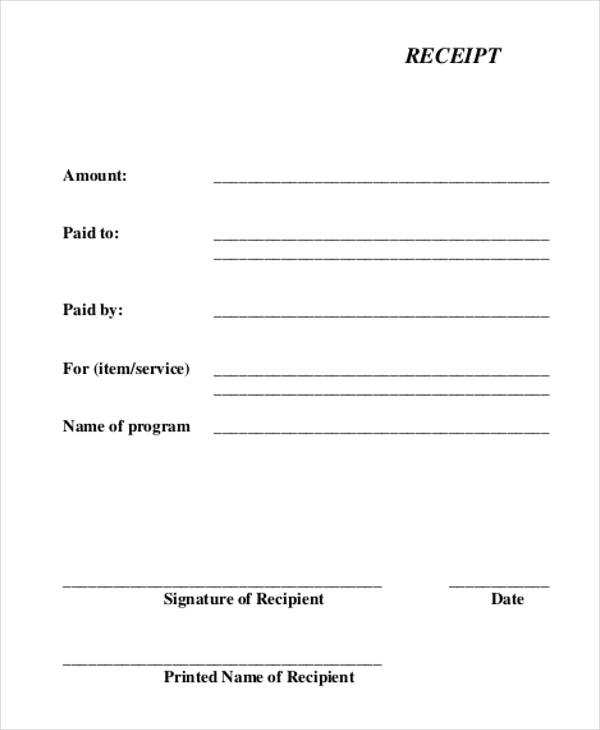
Design a receipt page that clearly communicates transaction details without overwhelming the user. Start with a simple layout that includes essential information: company name, transaction date, itemized list of purchases, and the total amount. Make sure to include a space for any relevant taxes or discounts, which provides a transparent breakdown.
Keep it clean. Avoid clutter by using clear headings and a consistent font style. Highlight key details such as total price and payment method for quick reference. Include a thank you note or a call to action, encouraging the customer to return. A personal touch can turn a generic receipt into a brand-building tool.
Use spacing and alignment wisely to create a balanced design. Group related information together–like payment details and company contact information–so that users can quickly find what they’re looking for. Test your design across different devices to ensure it’s legible and functional on all screens.
Detailed Guide on Receipt Pages Template
To create a functional receipt page template, focus on clear structure and user-friendly design. The layout should allow for easy identification of key elements such as the company name, transaction details, and payment methods. Organize the information logically to ensure smooth scanning by users and automated systems.
Basic Structure
A receipt template should always include the following key components:
- Business Information: Company name, address, contact details, and logo. This allows the recipient to know exactly who issued the receipt.
- Receipt Details: Date, receipt number, and payment method.
- Itemized List: Clear breakdown of products or services purchased, including quantity, price per unit, and total amount.
- Total Amount: Final sum, including taxes, fees, and any discounts.
- Additional Information: Space for notes or a thank you message, if necessary.
Design Tips

Keep the design simple and intuitive. Use a grid layout to separate different sections clearly. Make sure to prioritize legibility by choosing readable fonts and appropriate sizes. Avoid cluttering the page with excessive design elements. The aim is clarity and functionality. For example, using bold text for totals helps them stand out, making it easy for customers to verify the amount.
Consider adding a QR code or a link to an online portal for easy access to transaction details. This can add convenience for customers who need to retrieve receipts later or verify their purchases.
Choosing the Right Layout for Receipts
Select a layout that offers clarity and simplicity. Group key details like store name, items purchased, prices, and totals in a clear, easy-to-read order. The most common approach is to list items in rows with quantities, descriptions, and individual prices, followed by the subtotal and any taxes. Position totals in a larger font size to stand out, ensuring the customer can quickly spot the amount due.
Aligning Key Information
Consistency Across Formats
Customizing Text Fields and Fonts
Adjust the appearance of text fields and fonts to match your brand or design style by focusing on key elements like size, color, and alignment. Begin with selecting appropriate font families that align with the tone of your brand, ensuring readability across various screen sizes.
Font Selection
Choose fonts that enhance user experience and legibility. Use web-safe fonts such as Arial, Helvetica, or sans-serif for modern and clean designs. If using custom fonts, ensure they are properly embedded or hosted to avoid load issues.
Adjusting Text Fields

Text field appearance can be modified by adjusting padding, border styles, and background colors. Padding ensures text is not cramped, while borders can be subtle or bold depending on the style you’re going for. Background color should contrast well with the text color for readability.
Integrating Payment Methods into Templates
Include payment gateway options directly within your receipt template for seamless transactions. Use clean, minimal code to insert payment button elements that align with the design and functionality of the template. Always ensure these buttons are easily recognizable and intuitive to use for your customers.
Payment Gateway Integration
Link payment systems like PayPal, Stripe, or credit card gateways by embedding their provided HTML code or API calls within the receipt page. Customize the style of payment buttons to match the overall aesthetic without losing functionality. Test each gateway integration to ensure smooth user interaction and proper tracking of payments.
Security and User Data Protection
When embedding payment methods, prioritize secure data transmission. Ensure SSL encryption is in place to protect user information during transactions. Regularly check for updates to security protocols and gateway configurations to avoid vulnerabilities in the payment process.
Adding Company Branding and Logos
To make your receipt template stand out, incorporate your company’s logo and branding elements seamlessly. This helps create a unified brand experience for your customers. Use the following tips to integrate these elements effectively:
Positioning Your Logo
- Place the logo at the top of the receipt or near the company name for maximum visibility.
- Ensure the logo size is proportional, neither too large to dominate nor too small to be overlooked.
- Keep the background clean around the logo so it’s easily recognizable.
Brand Colors and Fonts

- Choose colors that align with your company’s brand palette. These should complement the receipt’s overall design, not clash with the text.
- Use the same font as your website or marketing materials for consistency. Avoid overly decorative fonts that may affect readability.
- Make sure the text color contrasts well with the background for clear legibility.
By carefully positioning your logo and maintaining consistent brand elements, your receipt will reflect your company’s identity, reinforcing a professional image every time your customers make a purchase.
Ensuring Compliance with Tax Regulations
Make sure your receipt template includes all necessary information required by tax authorities. This includes displaying the correct tax rate, showing any applicable tax amounts, and providing a clear breakdown of the total cost. Keep these elements consistent across all receipts for transparency and accuracy.
Check the regulations specific to your jurisdiction, as tax requirements can vary. For instance, some regions may require the inclusion of tax identification numbers, while others may have specific formats for how the tax amount should be displayed. Keep your template adaptable to changes in local laws.
Stay current with tax rate adjustments. Implement a feature that allows easy updates to the tax rate in the receipt template without disrupting the entire system. This flexibility ensures ongoing compliance without manual revisions every time tax rates change.
Also, make sure to include information on any exemptions or special tax rules that may apply to certain products or services. Clearly highlight this information to avoid confusion for both the customer and tax authorities.
Finally, provide detailed, easy-to-read reports that can be generated from the receipt system. These reports should be accurate, show all relevant tax data, and be easily accessible for audits or reviews.
| Information Required | Purpose |
|---|---|
| Tax Rate | Ensures correct tax calculation and transparency |
| Tax Amount | Displays the correct amount of tax charged |
| Tax Identification Number | Identifies the business for tax reporting purposes |
| Exemption Details | Clarifies any special rules for specific products/services |
| Clear Breakdown | Aids in understanding the cost structure and tax components |
Optimizing Receipt Templates for Digital Use
Ensure your receipt templates are designed with clarity and ease of access in mind. Focus on the key details that customers need to review quickly, such as date, itemized list, totals, and payment method. Remove unnecessary elements that clutter the layout, keeping the information concise and organized.
Use a clean font style and appropriate sizes for readability across different devices. Choose scalable formats like SVG for logos and icons, ensuring they remain sharp on all screen resolutions.
- Responsive Design: Make sure the template adapts well to both mobile and desktop views. Test on different screen sizes to ensure legibility and proper alignment.
- File Size Optimization: Compress images and graphics to reduce loading times without compromising quality.
- Use of White Space: Balance text and empty space to make the receipt easy to scan and visually appealing. Too much information crammed together can be overwhelming.
- Accessible Formatting: Ensure color contrasts are strong for readability and that the font is large enough for easy viewing, especially for smaller screens.
- Editable Fields: If needed, include dynamic sections that allow for customization such as discount fields, taxes, or loyalty program data.
Test the template’s compatibility with various digital platforms (email clients, mobile apps, and online receipts) to ensure it renders well everywhere. Regularly update the template to accommodate new technologies and customer preferences. By focusing on these key points, you can create a streamlined, functional digital receipt template that enhances the user experience.


