InvoiceSimple.com offers a practical solution for creating receipts quickly and easily. By utilizing their receipt template, you can streamline your process and ensure accuracy in your transactions. The platform provides a user-friendly interface that allows you to customize receipts with specific details like dates, amounts, and payment methods.
To get started, simply select the template that suits your needs, fill in the necessary fields, and you’re ready to generate a professional-looking receipt. You can also save the document in various formats, including PDF, making it easy to share or print. This eliminates the hassle of manually creating receipts, saving both time and effort.
One key feature of InvoiceSimple.com is the ability to personalize your receipts with your business logo and contact information. This ensures consistency and promotes your brand. Whether you’re a small business owner or a freelancer, using this template can simplify financial record-keeping and enhance your professionalism in client interactions.
How to Create a Receipt Using Invoicesimple.com
To create a receipt on Invoicesimple.com, visit the website and choose the “Create Receipt” option. Fill in the required fields such as your name, the recipient’s name, and the amount paid. You can select the currency and the payment method from the dropdown menus.
Customize the Receipt
After entering the basic details, you can customize the receipt by adding your company logo or adjusting the layout. Invoicesimple offers options to include additional information, such as the date of the transaction and a short description of the items or services paid for. This customization helps keep the receipt professional and specific to your needs.
Download and Send
Once you are satisfied with the information, click the “Generate” button. The receipt will be ready for download. You can then save it as a PDF or send it directly via email to the recipient, ensuring they have a clear record of the transaction.
Customizing Your Receipt Template for Specific Needs

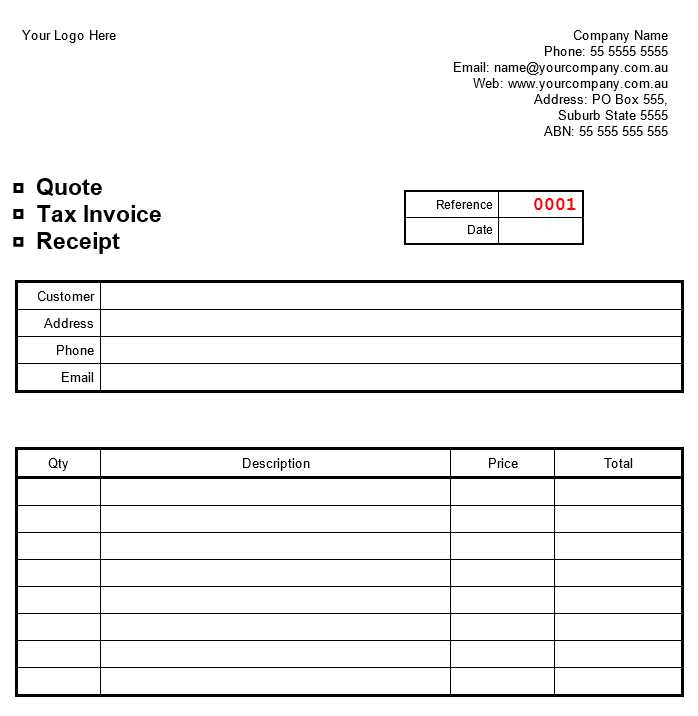
Adjust the layout of your receipt template by focusing on the details that matter most to your business. Customize fields like company name, address, and contact information to reflect your brand. Add a logo to enhance your business’s identity and ensure your customers recognize your company immediately. Choose a color scheme that aligns with your brand’s colors to create a professional look.
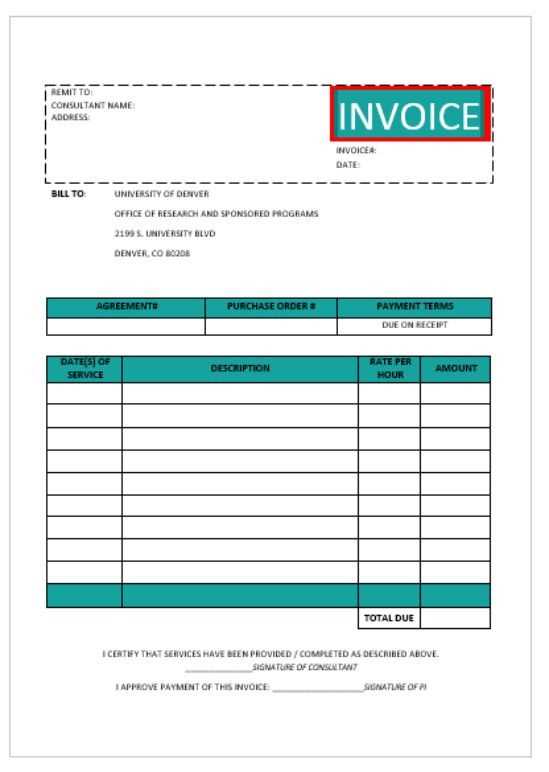
If you’re in retail, consider adding a section for itemized purchases with quantities, descriptions, and prices. For service providers, a field for service type and duration can help clients understand the transaction more clearly. Including tax breakdowns and discounts, where applicable, adds clarity and transparency to the receipt.
Incorporate a unique receipt number to easily track transactions. Customizing footer space allows you to include a thank you note, return policies, or referral incentives, providing your customers with useful information and reinforcing your brand’s message. For digital receipts, make sure the template is mobile-friendly to enhance accessibility.
Tailor the receipt’s font size and spacing for legibility. Make sure the most important information stands out and is easy to read. Testing the template on various devices ensures a seamless experience for your customers, regardless of how they receive their receipts.
Integrating Payment Methods into the Receipt Template

Incorporating payment methods into the receipt template streamlines the transaction process, offering clarity to both businesses and customers. Ensure the payment section is visible and organized, displaying key information such as payment type, transaction reference, and amount paid. This information helps verify that the transaction has been processed correctly.
Displaying Payment Information Clearly
Include a dedicated area for payment method details. For each transaction, list the payment method (credit card, PayPal, etc.), along with the last four digits of the card or transaction ID. If applicable, show the payment provider’s name. This transparency helps avoid confusion and allows customers to confirm payment details with ease.
Handling Multiple Payment Methods
If multiple payment methods are used in a single transaction, break them down clearly. Show each method used with its corresponding amount. For example, if part of the payment was made via credit card and the remainder with a voucher, list both methods with their respective amounts. This breakdown ensures clarity in complex transactions.
Ensuring Accuracy in Data Entry on Invoicesimple.com

Double-check customer details before finalizing any entry. Verifying contact information, billing address, and payment terms ensures correctness from the start.
Utilize the built-in validation features available on Invoicesimple.com. These tools automatically flag common mistakes, such as missing fields or incorrect formats. Leverage these tools to save time and reduce errors.
When entering item descriptions, be specific. Clear, concise descriptions prevent confusion and minimize the risk of disputes later. Ensure unit prices and quantities match the invoiced items exactly.
- Cross-reference item codes with inventory lists to avoid discrepancies.
- Check tax rates and apply them correctly based on your customer’s location.
Before submitting an invoice, review totals, taxes, and discounts. Perform manual calculations to confirm accuracy. Small errors in totals can cause frustration for both parties.
Maintain consistency in format across all invoices. Use standard templates to ensure the same layout, font size, and style are applied to every document. This not only improves readability but also helps avoid formatting mistakes.
Establish a system to track changes. Keep records of all revisions and updates to invoices. This will make it easier to identify and correct issues if they arise.
Finally, save completed invoices in multiple formats. A digital copy can be accessed quickly, reducing the chances of losing vital information.
Common Mistakes to Avoid When Using Receipt Templates
Incorrectly entering details like customer information or transaction amounts can cause errors that lead to confusion. Always double-check that all fields are filled correctly and clearly before finalizing the receipt.
Not adjusting the template for different transaction types can be another issue. Some receipts may require additional details such as discounts, taxes, or special instructions, so customizing your template to accommodate these variations is key.
Forgetting to update the date or payment method fields can result in incorrect records. Always ensure that the receipt reflects the exact date of the transaction and the payment method used.
Overcomplicating the layout or including unnecessary information can make receipts harder to read. Stick to a clear, concise format that highlights the most important details for your customer.
Using an outdated template can lead to problems with compliance, especially if your business operates in a regulated industry. Regularly review and update your template to stay current with any legal requirements or industry standards.
| Common Mistake | What to Avoid |
|---|---|
| Incorrect Details | Double-check all fields for accuracy before finalizing. |
| Lack of Customization | Ensure the template fits various transaction types. |
| Outdated Information | Keep the date and payment method current. |
| Cluttered Design | Use a simple, easy-to-read format. |
| Non-Compliance | Update your template regularly to meet regulations. |
Best Practices for Storing and Sharing Receipts
Use a cloud-based storage service to keep receipts organized and easily accessible. This allows you to store receipts securely and access them from any device. Services like Google Drive, Dropbox, or specialized platforms provide a good balance between storage space and reliability.
For better organization, create folders with clear labels based on categories such as “Business Expenses,” “Personal Purchases,” or “Returns.” This helps you quickly find receipts when needed without wasting time searching through unrelated files.
Scan physical receipts as soon as you receive them. Smartphone apps like CamScanner or Adobe Scan allow you to turn paper receipts into digital files on the spot, ensuring they don’t get lost or damaged over time.
Use a consistent naming convention for your files. Include the vendor’s name, date of purchase, and a brief description of the transaction. For example, “Amazon_2025-02-05_Laptop Charger.” This naming structure makes it easy to identify and search for receipts later.
Share receipts securely by using encrypted file-sharing methods. Avoid sharing sensitive financial information through unsecured email or text messages. Services like Google Drive or OneDrive offer secure links, where you can control access and permissions.
Review and delete old receipts you no longer need to avoid clutter. If you’re unsure, keep receipts for at least one year, as they might be needed for tax purposes or returns. Regularly clean up your storage to ensure it remains manageable and easy to navigate.
Be mindful of privacy when sharing receipts online. If sharing for reimbursement purposes, remove any personal information, such as your full name or address, to protect your privacy.