For anyone looking to streamline their deposit tracking process, West End 300 deposit receipt templates provide a clear, customizable solution. These templates allow you to document transactions quickly and professionally, ensuring both you and your clients have a clear record of payments made.
Each template is designed to be user-friendly, featuring fields for essential details like client name, deposit amount, and payment method. The design ensures that all information is organized and easy to access, saving you time and reducing the risk of errors.
By using a standardized template, you can maintain consistency across all transactions. Whether you’re a small business owner or part of a larger organization, these receipts make tracking payments straightforward. You can easily modify the templates to fit your specific needs, ensuring they align with your business requirements.
Don’t leave the payment process to chance. With these templates, you ensure that every deposit is recorded clearly and securely, giving both you and your clients confidence in the transaction.
West End 300 Deposit Receipt Templates
Use the West End 300 deposit receipt template to document payments quickly and accurately. It’s designed to capture all necessary details for both the payer and recipient in a streamlined format.
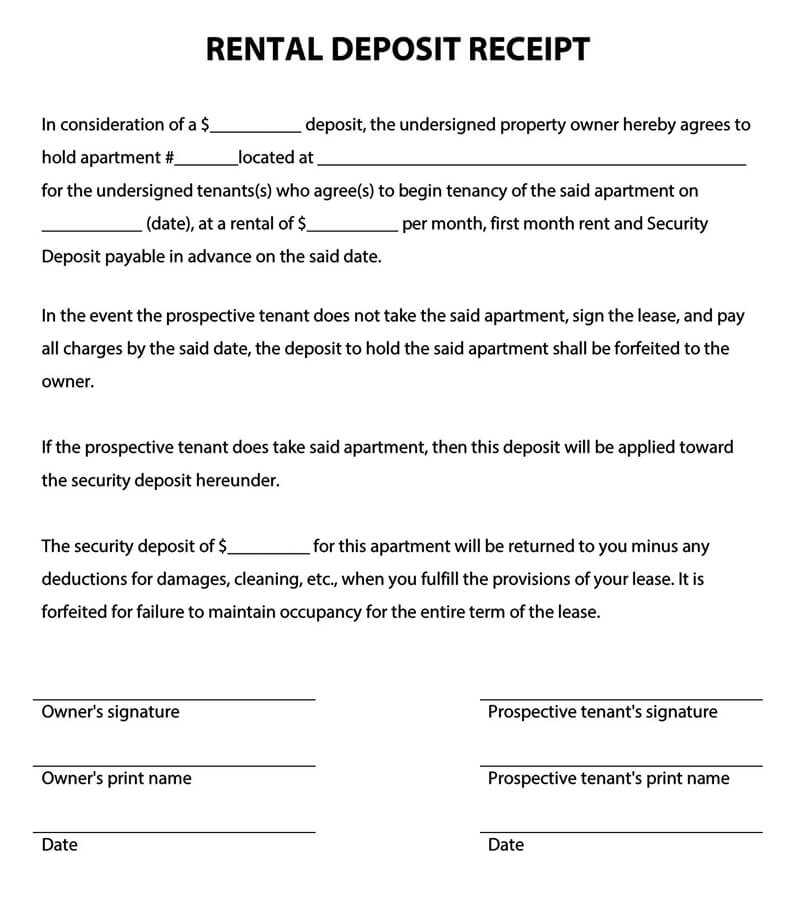
- Template Details: Include fields for the deposit amount, date, payer’s information, and purpose of the payment.
- Signature Section: Add spaces for both parties to sign for acknowledgment and confirmation of the deposit.
- Clarity: Ensure all terms are clear, including payment conditions, to avoid confusion later.
- Customization: Adapt the template to suit specific transaction types or business needs while maintaining legal compliance.
By utilizing this template, you guarantee that all necessary information is documented for future reference, reducing the risk of errors. Adjust the fields depending on the specifics of each transaction, whether it’s a rental deposit, service payment, or other deposit types.
Understanding the Structure of West End 300 Deposit Receipts
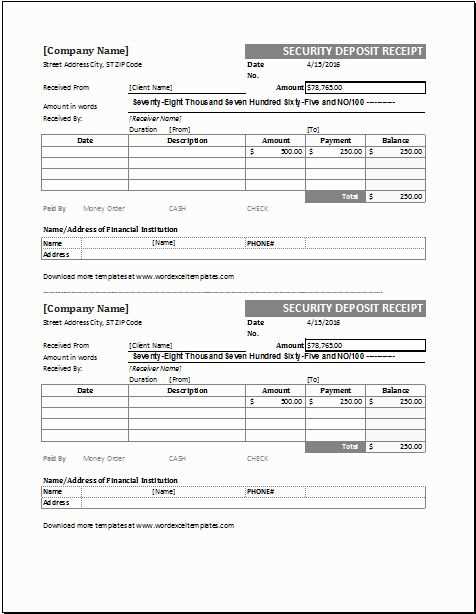
The West End 300 deposit receipt follows a straightforward structure to ensure clear documentation of transactions. It contains several key sections that serve specific purposes. The header typically includes the name of the issuing entity, the receipt number, and the transaction date. These details are crucial for identification and record-keeping.
Key Sections of the Receipt
Each West End 300 receipt has a section dedicated to the deposit amount. This is where the exact sum paid by the customer is stated, including any relevant taxes or fees. It’s important that this section is accurate to avoid any future disputes or discrepancies.
Recipient and Transaction Details
Along with the deposit amount, the receipt will specify the recipient’s information and the purpose of the deposit. This may include the customer’s name, contact details, and a brief description of the service or product related to the deposit. It’s essential to verify these details for accuracy.
Customizing Template Fields for Specific Transactions
Modify template fields to fit the specifics of each transaction. Start by identifying which details are most relevant to your business or client. For example, adjust the fields to include transaction type, amount, or date, which are frequently required in deposit receipts. Tailor the receipt template to match the context of the transaction, such as including property details for real estate deposits or contract numbers for service-related deposits.
Include Transaction-Specific Data
Ensure that each template reflects the unique aspects of the transaction. For a property deposit, include fields like address, property type, and lease term. For service deposits, you might add service dates and agreed-upon terms. Customizing these fields helps to avoid confusion and ensures the receipt is both informative and appropriate to the nature of the transaction.
Automate Common Field Values
Automate common field values to reduce the manual entry required for each receipt. Set up dropdown menus or pre-filled options for frequently used data, like payment methods or depositor names. This approach reduces errors and speeds up the process of creating receipts for multiple transactions.
Remember to include placeholders for any required legal or contractual disclaimers that might change with specific transactions. This customization adds professionalism and ensures compliance with regulations specific to each transaction type.
How to Include Legal Clauses in Deposit Receipts

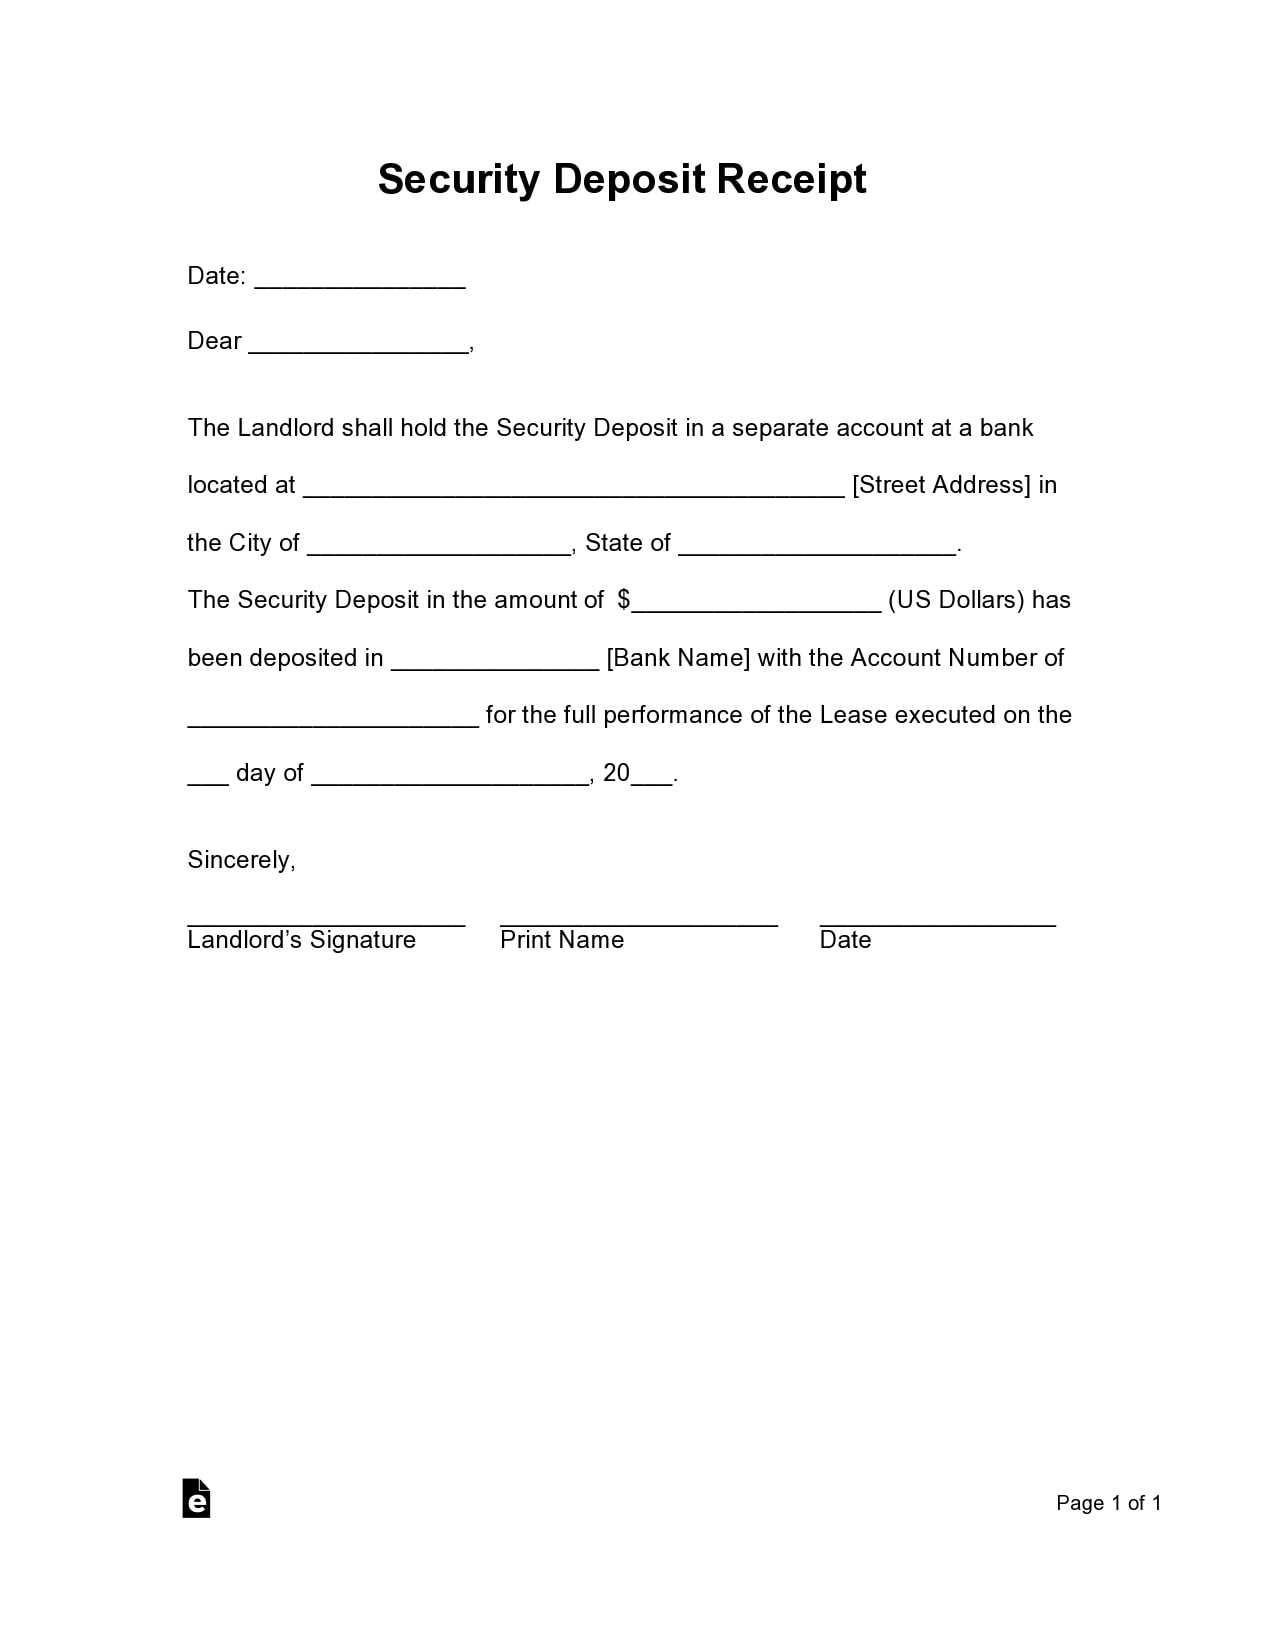
Ensure that deposit receipts contain clear legal clauses outlining both parties’ rights and obligations. Begin by specifying the amount of the deposit, the purpose, and the conditions under which the deposit may be refunded or forfeited. Add a clause that states whether the deposit is refundable or non-refundable and under what circumstances.
Include a clause that addresses the time frame for returning the deposit, typically after fulfilling the terms of the agreement. If applicable, mention any deductions that may be made, such as for damages or unpaid fees.
Clearly define the process for resolving disputes related to the deposit. Include provisions for mediation or arbitration if necessary. Be sure to state the governing law or jurisdiction that will apply in case of a legal dispute.
Finally, ensure that both parties acknowledge the terms with their signatures and date the document. This will help establish a binding agreement between the parties involved.
Integrating Payment Methods into the Template

To integrate payment methods into a deposit receipt template, ensure that the payment details section is clear and organized. Start by including fields for transaction identifiers, payment method types, and relevant dates. This allows easy reference and verification for both parties.
- Transaction ID: Include a unique identifier for each payment made. This helps in tracking and reconciling payments.
- Payment Method: Clearly state the method used (e.g., credit card, bank transfer, PayPal) to avoid confusion and provide transparency.
- Payment Amount: Display the exact amount paid, making sure it matches the agreed deposit.
- Payment Date: Record the exact date of the payment to verify timely transactions.
Consider adding a section for notes or special payment conditions. This can include information like payment installments or adjustments to the original deposit amount.
- Notes Section: Use this for additional context, such as payment plans or specific instructions tied to the payment method.
Ensure the payment information is placed prominently within the template. This allows users to easily locate and verify transaction details, minimizing the chance of errors or misunderstandings.
Creating Templates for Recurring Payments

Use a simple and clear template for recurring payments to reduce confusion and improve consistency. Begin by clearly outlining the payment amount, frequency, and payment method. Ensure the date for the first payment is listed, along with any important deadlines or cut-off dates.
Key Elements of a Recurring Payment Template
| Element | Description |
|---|---|
| Payment Amount | Specify the exact amount to be charged for each installment. |
| Frequency | Indicate whether payments occur weekly, monthly, or at another interval. |
| Payment Method | Clarify whether payments will be made via credit card, bank transfer, or another method. |
| Start Date | List the date when the first payment will be processed. |
| End Date (if applicable) | Note when payments will end, or if they are indefinite. |
Additional Tips for Streamlined Recurring Payments
Include a section for any terms and conditions related to cancellation or payment adjustments. This ensures that both parties are aware of the process for modifications, which can prevent disputes later on. To keep everything organized, provide a unique reference or invoice number for each transaction, which can help track payments easily.
Tips for Ensuring Template Compliance with Local Regulations
Review local laws related to deposit receipts. Make sure the template includes necessary legal details such as the deposit amount, date, and parties involved. Check if specific terms or disclosures are required by your local government.
Understand Regional Variations

Local regulations may differ in terms of format, terminology, and required disclosures. Consult the specific jurisdiction where the transaction is taking place to avoid using generic or incorrect terms that may be invalid.
Consult Legal Experts

If unsure about specific legal requirements, consult with a local attorney or legal advisor. They can provide insights on how to structure the template to meet all necessary regulations and avoid potential penalties.
Keep updated records of any changes to local laws that could affect deposit receipt templates. Regularly revisit your templates to ensure ongoing compliance.