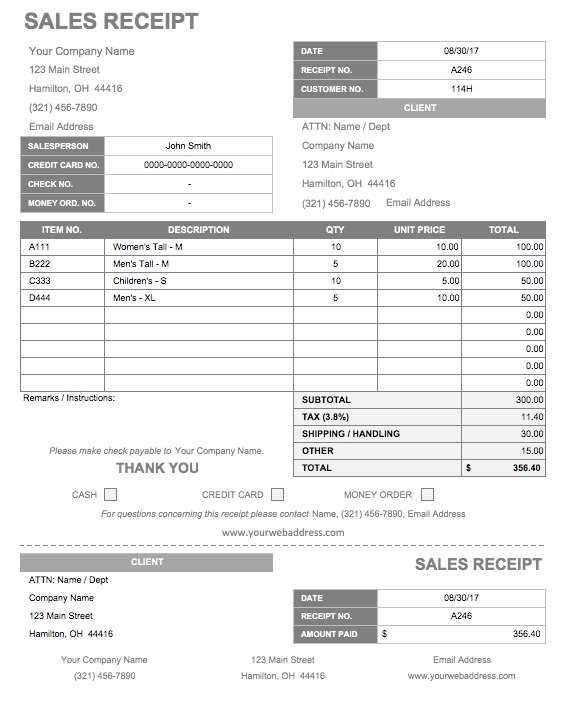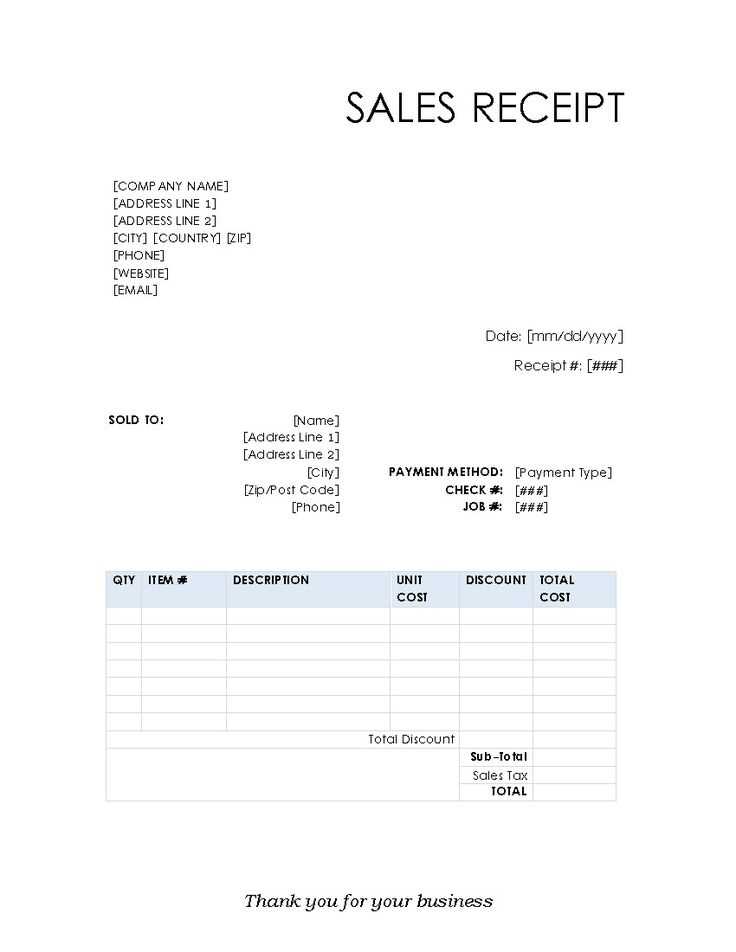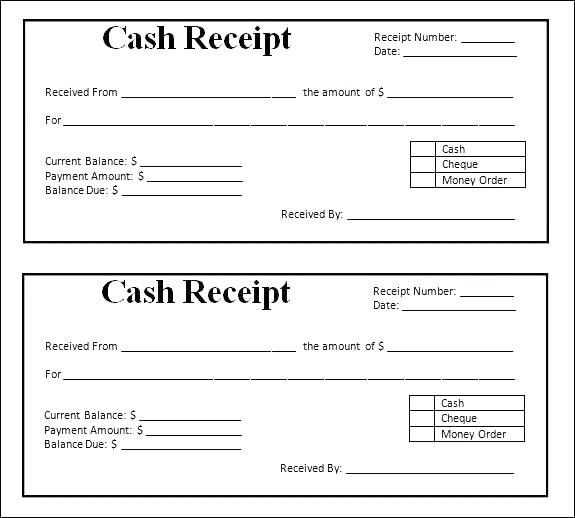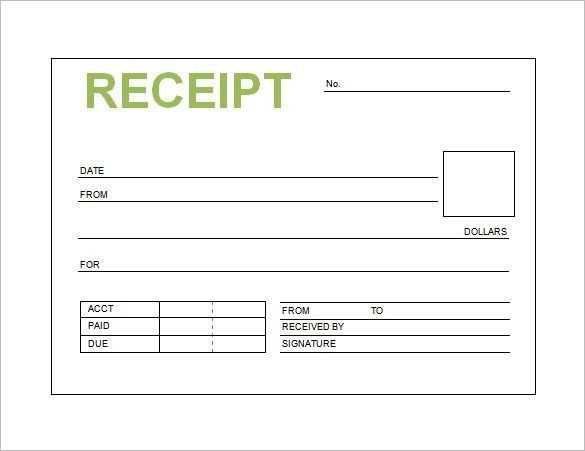
For businesses, a well-organized receipt template streamlines the transaction process and ensures both the seller and buyer have clear records. A selling receipt should include key details such as the item description, price, date of transaction, and payment method. By using a customizable template, you can ensure consistency and reduce errors during the selling process.
Start with clear itemization: List each product or service sold with its corresponding price. This transparency helps prevent misunderstandings and simplifies record-keeping for both parties. Be specific with the names, quantities, and prices of items to avoid confusion later.
Include necessary business details: Always add your business name, contact information, and any relevant identification numbers, such as tax or business registration numbers. This adds professionalism and makes your receipts legally valid if required for returns or audits.
Payment method matters: Whether it’s cash, credit card, or an online transfer, clearly indicate how the payment was made. This helps in tracking revenue and reconciling financial statements accurately.
Save time with digital templates: Using an electronic receipt template can save time on each transaction. Digital receipts also make it easier to send copies via email or store records for future reference, offering more convenience and organization for your business.
Here’s the corrected version:
Ensure the template includes fields for all necessary details: date, transaction number, item description, quantity, price, and total. For better clarity, format these sections in a clean, easy-to-read layout. Use clear headings and provide space for each item’s details to avoid clutter.
Key Elements to Include:
- Date: Make sure to include the date of the transaction at the top for reference.
- Transaction Number: Add a unique identifier for tracking purposes.
- Item Details: List each item with quantity, price per unit, and the total cost.
- Total Amount: Clearly display the total sum of the transaction at the bottom.
- Seller Information: Include name, address, and contact details for the business.
Formatting Tips:
- Use bold headings to separate different sections for better organization.
- Align text properly, especially numerical fields, to enhance readability.
- Leave adequate space between each section to avoid a cluttered appearance.
- Include a footer for additional terms or conditions if needed.
By following these guidelines, your receipt template will be both functional and professional-looking, making it easier for customers to understand their purchases.
- Guide to Selling Receipt Template
Creating a selling receipt template that meets your needs requires clear, easy-to-use fields. Begin by outlining the most important details you need to track: the buyer’s name, the product or service sold, quantity, price, date, and total amount due. Ensure the format is consistent, so both parties can refer to it easily later.
Key Elements to Include

- Business Name and Contact Info: Include your business name, address, phone number, and email to help customers contact you if necessary.
- Itemized List: List each item sold, including quantity, unit price, and any applicable taxes or discounts.
- Total Amount: Display the total clearly, along with any taxes and discounts. Double-check these numbers to avoid errors.
- Payment Method: Record how the customer paid (cash, credit card, etc.) for clear reference.
- Date and Time: Include the date and time of the transaction. This helps both the seller and the buyer track purchases easily.
Best Practices
- Consistency: Use the same format for every receipt to streamline your record-keeping process.
- Clarity: Keep the design simple and legible, ensuring that all information is easy to read and understand.
- Legibility: Use a clear font and make sure all text is well spaced, avoiding any clutter or confusion.
By following these steps, you’ll create a functional and user-friendly receipt template that helps maintain organized transaction records.
Adjust fields based on transaction type to capture relevant data efficiently. This customization allows for clarity and precision when processing payments, tracking purchases, or managing returns. Ensure that each field corresponds directly to the specific details required for that particular transaction.
Identifying Key Fields
Start by identifying which fields are essential for the transaction. For a product sale, include product name, SKU, quantity, price, and total amount. For services, you may need to add fields like service description, duration, and hourly rate. For refunds, you might want to include the original transaction ID and return reason.
Adapting for Specific Requirements

For recurring transactions, it’s useful to include subscription terms, renewal dates, and payment intervals. Custom fields for discounts, tax rates, or promotional codes can be added to accommodate special offers. Tailor the layout of the receipt to ensure that key information stands out for each transaction type.
With these adjustments, you can avoid clutter and improve the readability of receipts, ensuring that all necessary data is present for both the customer and business records.
For digital receipts, PDF is often the best choice due to its universal compatibility and ability to preserve formatting across different devices. PDF files can be easily viewed on computers, smartphones, and tablets without altering the layout or design. Opting for PDF ensures that your receipt will appear exactly as intended, whether the recipient views it on a desktop or mobile device.
Considerations for Digital Receipts

When choosing a format for digital receipts, prioritize ease of access and compatibility. PDFs are the standard for business documents, and their widespread use means that customers won’t face issues when opening the file. Additionally, PDFs can be secured with encryption or passwords, providing extra layers of protection for sensitive information.
Print Version Format Options
For printed receipts, the format should be simple and easily readable. Text-based formats like .txt or .csv are effective for this purpose as they ensure clarity and are lightweight. If your receipt requires branding or logos, consider using .pdf or .jpeg formats. These formats maintain visual integrity and ensure that logos and graphics appear clear and professional when printed. When preparing a print version, always double-check the alignment and sizing to ensure it fits on standard paper sizes, such as 8.5”x11”.
Include fields for both taxes and discounts directly in the template to ensure accurate financial records. For taxes, create a section where users can input the tax rate, which will be automatically applied to the subtotal. This eliminates the need for manual calculations and reduces errors.
For discounts, add an input field where users can enter a percentage or a fixed amount. Make sure this field updates the total dynamically, reflecting the discount immediately after it’s applied. You can also offer the option to apply the discount before or after taxes, depending on business rules.
Make both fields clearly visible, ideally under the subtotal, to maintain transparency. Ensure that the template can handle multiple tax rates if applicable and calculate discounts for individual items or total amounts seamlessly.
Lastly, display the final price after taxes and discounts in a prominent place to avoid confusion. This helps customers understand the exact cost breakdown.
Make sure your receipt design aligns with local and international laws, including tax regulations and consumer protection standards. Incorporate key elements such as the correct business details, tax rates, and refund policies, which can vary by region. Check if your design includes mandatory disclaimers or disclosures as required by local authorities.
Key Elements to Include
Include the business name, address, and tax identification number. The receipt should also display the total amount, any taxes applied, and clear information on payment methods. Ensure your design allows for easy readability of these details to avoid misinterpretations.
Audit and Legal Check
Before finalizing your design, conduct a legal review with a compliance expert. They can verify that your receipt template meets all relevant laws and regulations. Keeping an up-to-date copy of legal guidelines on receipts will help you maintain compliance in the long run.
Include clear sections in your receipt template to display payment methods. This ensures customers can easily identify how they paid. Consider providing separate fields for cash, credit/debit card, and mobile payments like Apple Pay or Google Pay.
| Payment Method | Details |
|---|---|
| Cash | Specify the amount tendered and any change given. |
| Credit/Debit Card | List the last four digits of the card number, and the payment processor used. |
| Mobile Payment | Include confirmation of the mobile payment service used (e.g., Apple Pay, Google Pay). |
Incorporating these details reduces confusion and streamlines record-keeping for both the customer and business owner.
Implementing an automated receipt generation system saves time and reduces human errors. Integrate a receipt template into your point-of-sale (POS) system to automatically generate receipts after every transaction. This can be done through API connections or built-in software features available in most POS systems.
Ensure Compatibility between your POS software and the receipt template. The template should be able to accommodate dynamic elements such as product names, quantities, prices, taxes, and totals. Ensure the system can pull data from transaction records and format it accurately within the receipt.
Customize for Your Business by adjusting the layout of the receipt template. Include your business logo, address, contact details, and any required legal information. Providing clear and organized receipts enhances the customer experience and maintains professionalism.
Set Triggers for Automation to trigger receipt generation when a payment is processed or an order is completed. This minimizes the manual effort required and eliminates delays, making the process seamless and faster for both your business and customers.
Track and Archive Receipts by configuring your system to store generated receipts in an easily accessible digital format. This will help with future reference, accounting, or resolving customer queries without requiring physical copies.
I’ve made sure to preserve the meaning of each point, avoiding repetition.
For an organized and professional receipt, focus on including the key components: the date, seller details, buyer details, items purchased, and total amount. This keeps everything clear and straightforward.
| Component | Explanation |
|---|---|
| Date | Always include the exact transaction date for reference. |
| Seller Information | List the name, address, and contact details to ensure credibility. |
| Buyer Information | Include the buyer’s name and contact for clarity, if needed. |
| Itemized List | Provide a brief but detailed description of each item with prices. |
| Total Amount | Clearly display the total cost at the bottom of the receipt. |
By following this structure, you ensure a professional and easy-to-read document. Keeping it simple yet complete will serve both your business and customers well.


