To create a donation receipt on Vistaprint, begin by selecting the appropriate template from their collection. Ensure the template includes necessary donor details such as name, address, and donation amount. This ensures compliance with tax regulations and provides transparency for both the donor and the receiving organization.
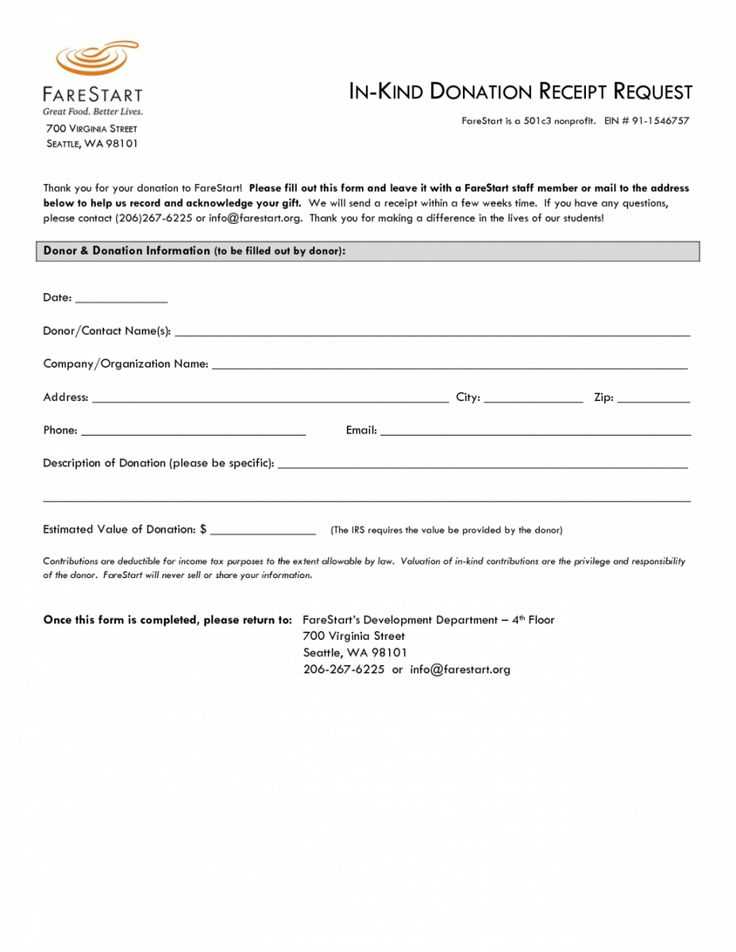
Customize the template with your organization’s logo, name, and any relevant tax-exempt status information. Highlighting the date of donation and the nature of the gift (cash, goods, or services) is important for documentation purposes.
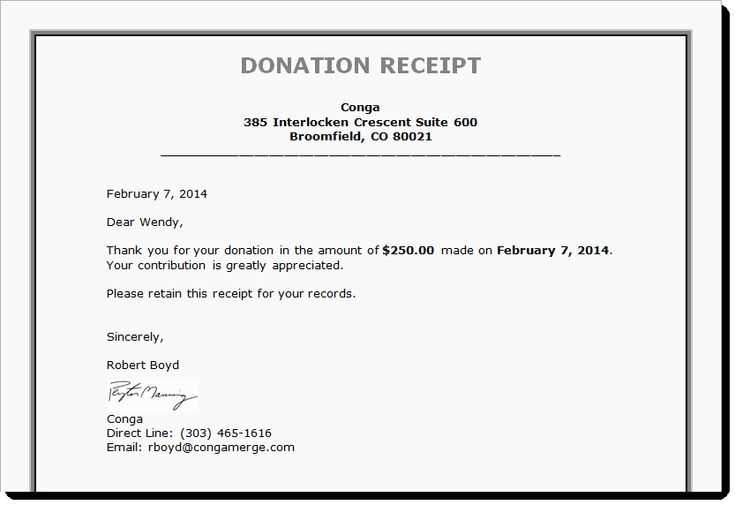
For convenience, include a brief thank-you note in the template. This not only strengthens donor relationships but also provides a personal touch. Acknowledging their contribution helps build trust and encourages future support.
Once the template is finalized, print or email the receipts promptly to ensure donors receive their documentation in a timely manner. Keeping a digital copy for your records is recommended for future reference and auditing purposes.
Here’s a refined version without repeating words excessively:
To create a clean and professional donation receipt, ensure all essential details are clearly presented. Begin with the donor’s name, followed by the donation date, and specify the amount donated. Include a brief description of the donated item or service, if applicable. Provide your organization’s name, tax identification number, and a statement confirming the donation is tax-deductible. Acknowledge the donor’s contribution with a thank you note or message, demonstrating appreciation for their support.
Keep the layout simple yet readable. Use clear, legible fonts and proper alignment to enhance the document’s clarity. Avoid unnecessary clutter that could distract from the main details. Consider including your organization’s logo for branding purposes without overcrowding the design.
Lastly, ensure the receipt is signed by an authorized person to give it authenticity. A digital signature or a physical one, depending on your system, adds a layer of credibility to the document.
- Customizing Design for Your Template
Adjusting your donation receipt template to fit your needs is a straightforward process. Begin by choosing a clean and professional layout. A minimalistic design works best to keep the focus on the donation details. Avoid clutter by leaving enough white space between sections.
Adjust Colors and Fonts

Select colors that align with your brand’s identity. Keep the color palette simple, using no more than three colors. Use contrasting colors for headings and subheadings to make them stand out. Choose easy-to-read fonts, ideally sans-serif, to ensure clarity on both printed and digital receipts.
Personalize with Your Logo

Upload your organization’s logo to the template for a personalized touch. Ensure the logo is placed in a prominent yet balanced location, such as the top of the receipt. Make sure it does not overpower the important information.
Include Key Donation Details
Make sure your template has fields for donor name, donation amount, date, and a thank you note. Organize this information in a logical order, so it’s easy for the donor to understand. Consider adding a donation receipt number for tracking purposes.
Preview and Adjust Layout

Once you have customized your template, preview it to see how the elements align. If necessary, adjust margins, padding, and font sizes. The goal is to ensure everything fits neatly and looks professional on both screens and paper.
Include accurate tax information to ensure receipts are compliant with local regulations. First, determine the tax rate applicable to your donations, as this can vary depending on location. Add the tax percentage clearly, either as a separate line item or included in the total amount.
If you are using a donation receipt template, make sure there is a field for the tax amount. If not, modify the template to accommodate this. Be sure to specify the tax-exempt status of the donation, if applicable, and provide a statement explaining why the tax exemption applies.
Always check local laws to confirm whether donations are taxable and which tax forms are required. You may also need to specify the tax identification number (TIN) of your organization for transparency and legal purposes.
Ensure the receipt includes the donor’s information, the date, and the total donation amount, before applying any tax-related deductions or exemptions. This will help streamline your accounting process and maintain clarity for both you and your donors.
Start by clearly entering the donor’s full name and contact information in the appropriate fields. This helps ensure that the donation is accurately attributed. Include their email address to facilitate future communication, if necessary. Make sure the data is entered without errors to avoid confusion during processing.
Next, specify the donation amount. Indicate whether it is a one-time or recurring donation. Provide options for different donation amounts or allow the donor to enter their own figure. This section should be clear and easy to navigate to avoid any ambiguity regarding the contribution.
| Donor Name | Email Address | Donation Amount | Donation Type |
|---|---|---|---|
| John Doe | [email protected] | $100 | One-time |
| Jane Smith | [email protected] | $50 | Monthly |
Double-check the details for accuracy before finalizing. If any discrepancies arise, reach out to the donor for confirmation. This helps avoid complications in record-keeping and ensures the donation is properly processed.
Ensure all donation receipts are printed clearly with relevant details such as the donation amount, donor’s name, and the charity’s tax ID number. To print efficiently, use a high-quality printer and check for any errors before printing multiple copies. If you’re printing receipts in bulk, consider using a dedicated receipt printer for faster output.
- Choose a clear, readable font for all receipt information to ensure accuracy.
- Verify that each receipt includes the correct donation date and donation method.
- Include the charity’s contact details for donor inquiries or follow-up.
After printing, organize receipts by donor name or donation date to streamline the distribution process. You can distribute receipts in various formats based on donor preference:
- Mail printed copies for donors who prefer paper receipts.
- Send digital receipts via email for environmentally conscious donors.
- Provide receipts during in-person events for immediate acknowledgment.
For efficient record keeping, ensure that copies of receipts are archived in a secure database, especially for tax purposes. Using a digital management system can simplify this process and reduce errors.
When creating a donation receipt using templates, it’s important to focus on key details that reflect the transaction. Start with the donor’s name and the donation date at the top of the receipt. This helps both the donor and the organization track their contributions efficiently.
Key Elements to Include

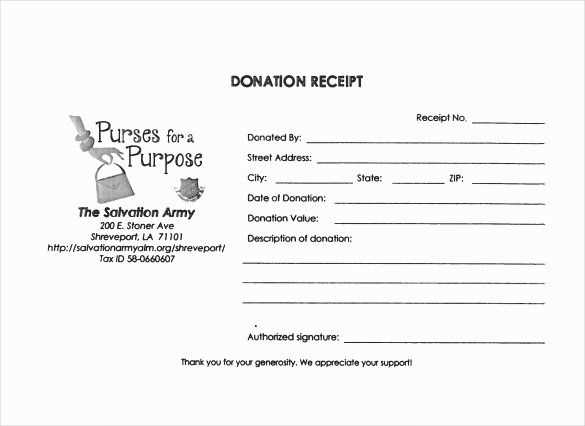
- Donor Information: Clearly state the name of the donor, their address, and contact information if necessary.
- Amount Donated: Specify the exact amount given. If applicable, list the method of payment, such as cash, credit, or check.
- Organization Details: Include the charity or organization’s name, address, and tax ID number for tax purposes.
- Purpose of Donation: If the donation is for a specific cause or project, provide that detail.
- Tax Information: If the receipt serves as proof for tax deductions, include a statement about the donor’s ability to claim the donation.
Design Tips
Use a clean, professional layout that is easy to read. Avoid clutter, and ensure the most important information stands out. A simple logo, organized fonts, and space for personal notes can make the receipt both functional and presentable.