Creating a clear and organized receipt template for paperwork helps keep transactions smooth and transparent. It ensures all parties involved have a record of the details, making follow-ups easy and reducing confusion. Use a simple format that includes all key elements such as transaction date, involved parties, and a brief description of the paperwork being received.
Include space for both signatures and dates to confirm receipt and agreement. This serves as both a formal acknowledgment and a helpful reference point for any future discussions. A well-designed template will ensure that nothing important is overlooked and that each entry is consistent, whether it’s a simple document or a complex set of papers.
Remember, clarity and precision are key. Each section of your template should be easily understood, with no ambiguity. It’s a practical tool that can be adapted to various situations, from business deals to personal matters. Regularly updating the template to fit evolving needs ensures its ongoing utility and relevance.
Receipt of Paperwork Template
Create a clear and concise receipt of paperwork template to acknowledge the receipt of documents. Begin by listing the name of the person or organization receiving the paperwork, followed by the name of the person or department providing the documents. Include the date of receipt and specify the documents received in a bullet point list for clarity.
Template Example:
- Recipient Name: [Name or Department]
- Provider Name: [Name or Department]
- Date of Receipt: [MM/DD/YYYY]
- Documents Received:
- Document 1
- Document 2
- Document 3
Signature: [Signature of Recipient]
Notes: Add a section for additional notes or instructions if needed. Be precise and brief to avoid confusion. Include a space for the recipient to sign and date the receipt to confirm the documents were received.
Designing a Clear Layout for Paperwork Templates
Prioritize simplicity and structure in your design. Use a clean, well-organized grid to separate distinct sections, such as headers, instructions, and form fields. Ensure that each part of the template serves a clear purpose and is easy to identify at a glance.
Use Hierarchical Formatting
Establish a clear visual hierarchy by varying font sizes, bolding important headers, and using bullets or numbered lists for steps or items. This helps guide the reader’s eye and makes it easier to follow instructions or complete tasks on the template.
Leave Adequate Space
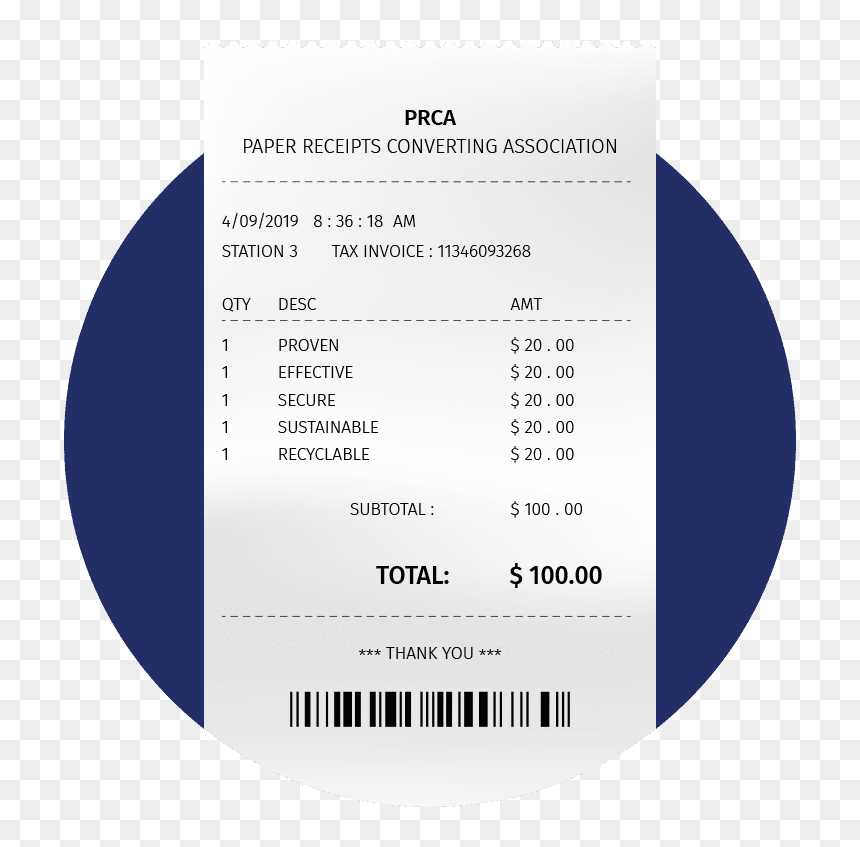
Avoid overcrowding by allowing enough white space between sections. This enhances readability and prevents the document from appearing cluttered, making it simpler for users to navigate. Proper spacing between form fields is equally important to maintain a clean appearance and improve the ease of data entry.
Essential Fields to Include in a Receipt Template
Include the following fields in your receipt template to ensure clarity and accuracy:
1. Receipt Title
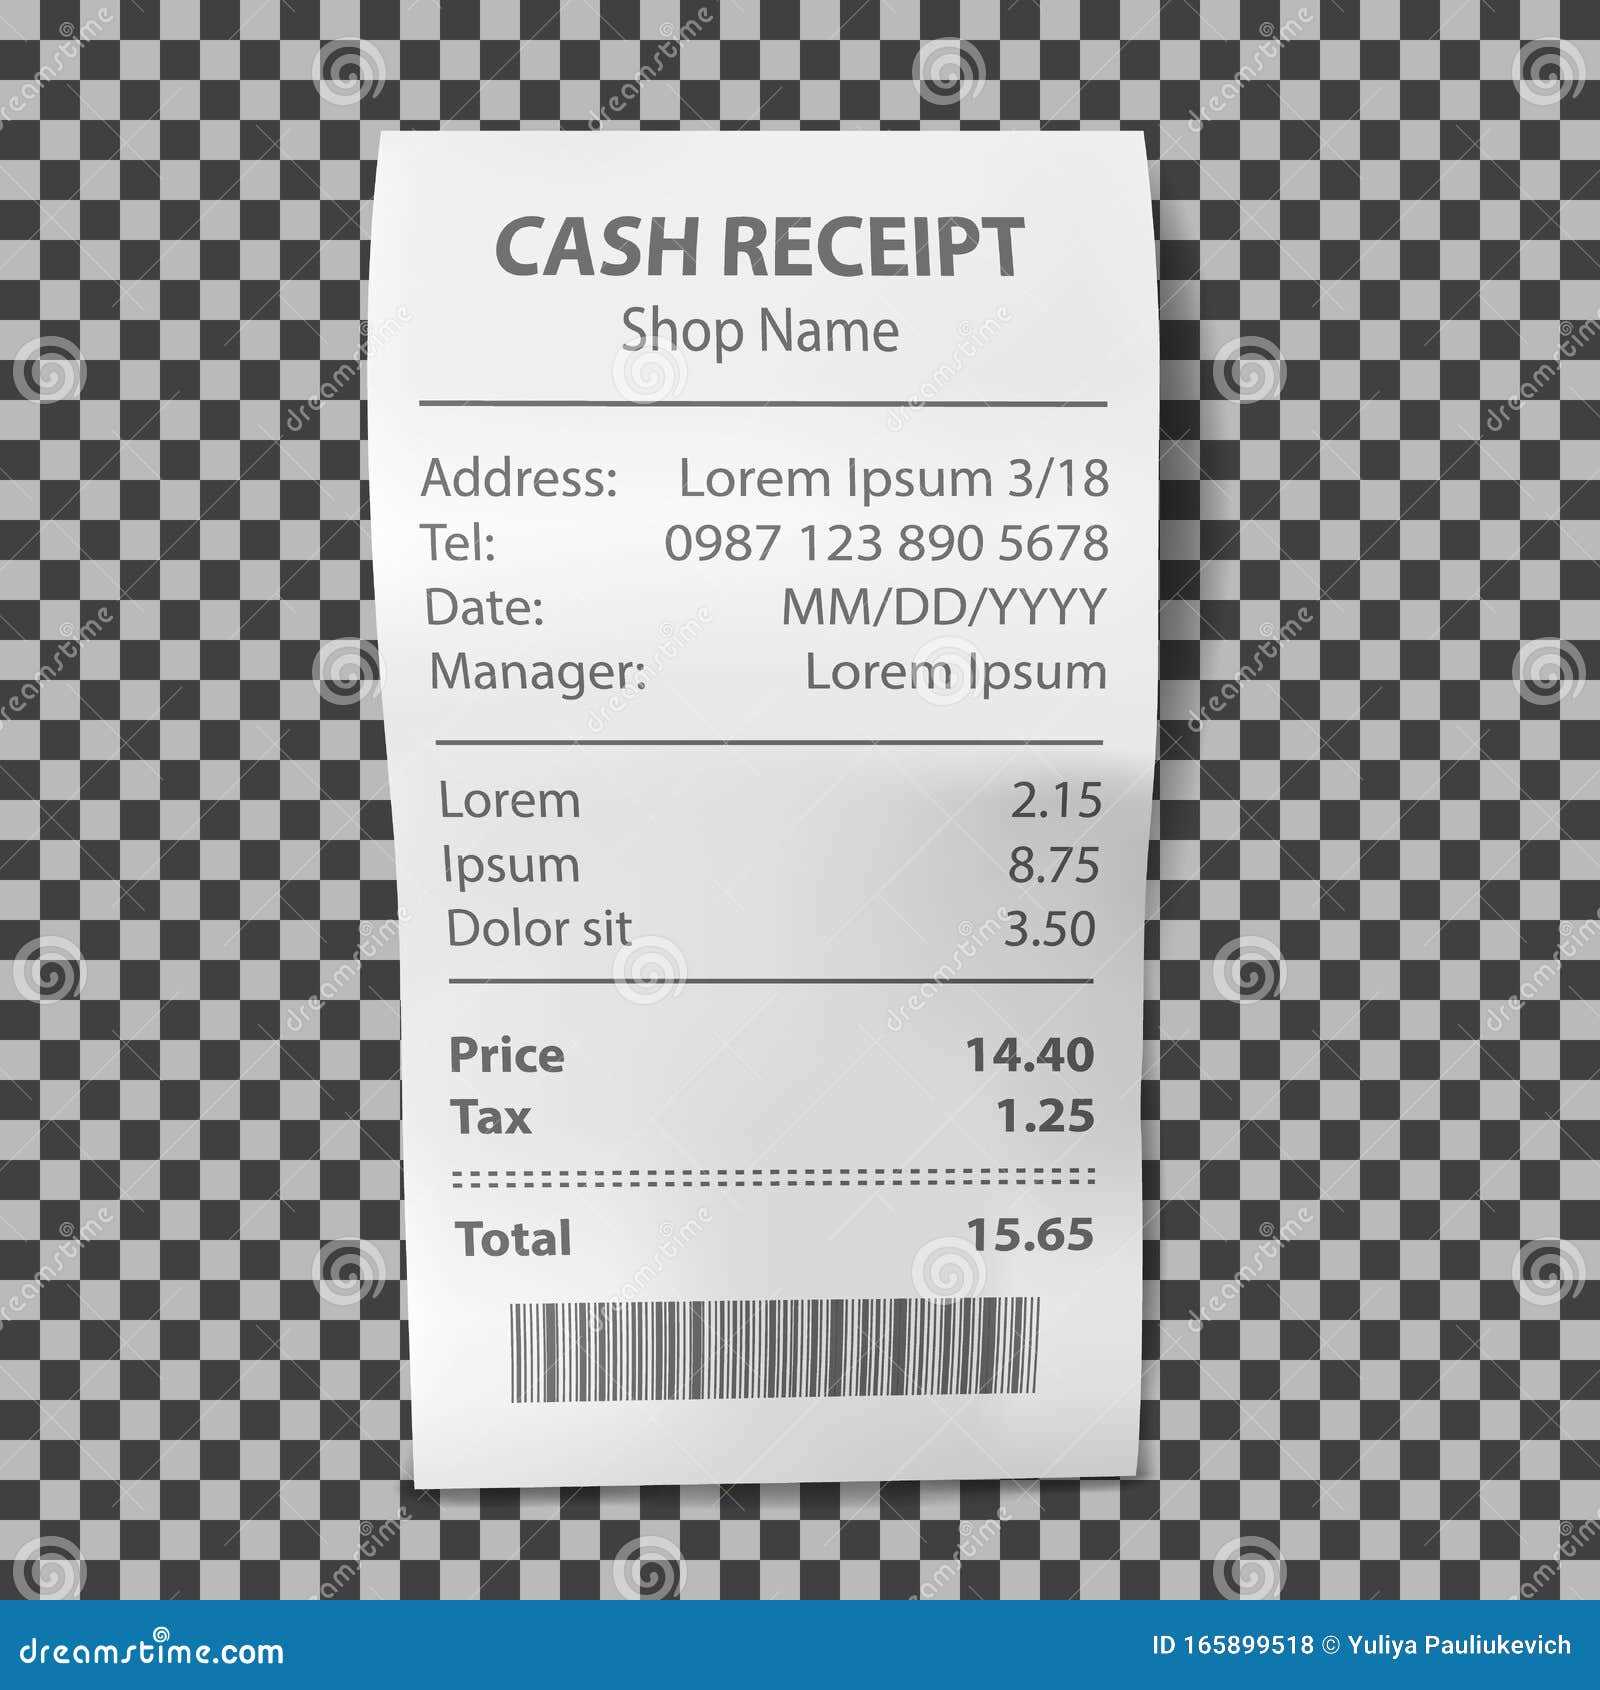
Label the document as a receipt to make it clear what it represents. Use a large, bold header at the top for easy identification.
2. Date of Transaction
Always note the exact date of the transaction. This helps with tracking and verification purposes. Use a format like MM/DD/YYYY for consistency.
3. Seller’s Information
List the business name, address, and contact details, including a phone number or email. This allows customers to reach out if needed.
4. Buyer’s Information
Provide the customer’s name or company name. Include their contact details if necessary, especially for large transactions or returns.
5. Transaction Details
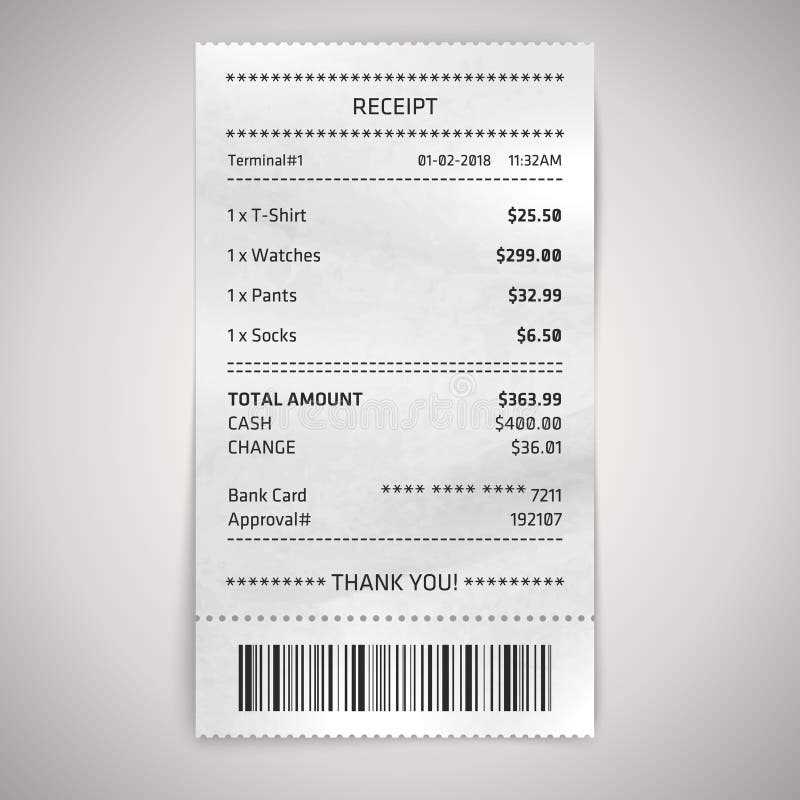
Clearly list the items or services purchased, their quantities, and individual prices. This ensures both parties agree on what was bought and at what cost.
6. Payment Method
State how the payment was made (e.g., cash, credit card, bank transfer). Include transaction or authorization numbers if applicable.
7. Total Amount
The final total should be prominently displayed. This figure should reflect any taxes, discounts, or adjustments made during the transaction.
8. Signature (Optional)
In some cases, a signature may be required to confirm the transaction. This is more common for larger or contractual purchases.
Sample Table Layout
| Item Description | Quantity | Unit Price | Total Price |
|---|---|---|---|
| Item 1 | 2 | $10.00 | $20.00 |
| Item 2 | 1 | $15.00 | $15.00 |
Keep these fields consistent to maintain clear, professional records for both you and your customer. This layout ensures that both parties can easily verify all aspects of the transaction.
Formatting Guidelines for Easy-to-Read Paperwork
Keep your text clear by using legible fonts. Sans-serif fonts like Arial or Helvetica work well for readability. Stick to font sizes between 10pt and 12pt for body text to avoid crowding or straining the eyes.
- Use bold and italics sparingly. Highlight headings and key terms without overwhelming the reader.
- Ensure there is enough white space around text to make it feel open and less congested. Use margins between 0.75 inches and 1 inch.
Align text consistently. Left alignment is the easiest to read, while centered or justified text can cause awkward spacing.
- Separate sections with clear headings. Use larger font sizes or different weights to distinguish them from the body text.
- Bullet points or numbered lists improve the readability of complex information. Keep items concise and avoid long paragraphs within lists.
Use simple language. Eliminate jargon or overly complex sentences. Prioritize clarity and directness in every sentence.
- Break long paragraphs into smaller chunks. A paragraph should cover one idea or topic for easier comprehension.
- Use contrast effectively. Dark text on a light background is easiest on the eyes. Avoid excessive color changes that could make the text harder to read.
Ensure a logical flow of information. Start with the most crucial details, followed by supporting data or instructions.
Customization Options for Specific Business Needs
Businesses often need tailored paperwork templates to suit their unique operations. Customizing your receipt templates allows you to streamline processes and improve client interaction. Start by incorporating your logo and business name at the top of the receipt to ensure brand visibility. Including relevant contact information such as phone numbers, email addresses, and office hours provides easy access for your customers.
Adding Business-Specific Fields
Consider adding fields that reflect the services or products your business offers. For example, retail businesses might include an itemized list with prices, while service providers can specify the hours worked or the type of service rendered. You can also add customizable discount options, promotional codes, or loyalty points to make your receipts more functional for promotions.
Adapting Layout and Design
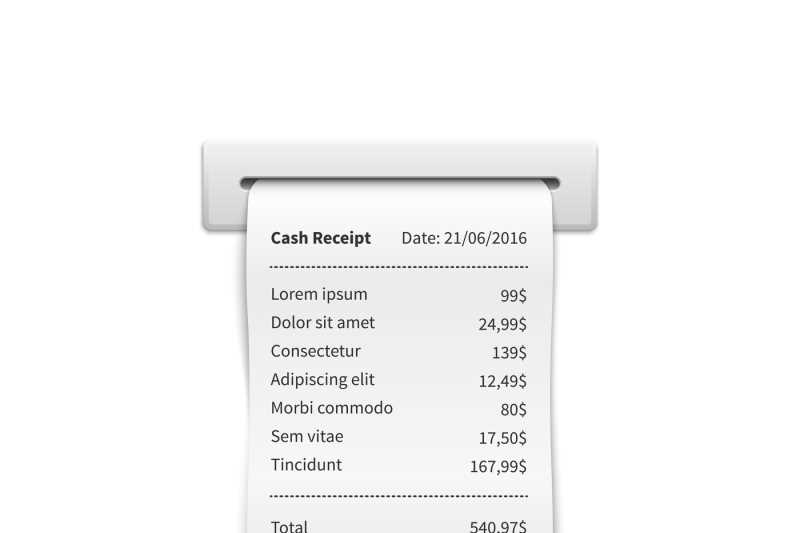
The design of your receipt can be adjusted to match the tone and style of your business. Experiment with different fonts, color schemes, and layouts that align with your branding. Clear, readable text should always be prioritized, especially for amounts, taxes, and total costs, to avoid confusion. Use structured sections to separate payment details, taxes, and contact information, making the receipt both aesthetically pleasing and easy to read.
Best Practices for Document Verification and Validation
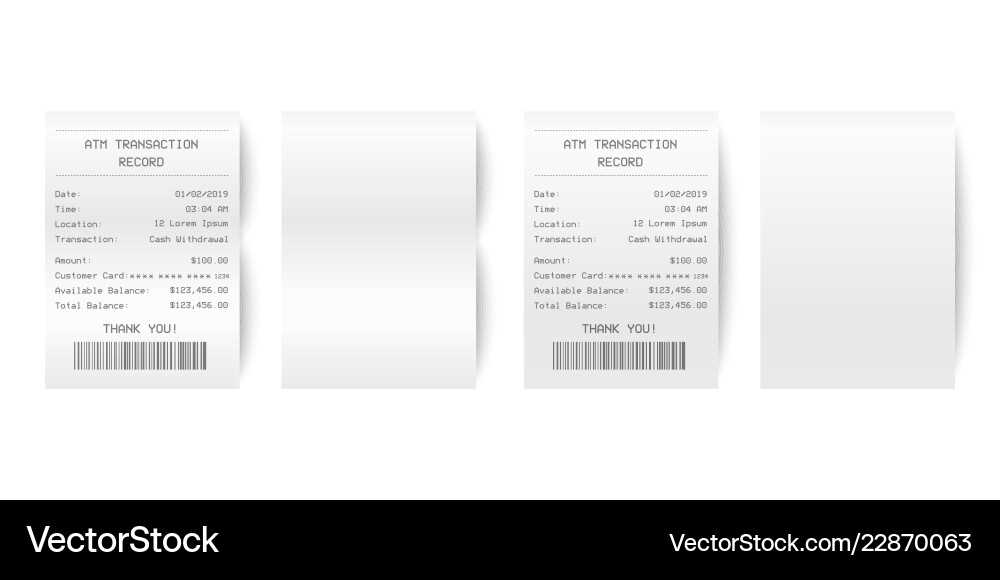
Always cross-check the document details against official records to ensure accuracy. Verify names, dates, and any identifying information directly with the issuing authority, if possible. This step helps eliminate the risk of incorrect or fraudulent entries.
Use reliable verification tools for automated checks, such as barcode scanners or optical character recognition (OCR) software. These tools speed up the process while ensuring data consistency, reducing human error.
Confirm the authenticity of signatures and stamps on physical documents. Look for security features like watermarks, holograms, or UV ink that indicate legitimacy. In digital documents, employ encryption and secure digital signatures to confirm identity and integrity.
When validating digital files, ensure that metadata is intact and matches the expected document timeline. This includes checking for document creation dates, modification history, and any changes in the document’s file format.
Always verify that the document complies with the relevant legal or regulatory requirements. This can include confirming the appropriate format, required signatures, and any other mandatory elements specific to the type of document.
Store validated documents securely in an organized system. Implement clear access controls and encryption to protect sensitive information from unauthorized use or alteration.
How to Digitally Integrate and Store Receipt Templates
Choose a digital tool that allows you to store and organize templates. Cloud-based storage services such as Google Drive or Dropbox offer secure, easily accessible options. Alternatively, use dedicated receipt management apps like Expensify or Zoho Expense to keep everything in one place.
- Save your templates in widely accepted file formats such as PDF or Word for easy sharing and editing.
- Organize files by category, date, or project to ensure quick retrieval. Use folder structures to maintain a clean and clear overview.
- Use naming conventions that make sense to you, such as including the date or template type, for example: “Receipt_Template_2025_01_30.pdf”.
- If you use a receipt generation tool, set it to automatically save copies of the generated templates to your storage system.
Enable file versioning in your chosen storage system. This will allow you to track changes and revert to older versions if needed.
If your storage solution supports it, enable synchronization across devices. This ensures that you always have access to the latest templates, whether you’re on your phone, laptop, or desktop.
Finally, ensure that your stored templates are secured with strong passwords and two-factor authentication to protect sensitive information.


