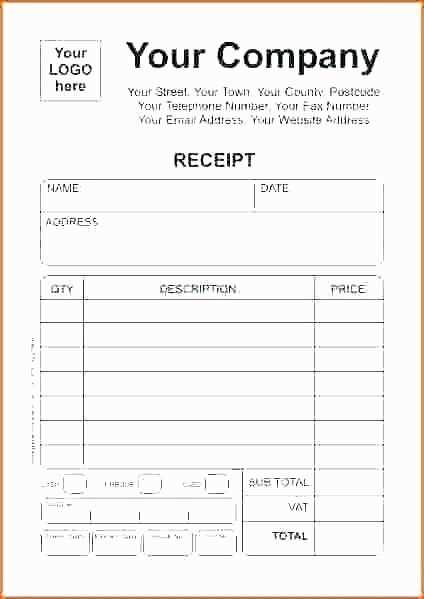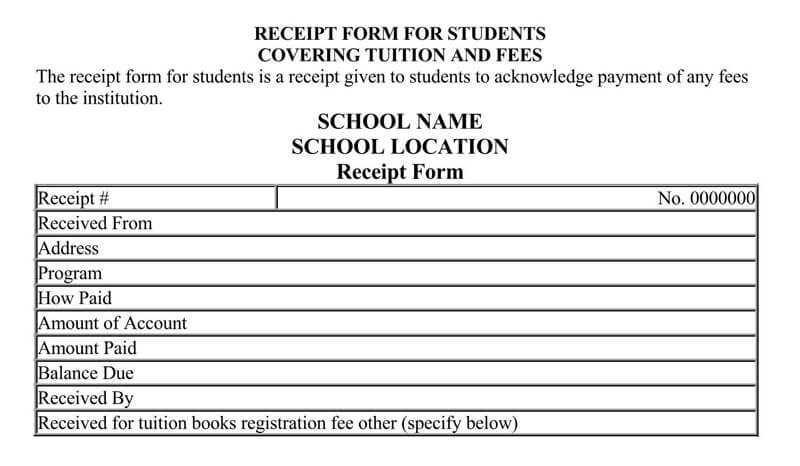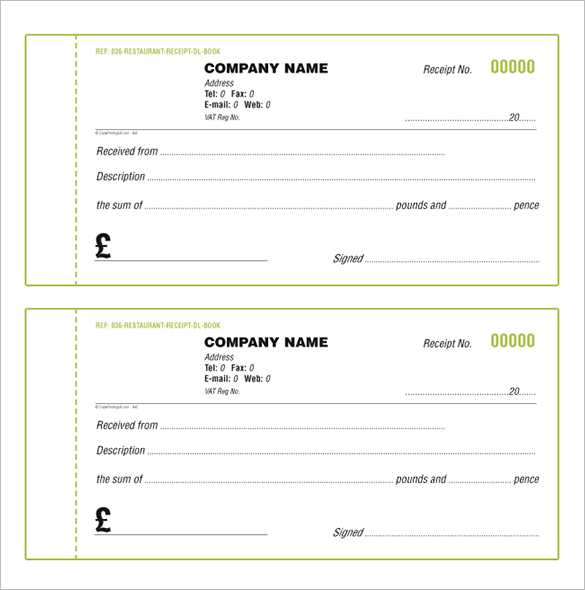
To create a polished and professional receipt book, use a Photoshop template that gives you the flexibility to adjust every detail. A quality template allows you to customize the layout, colors, and fonts to match your brand or personal style, making it easy to design a functional and appealing document.
Choose a template with well-organized layers so you can quickly edit text fields and update graphics. This flexibility streamlines the process, saving time and effort while producing a clean final product. Look for templates that offer both a front and back design, allowing you to easily incorporate all the necessary elements like company information, terms, and conditions, or contact details.
Don’t forget to ensure your template is adaptable to various printing formats, ensuring the receipts are aligned and legible in physical form. A properly designed Photoshop template will provide a straightforward way to produce consistent, high-quality receipts every time you print.
Receipt Book Photoshop Template Guide
To create a professional receipt book in Photoshop, begin by setting up the right canvas size. Typically, receipt books are 8.5 x 11 inches or A4, but adjust the dimensions based on your needs. Go to File > New and set your width and height accordingly. Make sure the resolution is 300 DPI for print quality.
Next, design a clean layout that includes space for important details: company logo, date, transaction details, and totals. Use guides to align text and design elements. Set your margins at 0.5 inches to ensure content is not cut off during printing. To add text fields, use the Text Tool for clear, legible fonts like Arial or Helvetica.
Incorporate placeholders for variables like customer name, address, or items purchased. These placeholders will be replaced when printing individual receipts. Use Smart Objects for logos or images to easily update them later if needed.
For styling, focus on simplicity. Use bold text for headings and totals, and ensure there’s enough contrast between text and background. Choose subtle colors for the background, ensuring they don’t overpower the content. If your receipt has multiple pages, create a template for the second and third pages, maintaining consistency across all pages.
Finally, save your file in PSD format to keep all layers intact for future editing. When you’re ready to print, save it as a PDF to preserve formatting. To print a batch of receipts, you can either print each page manually or use Photoshop’s batch processing feature to automate the process. Go to File > Automate > Batch to apply changes across multiple files at once.
How to Set Up a New Document for a Receipt Book
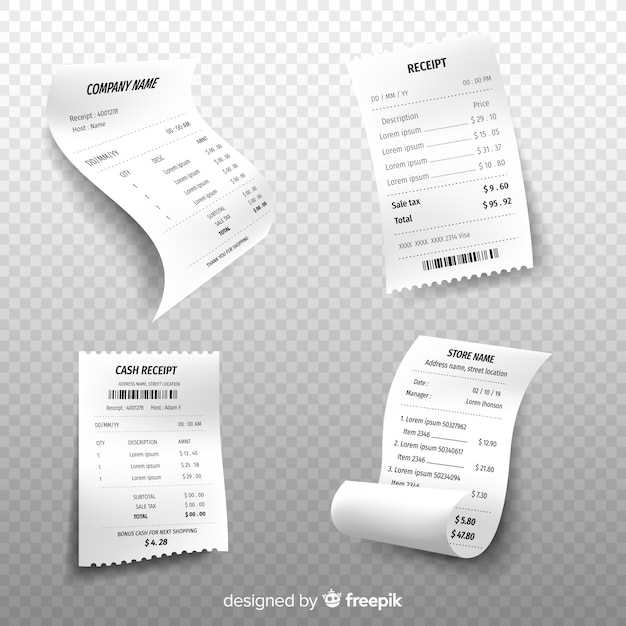
To begin, open Photoshop and create a new document. Set the dimensions to match your receipt book size. For a standard receipt, use 3 inches by 7 inches, but feel free to adjust based on your requirements.
Next, choose a resolution of 300 pixels per inch (PPI) for clear, sharp prints. This is important to maintain high quality, especially for small text. Make sure the color mode is set to CMYK for printing purposes, ensuring the colors print correctly.
Now, select the background color. You can either leave it white for simplicity or choose a light, neutral color that matches your branding. Avoid dark backgrounds as they can use more ink and distract from the receipt details.
Setting Up Margins and Guides
Set up margins to ensure your text and designs are aligned properly. Typically, 0.25 inches from each side should be enough to keep the text within the printable area. Use guides to align elements like logos, headings, and contact information for consistency across receipts.
Adding Layers for Flexibility
To keep your design organized, use separate layers for text, logos, and any other design elements. This allows you to easily edit or update specific parts without affecting the entire document. You can lock background layers to prevent accidental changes.
- Layer 1: Background color or pattern
- Layer 2: Text (receipt details)
- Layer 3: Logos and branding
- Layer 4: Decorative elements (optional)
With these steps, your document is ready for designing and customization. Save it as a PSD file to keep layers intact, and export it as a print-ready PDF when you’re finished with the layout. This setup will help you create professional, consistent receipt books every time.
Choosing the Right Dimensions and Resolution for Print
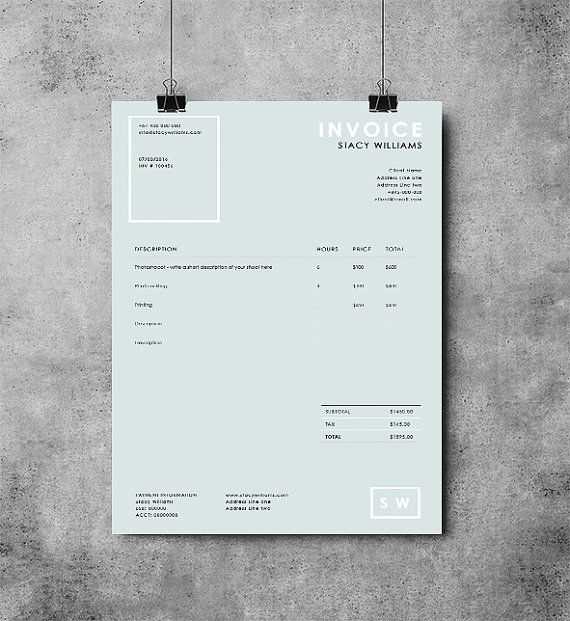
For a receipt book template in Photoshop, stick to a size of 8.5 x 11 inches (standard letter size) or customize it based on your printer’s capabilities. If you’re aiming for a different dimension, always check your printer specifications to avoid issues with margins or scaling.
Resolution
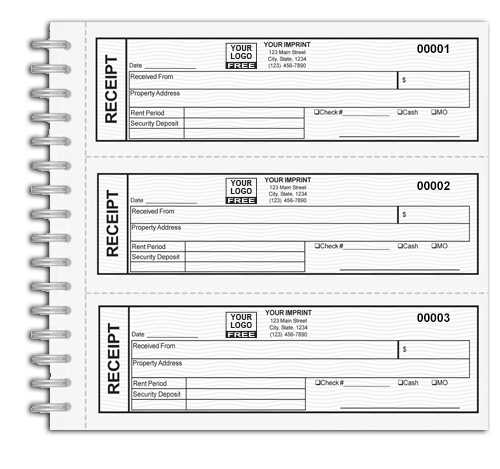
Set the resolution to 300 pixels per inch (PPI) for high-quality print results. Anything below 300 PPI can appear pixelated or blurry when printed. Photoshop’s default setting might be 72 PPI, but this is only suitable for digital use, not print.
File Size
To maintain the highest quality, aim for a file size that balances sharpness with ease of printing. Large files might slow down printing or make the transfer difficult, but too small a file can affect the final print clarity. Regularly save your progress to avoid losing important changes or quality.
Customizing Your Template with Logos and Branding
Place your logo in a prominent area, usually at the top or bottom of the receipt. Ensure it’s clear and appropriately sized, not overpowering the rest of the content. If your template has placeholders for logos, simply replace them with your image file. Keep the background color or shape of the placeholder in mind, as it should complement the logo’s design.
Next, integrate your brand colors. Change the text and background colors to reflect your brand identity. Use your brand’s color palette for titles, headings, or key sections. For legibility, choose contrasting colors between the text and background, ensuring they stand out while keeping the overall design clean and professional.
Don’t forget about the typography. Select fonts that align with your brand style. If your brand has a specific font, use it for headings or the main text. Make sure the font size is readable and fits within the space available. You can adjust line spacing or text alignment to improve readability and consistency.
If your brand uses a slogan or tagline, add it to the receipt template in a place that doesn’t clutter the design. This can reinforce your branding without overwhelming the primary purpose of the receipt.
Finally, review the alignment and margins. Proper spacing ensures that the logo and brand elements don’t feel cramped or out of place. Use the grid system within Photoshop to align the elements precisely and maintain a balanced layout.
Adding Placeholder Text and Data Fields
To efficiently design a receipt book template, incorporate placeholder text and data fields where necessary. These elements act as visual guides for users, indicating where specific information should be entered. Begin by selecting the areas of your template that require input, such as customer name, address, and itemized details. These will be your data fields.
Using Placeholder Text
For each data field, place descriptive text to indicate what should be filled in. For example, use “Enter Customer Name” or “Item Description.” This text should be distinguishable from the actual data input, typically by using a lighter font color or a slightly italicized style. This ensures the placeholders stand out but don’t interfere with the final content.
Creating Editable Data Fields
To make the template interactive, create editable text boxes for each placeholder. In Photoshop, this can be done using the Text tool. For dynamic data entry, you can leave spaces or underscores in place, suggesting where users should type in the necessary information. Consider using bold or underline formatting for crucial data fields to emphasize their importance without making the design too cluttered.
| Data Field | Placeholder Text |
|---|---|
| Customer Name | Enter Customer Name |
| Item Description | Enter Item Description |
| Total Amount | Enter Total Amount |
By using clear placeholders and data fields, you ensure a user-friendly design that simplifies data entry without overcomplicating the layout. Keep placeholders concise, ensuring they don’t distract from the final details or overwhelm the user.
Creating Sequential Numbering for Each Receipt
To set up sequential numbering in your receipt book template in Photoshop, use a combination of the Text Tool and automatic numbering scripts. Here’s how to do it:
Step 1: Create the Numbering Template
- Open your receipt template and select the Text Tool (T).
- Create a text box where you want the receipt number to appear.
- Type a placeholder number (e.g., “1”) to position it correctly in the layout.
- Adjust the font, size, and color according to your design preferences.
Step 2: Automate the Numbering with Photoshop Variables
- Go to the “Image” menu and select “Variables” > “Define.” This opens the Variable Options window.
- Click “New” to create a new variable. Name it something relevant like “Receipt Number.”
- Choose “Text Replacement” from the options.
- Link the text layer (where you placed your placeholder number) to the new variable.
- Ensure the sequence increments by setting the starting number and increment value in the “Data Sets” panel.
- Click OK to apply these changes.
Now, every time you create a new document or generate a new receipt from this template, Photoshop will automatically update the number sequentially for each new receipt. This method ensures accuracy and consistency across all printed or digital receipts.
Saving and Exporting Your Template for Printing
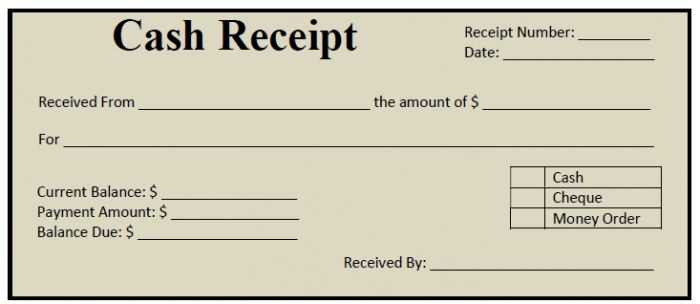
Choose the right file format for printing. Save your template in a high-quality format like PDF, TIFF, or PNG to preserve the image resolution and color accuracy. Avoid formats like JPEG, as they may compress the file and reduce quality.
Set the correct color mode. Switch your document to CMYK color mode instead of RGB for better color reproduction when printing. This ensures your design looks as intended on paper.
Adjust the resolution. For clear, sharp prints, set the resolution to at least 300 DPI (dots per inch). Lower resolutions may result in pixelated or blurry prints.
Include bleed settings. If your template goes to the edge of the paper, add a bleed area (usually 0.125 inches or 3mm) to prevent unwanted white borders after trimming.
Save a copy of your template with all layers preserved (e.g., a PSD file). This allows for easy editing later if needed. Then, export a flattened version to share with the printer or print shop.
Test the export. Before sending your template to print, test a small sample to verify the quality and layout. Adjust settings if necessary to ensure a perfect final print.
