Creating a donation receipt is straightforward but must include the right details to ensure transparency and compliance with tax laws. A donation receipt should clearly list the donor’s name, donation amount, and the date of the contribution. It’s also helpful to provide a description of the goods or services donated if applicable.
Use a simple format that includes your organization’s name, contact information, and a statement that the donation is tax-deductible, if eligible. You may also want to specify whether the donor received any goods or services in exchange for their donation, which could affect the deductible amount.
A well-organized receipt makes it easier for donors to keep track of their charitable contributions and provides them with the necessary documentation for tax filings. By using a template, you can standardize the process and ensure that no key information is missed.
Here are the corrected lines, without word repetitions:
Ensure clarity and accuracy by removing redundancy in the language. Instead of repeating the same word multiple times, use synonyms or rephrase sentences to avoid monotony. This improves the readability of the document.
Focus on concise language
For instance, instead of saying “the donation was received and accepted by the organization,” you can simply state “the organization received the donation.” This eliminates unnecessary repetition without losing meaning.
Use clear and varied terms
When possible, replace repetitive words with alternative terms that fit the context. For example, instead of using “donation” multiple times, consider using “contribution” or “gift” to provide variation.
- Detailed Guide on Creating a Template for Donation Receipt
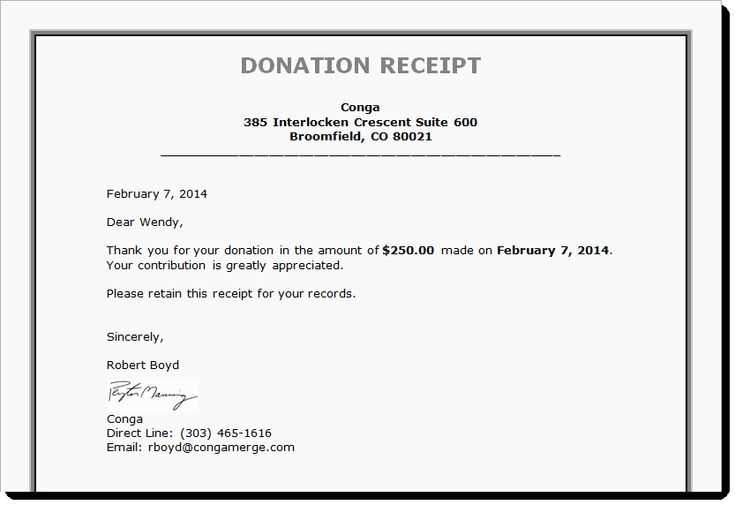
Begin by including the name of your organization and its logo at the top of the receipt. This gives your document authenticity and identifies it as an official record.
Next, clearly state the title “Donation Receipt” to avoid any confusion. Follow it with the date of the donation. This helps establish the timeline for tax purposes.
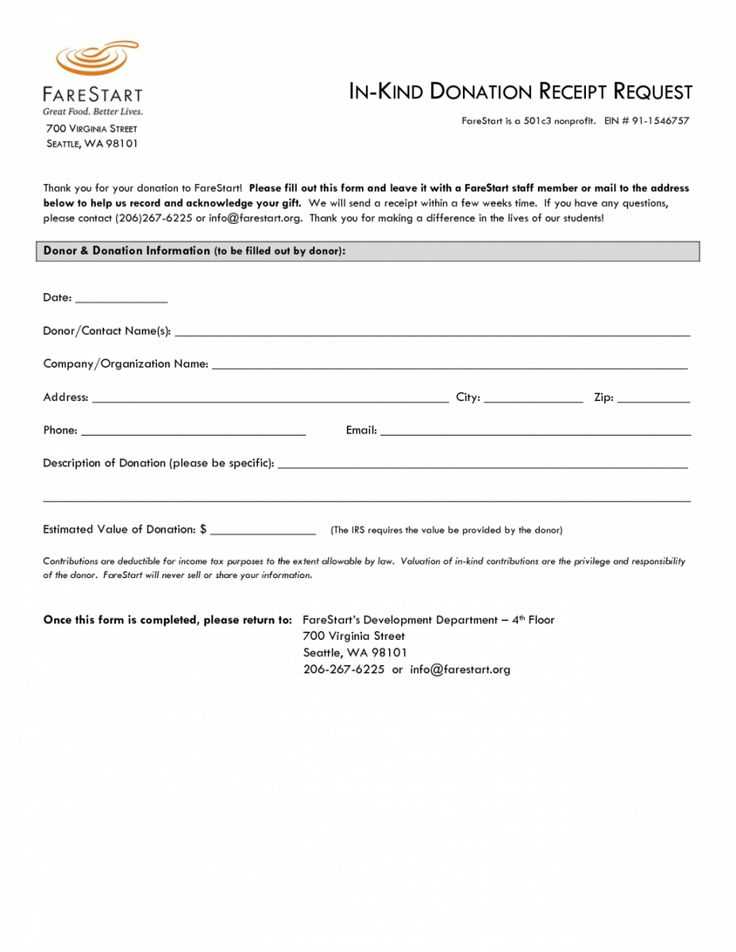
Provide a brief description of the donation. Include details like the type of donation (cash, goods, services), and the value of the donation if applicable. If the donation was in-kind (non-cash), describe the items donated and their estimated value.
Include the donor’s full name and address. This ensures the receipt is properly attributed and can be used for tax deductions. If the donation was made on behalf of a business or group, mention the organization’s name as well.
Specify whether the donation is tax-deductible. A simple phrase such as “This donation is tax-deductible” clarifies the donor’s eligibility for tax benefits.
State that no goods or services were exchanged for the donation, if true. This confirms the full value of the donation qualifies for deductions.
End with the signature of a representative from your organization and include their contact information for any questions or follow-up. This adds credibility and provides a point of contact for the donor.
Clearly structured receipts help both the donor and the organization. Start with basic information: include the donor’s name, the donation amount, and the date. This establishes the primary details right away.
Organize Information Logically

Ensure all relevant data follows a logical flow. List the donor’s name, followed by their contact details, the amount donated, and the donation method (e.g., credit card, cash, or check). This arrangement is easy to follow and avoids confusion.
Provide Clear Descriptions

Clearly state the purpose of the donation. If it is a specific fund or cause, include this detail. For example, “Donation for the Annual Fundraising Event” provides more context than a generic “Donation” label.
Ensure transparency by listing whether the donation is tax-deductible. If applicable, include the organization’s tax ID or nonprofit status to support this claim. Include any other details that would help the donor verify the donation’s legitimacy and purpose. Keep the formatting simple, avoid clutter, and make sure the key details are easy to spot.
Provide the donor with a clear description of their contribution. Start by listing the donation amount or item, ensuring accuracy in reporting monetary gifts or the value of donated goods. If applicable, specify whether the contribution is a cash donation, in-kind gift, or a pledge to be paid later.
Include the date of the donation. This helps both the donor and your organization keep track of when the donation was made. If the donation was in the form of a recurring contribution, specify the frequency and amount of each installment.
Clarify if any goods or services were provided in exchange for the donation. If so, state their fair market value. If the donor received nothing in return, note that the donation was fully deductible for tax purposes.
Provide your organization’s name, address, and tax-exempt status. Mention your tax identification number (TIN) or employer identification number (EIN) for transparency. This ensures the donor can verify your organization’s legitimacy and claim their tax deduction.
Finally, express your gratitude. Acknowledge the donor’s generosity and its impact on your mission. Personalized language can make the acknowledgment feel more meaningful, reinforcing the relationship between your organization and the donor.
| Item | Details |
|---|---|
| Donation Amount | Exact amount or value of the gift |
| Date of Donation | The specific date the donation was made |
| Goods/Services Provided | Any tangible items or services exchanged |
| Tax-Exempt Status | Tax-exempt number and EIN/TIN |
| Thank You Message | Personalized appreciation note |
Begin with clear, structured information. The recipient’s name and address should be at the top, followed by the donor’s details. A well-designed header adds trust and clarity to the receipt.
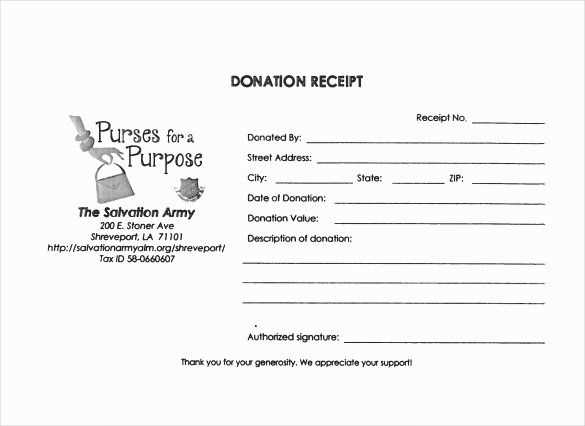
- Header Section: Include the charity’s name, logo, and contact information at the top. Make it visible, and ensure it’s easily recognizable to ensure trust.
- Donation Details: Clearly state the donation amount and specify if it’s monetary or in-kind. If it’s in-kind, list the donated items and their estimated value.
- Date of Donation: Always include the exact date the donation was made. This helps with tax filing and record-keeping.
- Tax Information: Provide the charity’s tax-exempt status and EIN (Employer Identification Number) for the donor’s reference. This is crucial for the donor’s tax deductions.
- Personalized Thank You: Add a brief note expressing gratitude. A sincere message makes the receipt feel more personal and enhances donor relationships.
Ensure consistency in the design. Use a simple, readable font with a clean layout that doesn’t overwhelm the donor. A minimalistic approach tends to be more effective and professional.
Donation acknowledgments must meet specific legal requirements to ensure the donor receives the appropriate tax benefits. Organizations must issue receipts for donations exceeding $250, which include key details: the donor’s name, the donation amount, and a statement about whether any goods or services were provided in exchange for the donation. If goods or services were exchanged, the value of the donation should reflect the amount after deducting the value of the items received.
The IRS also requires that donors receive a written acknowledgment for non-cash donations above $500, including a description of the property and the date of the donation. For non-cash gifts exceeding $5,000, donors must provide additional documentation, such as an appraisal.
For compliance, organizations should issue acknowledgments in a timely manner–preferably by January 31 for donations made in the previous calendar year. Failure to provide proper documentation could result in the donor losing their eligibility for a tax deduction.
Design receipts that reflect your nonprofit’s unique identity. Incorporate your organization’s logo and brand colors to make the receipt instantly recognizable. It’s also helpful to add a personal touch in the wording, such as a short thank-you message that expresses your gratitude for the donation.
- Include donor’s name, donation amount, and date clearly for easy reference.
- List your nonprofit’s tax ID number, especially for donors who need it for tax purposes.
- Consider adding a section where donors can check their preferences (e.g., whether they want to remain anonymous or if they’d like to receive future updates).
By including relevant details such as upcoming events or volunteer opportunities, you can engage donors and encourage continued support. Keep your receipts simple, but impactful, ensuring that every piece of information serves a clear purpose.
Digital receipts offer convenience and easy access. You can store them on your phone or email, reducing clutter. They are also more eco-friendly since they don’t require paper or ink. If you’re organizing donations for tax purposes, digital receipts are easy to search, categorize, and retrieve, making them ideal for keeping track of your contributions over time.
On the other hand, physical receipts provide a tangible record of your donation. They’re often preferred by those who feel more secure with hard copies, particularly in case of technical issues with email or phone storage. Some individuals may find it easier to physically store receipts in a folder, offering a direct way to organize their records.
Digital Receipts

Digital receipts are becoming more popular due to their accessibility. You can email receipts immediately after a donation, allowing instant confirmation and documentation. Many donation organizations now offer digital receipts as the default, with the option to print them if necessary. These receipts are searchable, which can save time when looking for specific donation details or preparing for tax season.
Physical Receipts
Physical receipts, while less common today, are still essential for people who prefer paper records. If you attend in-person events or contribute through checks, a physical receipt is often issued. For those who may not have reliable internet access or prefer handling paperwork, this remains a solid option. Physical receipts can be easily filed in physical folders for organization.
Receipt for donation template
To create a receipt for a donation, ensure that it includes all necessary details to maintain clarity. Begin with the donor’s name and contact information, followed by the amount donated and the date of the contribution. Clearly specify whether the donation is monetary or in-kind. Include the name of the organization receiving the donation and any relevant tax-exempt status number, if applicable. Lastly, add a thank-you note to express gratitude for the support.
It’s important to keep the formatting consistent and professional. Make sure that the receipt is easy to read and that all relevant fields are filled in correctly. Avoid overcrowding the document with unnecessary details that may detract from the main information.