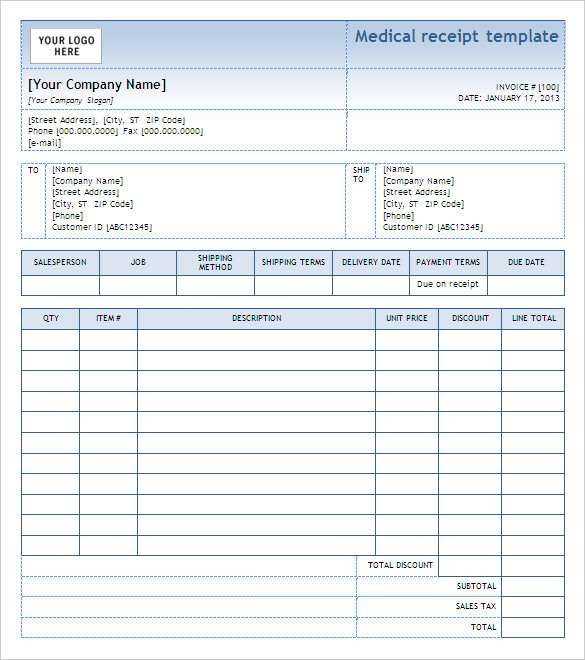
To create an itemized medical receipt, start by listing each individual service or product provided. This allows both patients and insurance companies to easily understand the details of the charges. Each entry should include the service or product name, quantity, unit cost, and the total cost for that item. Be sure to also note the date of service for each item listed.
Accurate itemization is key for transparency. Make sure every medical procedure, medication, or consultation is clearly separated, with corresponding costs. This helps avoid confusion and ensures proper documentation for claims or reimbursements.
Additionally, include your practice or hospital’s full contact information, the patient’s details, and a reference number. This allows for easy tracking of receipts and ensures that both parties can quickly resolve any discrepancies. Avoid grouping charges under vague terms like “medical services”–instead, break them down into specific items for clear understanding.
How to Create an Accurate Itemized Receipt
Provide a detailed list of each item or service. Include the date, description, quantity, price per unit, and total cost for each entry. Ensure the numbers are clearly readable and grouped correctly to avoid confusion.
Include Specific Details
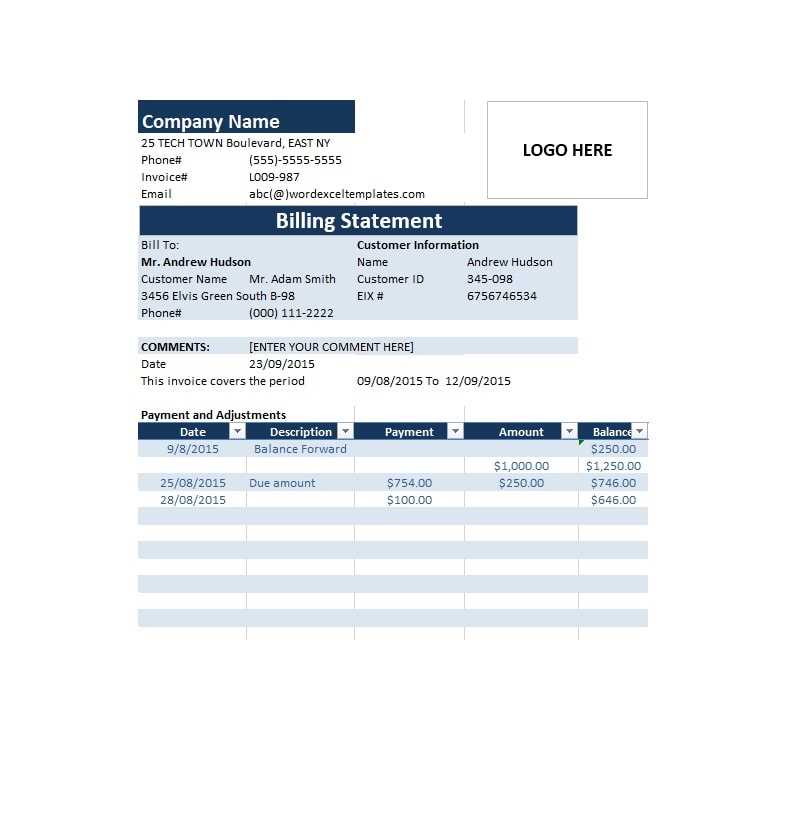
For each service or product, include the name or description, any relevant codes (e.g., product codes or service numbers), and the exact amount charged. Ensure the breakdown aligns with the overall total to maintain transparency.
Include Taxes and Discounts
If applicable, break down taxes and discounts separately. This gives recipients clarity on how the final amount is calculated. Make sure the tax rate is clearly identified, and discounts are clearly listed to avoid any misunderstandings.
Double-check that totals reflect the correct amounts. Compare the itemized receipt with original invoices or transaction records to verify accuracy. Avoid leaving ambiguous or incomplete details that could cause issues during audits or claims.
Key Components of a Medical Receipt Template
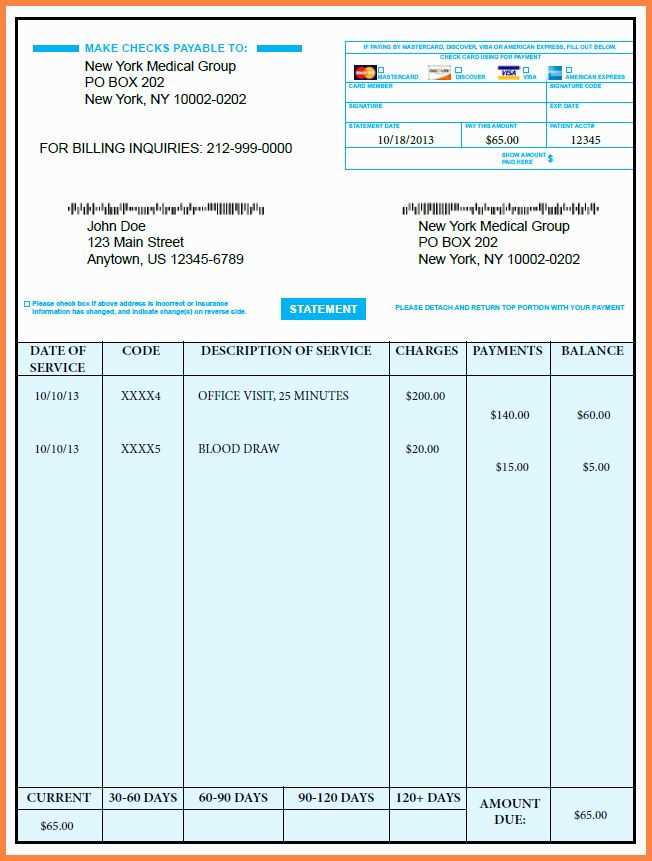
A medical receipt template should include specific details to ensure clarity and legal compliance. Start with the patient’s name and contact information, followed by the provider’s name, address, and contact details. This helps verify both parties involved in the transaction.
Itemized Charges
List each service or product provided along with its cost. Include dates of service, type of treatment or consultation, and any medications prescribed. Breaking down charges helps patients understand the total cost and assists with insurance claims.
Payment Details
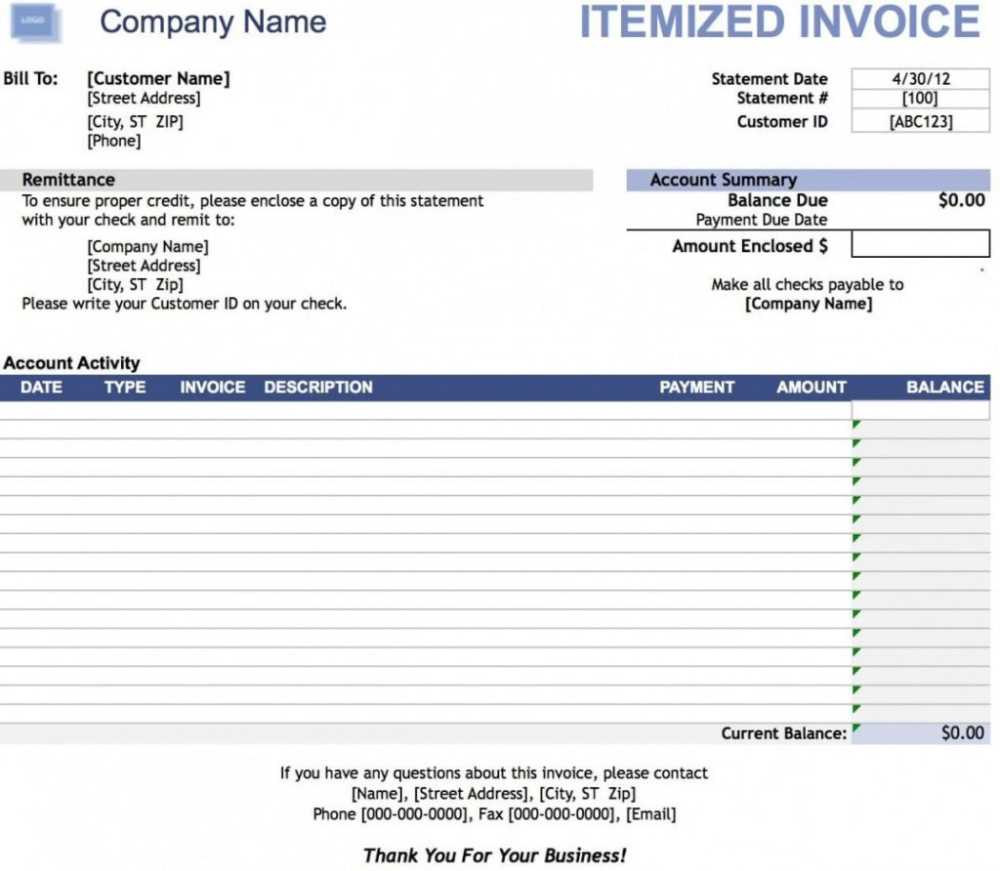
Include payment methods used (e.g., credit card, cash, insurance). Document any deposits made or insurance payments received. This section should also show any outstanding balance, if applicable.
Common Mistakes to Avoid in Itemized Receipts
Ensure all charges are clearly listed with accurate descriptions. Ambiguous terms like “consultation” or “service” should be avoided. Instead, specify the exact procedure or product provided, such as “blood test” or “physical therapy session.” This makes it easier for patients to understand the bill and for insurance companies to process claims.
Missing Dates and Times
Every receipt should include the exact date and time of service. Lack of this information can lead to confusion or disputes about when services were rendered. This is particularly important for insurance reimbursement, where the timing of treatment may impact coverage eligibility.
Incorrect Billing Codes
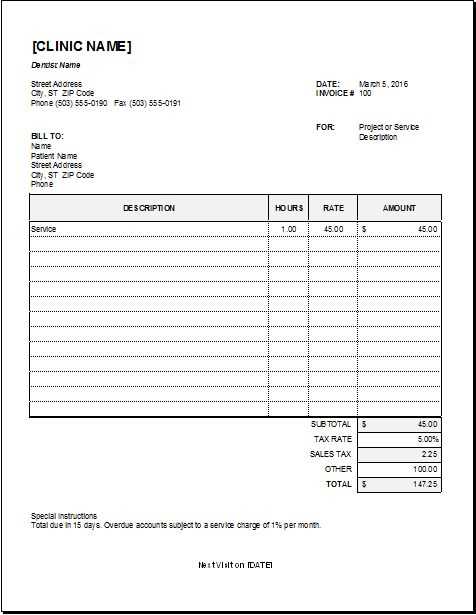
Using outdated or incorrect codes for medical services can delay processing. Verify that all codes are up-to-date and align with the service provided. Double-checking these codes before finalizing the receipt prevents unnecessary complications with insurance claims.
Avoid omitting patient details or the provider’s contact information. Always include full names and contact info, ensuring all fields are legible and properly filled out. A receipt lacking this information could be seen as incomplete or unprofessional.
How to Customize Your Medical Receipt for Insurance Purposes
Tailor your medical receipt to meet insurance requirements by including specific details such as procedure codes, diagnosis information, and payment breakdowns. This helps insurance providers process your claim more efficiently.
Key Information to Include
Ensure the following elements are clearly listed on your receipt:
- Patient’s name – Use the full name as it appears on your insurance policy.
- Date of service – Include the exact date of each treatment or visit.
- Provider’s details – Full name, address, and contact information of the healthcare provider.
- Service codes – Include the relevant CPT (Current Procedural Terminology) and ICD (International Classification of Diseases) codes.
- Payment breakdown – List each charge separately, showing what was covered by insurance and what remains your responsibility.
- Total amount – Provide a summary of the total charge, showing any payments already made.
Sample Layout of a Medical Receipt
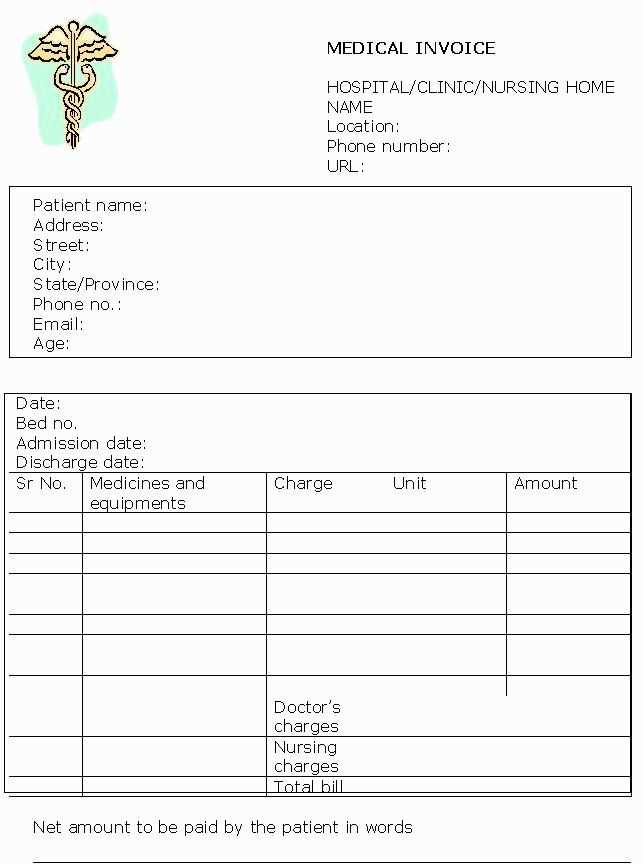
| Item | Code | Cost | Insurance Contribution | Patient Responsibility |
|---|---|---|---|---|
| Consultation | CPT 99213 | $100 | $60 | $40 |
| X-ray | CPT 71020 | $150 | $100 | $50 |
| Prescription | N/A | $50 | $50 | $0 |
| Total | N/A | $300 | $210 | $90 |
By ensuring these details are present, you’ll speed up the reimbursement process and reduce the likelihood of claims being delayed or rejected. Make sure to adjust the receipt format according to your insurance provider’s specific guidelines, if necessary.
Best Practices for Organizing Medical Charges
Keep medical receipts and charges organized by categorizing each entry. Sort them into clear groups such as doctor visits, prescriptions, and medical equipment. This method simplifies tracking and minimizes confusion.
- Store receipts in folders labeled by category.
- Use a digital scanner or app to create digital copies for easier access and backup.
- Record the date, service provider, and amount for each entry in a spreadsheet for quick reference.
Review charges for accuracy. Cross-check receipts with insurance statements and payment records. If discrepancies arise, contact your provider promptly to resolve them.
- Verify any co-pays or out-of-pocket expenses with your insurance coverage.
- Ensure that services billed match the care received, especially in cases of emergency treatments or procedures.
Set up a routine to update and file medical charges regularly. Waiting too long to organize receipts can lead to a disorganized backlog, making it harder to track expenses and file claims.
- Plan to organize receipts monthly or after significant medical visits.
- Use online tools or apps designed for medical billing organization to stay on track.
Keep a separate folder for unpaid or pending charges. This will help you manage what you owe and avoid missing deadlines for payments or insurance claims.
- Mark receipts as paid or pending to prevent double payments.
- Track any reimbursement requests from your insurance to ensure timely processing.
Finally, organize medical charges by year for tax purposes. Most tax systems require detailed medical expenses reports. Having them pre-organized will make the tax filing process much smoother.
- Set aside receipts from each year in clearly labeled folders.
- Include a summary of total medical expenses for the year to aid in tax deductions or claims.
How to Distribute and Share Itemized Receipts Effectively
Send itemized receipts through secure channels like encrypted emails or trusted apps to ensure privacy. When possible, offer receipts in both digital and paper formats. Digital copies are easier to share and store but should be password-protected if sensitive information is included.
For healthcare providers or businesses, ensure receipts are clear and easy to read by using professional software that formats them consistently. When distributing via email, always include a brief message to explain the content, and confirm that the recipient has received and understood the details.
If sharing multiple receipts or sensitive data, use a file-sharing platform that offers tracking. This allows you to see when the recipient has accessed the information, which adds a layer of accountability.
For physical receipts, provide clear instructions on how to handle them. If mailing, use secure postage options and consider providing a return receipt to confirm delivery. Keep a copy of every receipt sent for your own records.
