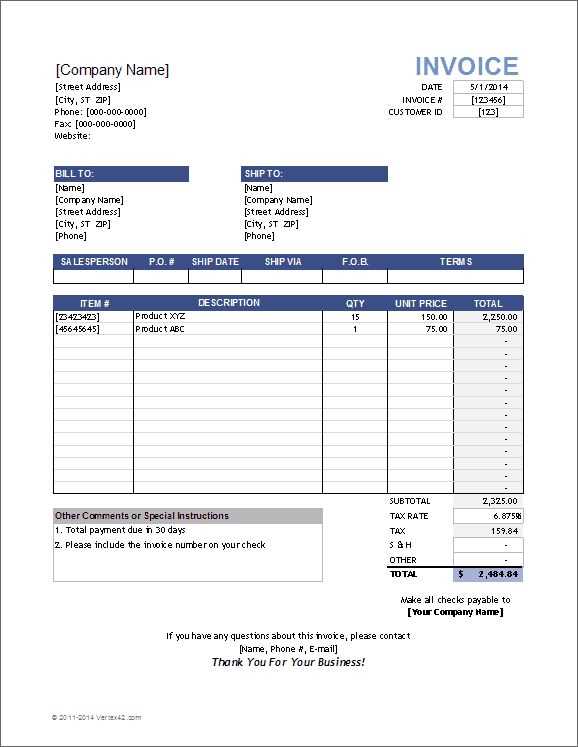
Creating a professional receipt template for your business can save time and help maintain a clear record of transactions. A well-structured template ensures that all necessary details are captured correctly, from the transaction date to the specific items purchased. It provides a clear overview of the sale, reinforcing the transparency of your business operations.
Ensure that the receipt includes essential details such as the company name, address, contact information, and tax identification number. Also, include space for the buyer’s information and a unique receipt number for easy tracking. Clearly list the items or services sold, along with their respective prices and any applicable taxes.
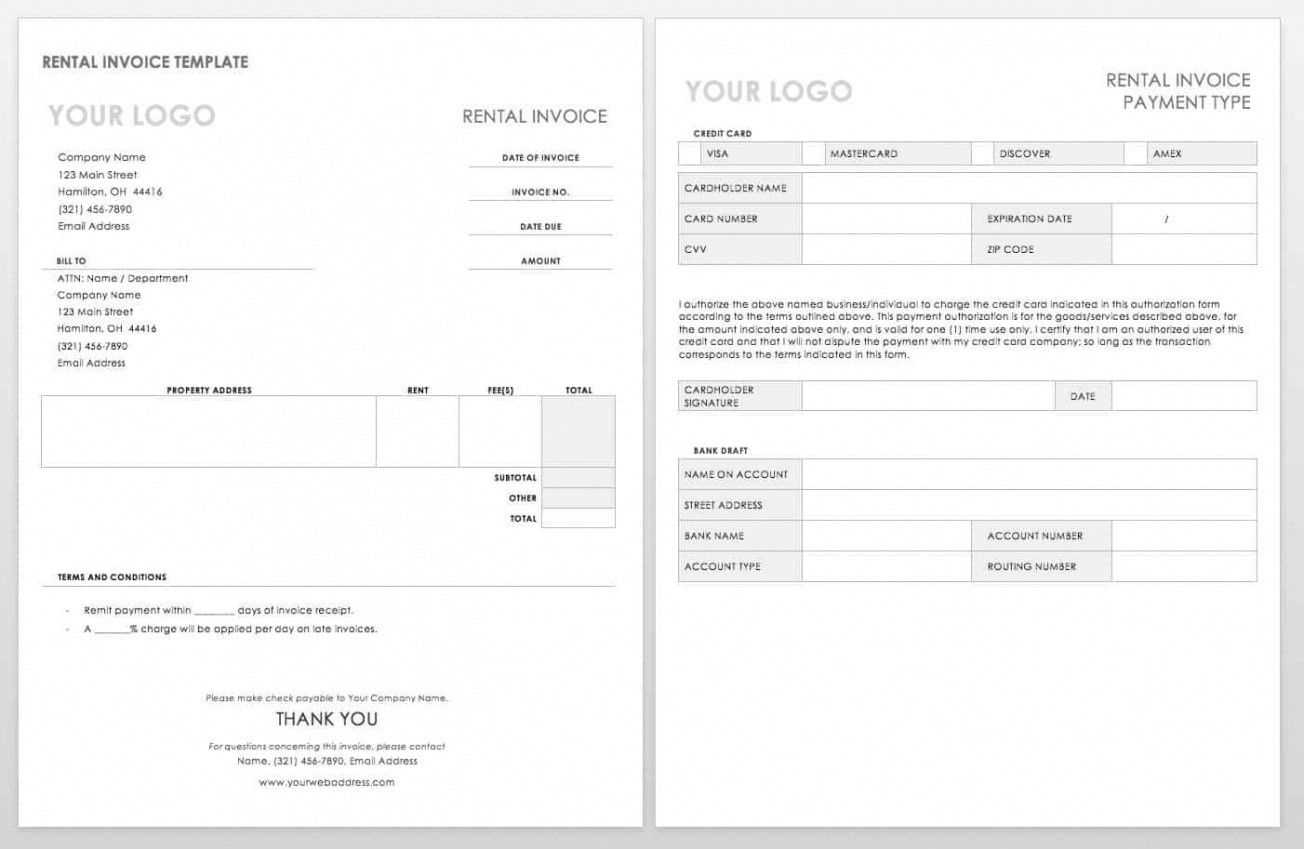
Incorporating a method for payment–whether cash, card, or check–should be part of the template. A payment method field not only helps customers understand their payment but also assists your accounting team in reconciling records. Be sure to provide a clear breakdown of the total cost, including taxes and discounts, if applicable.
Lastly, customize the receipt to reflect your brand. This includes adding your logo, choosing a professional font, and ensuring a clean layout. A polished receipt reflects positively on your business and builds trust with customers.
Company Receipt Template Guide
For a streamlined and clear receipt, focus on these key sections. Include your company name and contact details at the top. This helps customers easily identify your business.
Key Elements to Include
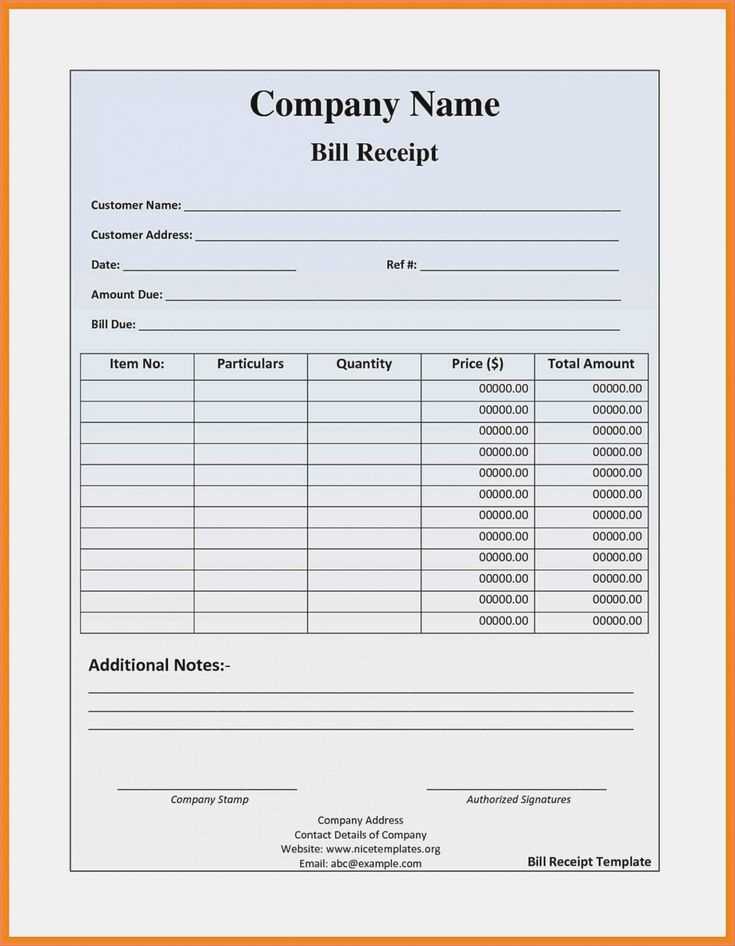
Ensure the receipt contains:
- Unique receipt number for easy tracking and reference.
- Date of transaction to record when the payment was made.
- Customer’s name and details for identification purposes.
- List of purchased goods or services with quantities and unit prices.
- Total amount paid, showing both the subtotal and any applicable taxes.
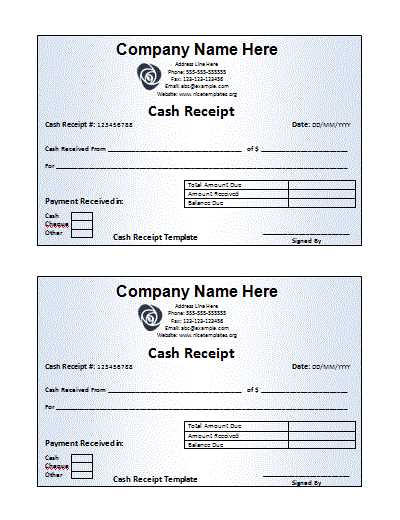
- Payment method (cash, card, online transfer, etc.).
- Signature or authorization, especially for larger or more formal transactions.
Formatting Tips
Keep it clear and organized. Use a simple table format to list items, ensuring each section stands out. Group related information, like customer details and payment, for easy readability. Be sure the font is readable, with sufficient spacing between sections to avoid a cluttered look.
For consistency, save your template for future use. This will save time and ensure your receipts maintain a professional and cohesive appearance.
Designing a Simple and Professional Receipt Layout
Keep the layout clean and straightforward. Focus on the most important elements: company name, transaction details, and totals. Align all text properly to avoid clutter and ensure readability. A well-structured design not only improves the user experience but also promotes a sense of professionalism.
Key Components
Include the following sections in the layout:
- Company Name and Logo at the top, ensuring it’s clear and prominent.
- Transaction date, receipt number, and payment method next to the company details.
- A table for itemized charges–this helps customers easily track what they’ve purchased.
- Total amount due at the bottom, in a larger font for emphasis.
Using a Table for Itemized Charges
Tables make it easier to organize and display itemized lists of purchased goods or services. Columns should include item descriptions, quantities, unit prices, and totals. Use alternating row colors to increase readability and avoid a monotonous look.
| Item Description | Quantity | Unit Price | Total |
|---|---|---|---|
| Product A | 2 | $10.00 | $20.00 |
| Service B | 1 | $50.00 | $50.00 |
| Discount | – | – | -$5.00 |
| Total | $65.00 | ||
Key Elements Every Business Receipt Must Include
Make sure your receipt includes the date of the transaction. This provides clarity and helps with record-keeping, ensuring that both parties know when the transaction took place.
List the purchased items or services. Clearly describe each item, its quantity, and the unit price, so there’s no confusion about what was bought.
Include the total amount due, breaking down taxes and discounts. This ensures transparency in the calculation of the final price, so the customer knows exactly what they are paying for.
Provide your business details such as name, address, and contact information. This not only helps in customer communication but also provides accountability and legal coverage in case of disputes.
State the payment method used (e.g., cash, credit card, online payment). This adds an extra layer of clarity and helps in case of returns or chargebacks.
Include a unique receipt number. This helps with tracking receipts and organizing business records, especially for accounting purposes.
If applicable, mention any return or refund policies. This sets clear expectations about how returns are handled, which can prevent misunderstandings.
Finally, ensure the receipt is legible and professional-looking. A well-formatted document fosters trust and improves the customer experience.
Choosing the Right Format for Digital and Print Receipts
For digital receipts, PDF format offers the highest compatibility across devices, ensuring customers can easily access, save, and print receipts. PDFs preserve the layout and formatting of receipts, preventing any potential distortion across different screen sizes or printers. For simpler needs, emails with an attached receipt image (like PNG or JPG) provide quick and efficient delivery, though these formats lack the professional appearance and structure of PDFs.
Format for Print Receipts
When designing for print, ensure the format supports standard paper sizes like A4 or Letter. PDFs remain the preferred choice, as they retain the exact layout intended for printing. Avoid using image files like PNG or JPG for printing, as they can lead to poor resolution and uneven prints. Always consider the clarity and size of text, ensuring that important details like transaction numbers and dates are easily readable in the print version.
Key Tips for Both Formats
For both digital and print receipts, keep file sizes manageable to avoid delays in sending or downloading. Limit the use of heavy graphics that might slow down the download process for digital receipts, while ensuring they enhance the professional look of printed versions. Lastly, make sure the receipt includes all legally required information, such as company name, address, and transaction details, regardless of format.
How to Incorporate Tax and Discount Information Accurately
To ensure tax and discount data are correctly displayed on a company receipt, begin by clearly separating these elements from the product pricing section. List the original price of each item, followed by any applicable discounts or adjustments. Make sure the discount amount is easy to identify by placing it in a separate row or column with a clear label such as “Discount” or “Promotion.”
Handling Tax Calculations
For tax, specify the tax rate applied and calculate the tax based on the subtotal, not the discounted price unless required by local regulations. Include both the subtotal before taxes and the total tax amount on the receipt. Always display the tax percentage to ensure transparency.
Clearly Presenting Total Costs
After taxes and discounts are accounted for, show the final amount due in bold and in a larger font to distinguish it from the rest of the information. This helps customers easily understand what they owe without confusion. Always ensure that any extra charges, such as service fees, are also clearly labeled and itemized separately.
Customizing Receipts for Different Business Needs
Modify receipt templates to match your business’s specific requirements. Whether you’re a retail store, service provider, or freelancer, tailor your receipt layout and content to reflect your unique branding and transaction details.
1. Retail Businesses
- Add itemized lists for each product sold, including prices, quantities, and any applicable taxes.
- Include space for loyalty points or discounts, helping customers track their rewards.
- Feature clear contact details and return policies to enhance customer service and compliance.
2. Service Providers

- Focus on hours worked or service types provided, with a breakdown of costs per hour or service.
- Incorporate customizable fields for project details, client names, and service dates to maintain clarity.
3. Freelancers
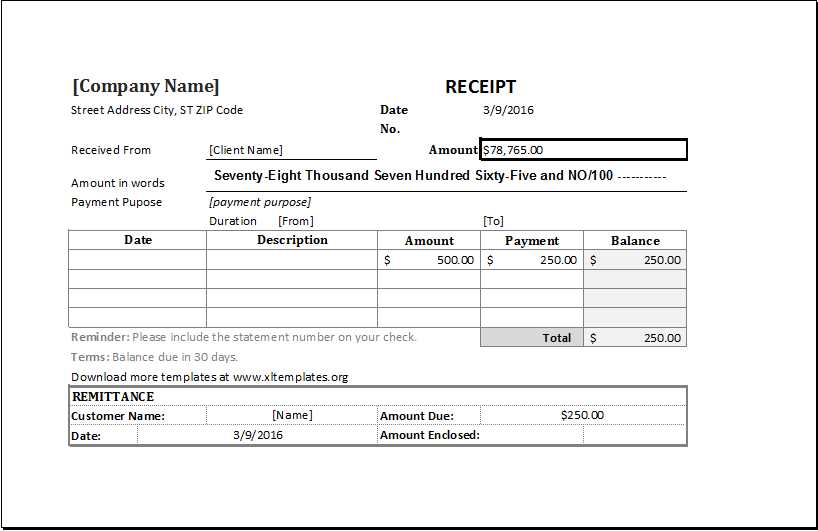
- Offer flexibility by including project descriptions and payment terms directly on receipts.
- Ensure the inclusion of both your personal contact details and tax information for invoicing purposes.
Adjusting receipt templates for each business type enhances transparency and customer satisfaction. By aligning the format with your specific industry needs, you present a more professional image and improve the customer experience.
Ensuring Compliance with Local and International Standards
Ensure your receipt template aligns with local tax laws by incorporating necessary details such as the tax rate, company registration number, and the required wording in your country. Local regulations often specify the format and the exact language to use. For international transactions, consider the requirements of both the country of origin and the customer’s location. International standards, like the International Financial Reporting Standards (IFRS), may affect the presentation and specific data fields required. Keep track of updates to tax codes and international regulations to ensure your templates remain compliant.
Include clear and accurate item descriptions, prices, and any applicable taxes in compliance with both local and international rules. If your receipts serve cross-border transactions, consider adding language translations or alternative currency representations to meet international expectations. Regular audits of your template will help maintain compliance and avoid discrepancies in the information presented.


