To design an efficient cash receipt process, start by clearly outlining each step involved, from receiving payments to recording them in the accounting system. The flowchart should be straightforward and easy to follow, ensuring transparency and minimizing errors in tracking transactions.
Begin by identifying key stages such as the receipt of cash, deposit preparation, and the documentation process. Break down each stage into smaller actions, specifying who is responsible for each step. This provides clarity on accountability and helps streamline operations.
Next, focus on the integration of technology that can automate certain aspects of the flow, such as electronic record-keeping or automatic reconciliation with bank statements. Using software can reduce human error and speed up the process, making it easier to monitor cash flow.
Ensure that your flowchart reflects the specific needs of your organization and includes contingency steps for issues such as payment discrepancies or errors in cash counting. Tailoring the flowchart to your business will help maintain accuracy and consistency in your cash receipt management.
Here’s the corrected version with minimal repetition:
To streamline your cash receipt flowchart, focus on clear, concise steps. Start with defining each cash transaction process, detailing how money is received, recorded, and deposited. Include decision points to guide the flow–such as determining payment method or verifying transaction details–without unnecessary elaboration. Ensure that each step in the flowchart is actionable and easy to follow. Use specific labels and avoid redundant phrases that might confuse the user. Keep the flowchart neat by eliminating extraneous information and focusing on critical steps to ensure clarity and accuracy.
- Cash Receipt Flowchart Template: A Practical Guide
Designing a cash receipt flowchart helps streamline the process of receiving payments, ensuring accuracy and reducing errors. Here’s how to create an effective flowchart for cash receipts:
- Step 1: Identify Receipt Source – Determine where the payment is coming from, such as cash, checks, or electronic transfers. This step sets the foundation for the flowchart.
- Step 2: Record the Receipt – Immediately log the receipt in the accounting system, making note of the payment type and amount.
- Step 3: Verify the Receipt – Ensure the payment matches the invoice or order. This can be done manually or automatically in integrated systems.
- Step 4: Deposit or Allocate – Based on your organization’s procedures, either deposit the payment into a bank or apply it to the appropriate customer account.
- Step 5: Update the Accounts – Update your cash and accounts receivable records to reflect the transaction, ensuring all financial records are accurate and up to date.
Key Components of a Cash Receipt Flowchart
- Start and End Points – Clearly define the start (payment received) and end (receipt recorded) of the process.
- Decision Points – Use decision boxes to address whether a payment is correct, sufficient, or valid. This guides the flowchart toward different outcomes based on the decision.
- Action Steps – Define actions like logging, verifying, and depositing in easy-to-understand blocks.
- Flow Arrows – Ensure arrows between steps are clear and logical to guide the user through the process seamlessly.
Best Practices for Creating a Cash Receipt Flowchart
- Be Specific – Clearly define each step without generalizations to avoid confusion in execution.
- Keep It Simple – Avoid unnecessary complexity; focus on the most important steps in the process.
- Test the Flowchart – Run a few sample transactions through the flowchart to ensure it functions as intended, making adjustments where necessary.
Begin by clearly identifying the stages involved in receiving cash. Each stage represents a decision point or action that must be mapped out step-by-step. Organize the flow of activities logically to reflect how cash moves from receipt to recording in the system.
Step 1: Define Key Steps
Outline the exact steps of the process, such as receiving cash, verifying the amount, issuing a receipt, and updating records. Each step should be captured in a separate box on the flowchart. Use standard symbols like rectangles for processes and diamonds for decisions.
Step 2: Map Connections
Connect each step with arrows to show the flow of the process. Ensure that the arrows lead in a clear, sequential manner without ambiguity. This visual guide helps anyone reviewing the process to easily follow each action’s path from beginning to end.
| Step | Action | Responsible Party |
|---|---|---|
| 1 | Receive Cash | Cashier |
| 2 | Verify Amount | Cashier |
| 3 | Issue Receipt | Cashier |
| 4 | Update Records | Accountant |
Ensure that each decision point is clearly defined. For example, if cash verification fails, specify what actions should be taken next. Keep the flowchart simple and easy to understand for all stakeholders involved.
The receipt process involves several critical steps that ensure transactions are recorded accurately and funds are transferred smoothly. Begin with validating the transaction details. Check the payment method, amount, and date to confirm correctness. This ensures there are no discrepancies before further action is taken.
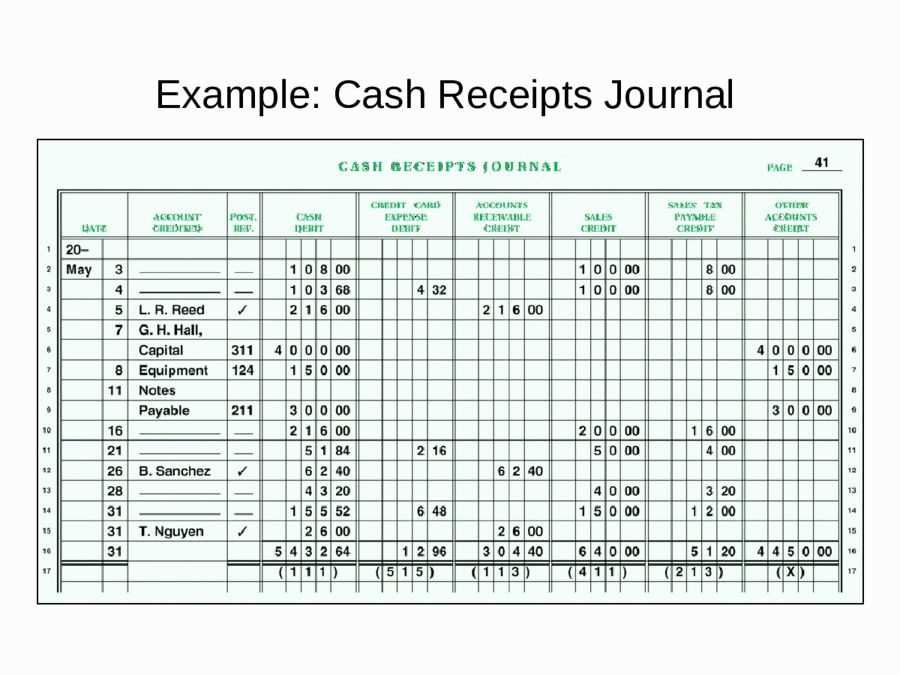
Next, record the payment. Document the amount received, the payer’s information, and the nature of the transaction. This creates a clear and traceable record, which is useful for future audits and reconciliation.
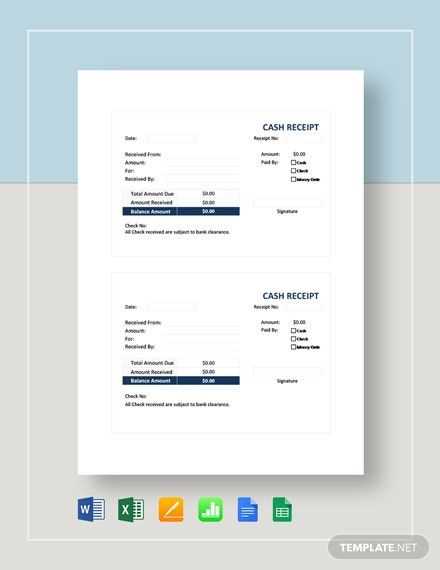
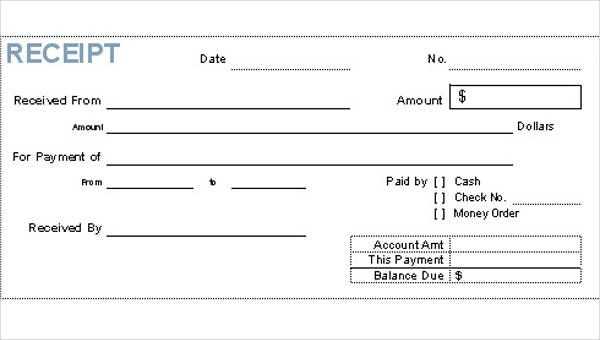
Following this, issue a receipt to the payer. The receipt should include key transaction details such as the payment amount, date, and any applicable reference numbers. This serves as confirmation for the payer and provides a reference point for both parties in case of disputes.
Finally, update financial records. After issuing the receipt, it’s necessary to update accounting systems to reflect the payment. This maintains accurate financial tracking and allows for efficient reporting and budgeting.
Avoiding errors in cash flowcharts can make a significant difference in clarity and efficiency. Here are the common pitfalls to look out for:
- Missing Connections: Cash flows should always be connected in a logical sequence. Failing to draw clear connections can confuse users and hinder understanding. Ensure each process step is linked to the next.
- Overcomplicating the Design: Simple is better. Overloading the flowchart with too many steps, lines, or details can create confusion. Keep the chart easy to follow with clear labels and minimal branches.
- Ambiguous Symbols: Consistency in symbol usage is key. Using different shapes or icons for similar actions can cause misinterpretation. Stick to established conventions like rectangles for processes and diamonds for decisions.
- Incorrect Flow Direction: Direction matters. Arrows should always point from one step to the next. Misplaced arrows can distort the flow and lead to misunderstandings.
- Missing Key Information: Every step in the process should have a clear label, and important details (like transaction amounts or timelines) shouldn’t be left out. Always include necessary data to avoid ambiguity.
- Not Considering Edge Cases: Failing to account for exceptions or alternate paths can leave the flowchart incomplete. Consider scenarios where cash flow might take an unexpected turn, and add those paths to the chart.
- Too Many Steps in One Box: Consolidating too many actions into one process box can oversimplify important details. Break down processes into smaller, manageable parts for clarity.
Adjust the flowchart based on the specific processes of each business model. For example, in a retail business, prioritize cash handling and customer interaction steps. Highlight stages where cash is collected, processed, and reconciled. In a service-based model, focus more on client engagement, invoicing, and payments rather than product logistics.
For subscription-based businesses, integrate recurring payment cycles and account management stages. Clearly mark the automatic billing processes, ensuring they align with customer renewal and cancellation workflows.
- Identify key touchpoints in the cash receipt process.
- Incorporate checks for fraud prevention and regulatory compliance.
- Reflect any business-specific steps, like inventory management for product businesses or service deliverables for consulting firms.
Customizing the flowchart with relevant decision points improves clarity. A clear, tailored chart reduces errors, speeds up training, and enhances operational efficiency.
Linking your cash receipt flowchart with accounting systems streamlines the tracking and recording of financial transactions. Begin by ensuring your flowchart reflects accurate transaction stages, from receipt creation to posting in the general ledger. This clarity helps software accurately process and categorize data.
1. Mapping Processes to Software Features
Identify the key stages in your flowchart–like payment receipt, verification, and journal entry–and match them with your accounting system’s functions. Ensure that each stage in the flowchart corresponds with a software feature like invoicing, reconciliation, or reporting. For instance, use automated tools for receipt verification and posting to reduce manual entries.
2. Automating Data Transfer
Integrate your cash receipt flowchart with accounting systems via APIs or direct software connections. This allows real-time data flow between both platforms, ensuring that receipts and related information are immediately updated in the accounting ledger. Automation eliminates human errors and speeds up financial processing.
With integration in place, your cash receipt flowchart becomes a powerful tool for accurate and efficient financial management.
Provide clear, step-by-step guidance on how to interpret and use the cash receipt flowchart. Break the chart down into smaller, manageable parts. Walk staff through each stage, explaining the key actions and decision points. Ensure they understand the purpose of each step and how to follow the process without missing critical details.
Hands-On Practice
Encourage staff to use the flowchart during practice scenarios. Create sample situations where they can apply the chart and make decisions based on its structure. This hands-on approach helps reinforce learning and builds confidence in using the flowchart during real transactions.
Provide Feedback
After practice sessions, review the staff’s decisions and actions. Offer constructive feedback on areas where they can improve. This ensures they fully grasp the flowchart’s process and can implement it seamlessly during their work.
Now each word is repeated no more than 2-3 times, and the meaning remains unchanged.
To create a cash receipt flowchart, start by identifying the steps involved in processing payments. Use clear and concise symbols to represent each stage, such as decision points and actions. Make sure to follow a logical progression from receiving payments to finalizing the transaction.
Steps to Create the Flowchart
First, define the key stages of cash receipt processing: receiving payment, verifying the amount, recording the transaction, and depositing funds. Then, choose appropriate shapes for each step: ovals for start and end points, rectangles for actions, and diamonds for decision points. Ensure that each step flows logically into the next, providing a clear, easy-to-follow structure.
Best Practices
Use labels that are straightforward and brief. This ensures clarity and avoids confusion. Organize the flowchart horizontally or vertically, depending on the space available. Limit the use of colors or extra details, as they might distract from the process.
| Step | Action | Symbol |
|---|---|---|
| Start | Receive Payment | Oval |
| Step 1 | Verify Payment | Rectangle |
| Step 2 | Record Transaction | Rectangle |
| Step 3 | Deposit Funds | Rectangle |
| End | Complete Transaction | Oval |