When managing daily transactions, a well-organized receipt template can save time and ensure accuracy. QuickBooks offers an easy way to generate customized daily sales receipts that help track income and expenses, making your accounting tasks smoother. You can start by creating a simple template that suits your business’s specific needs.
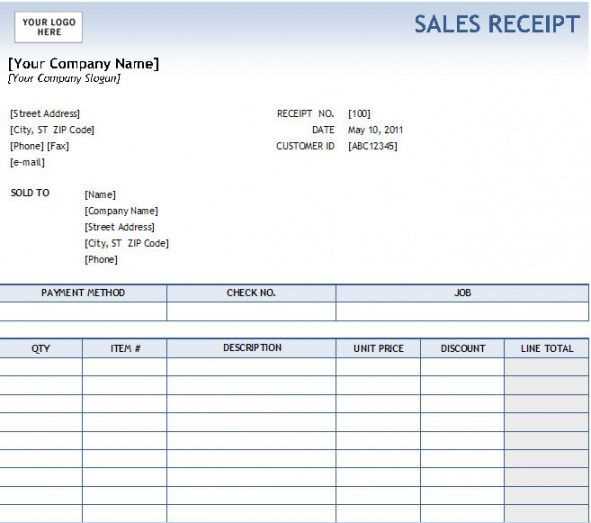
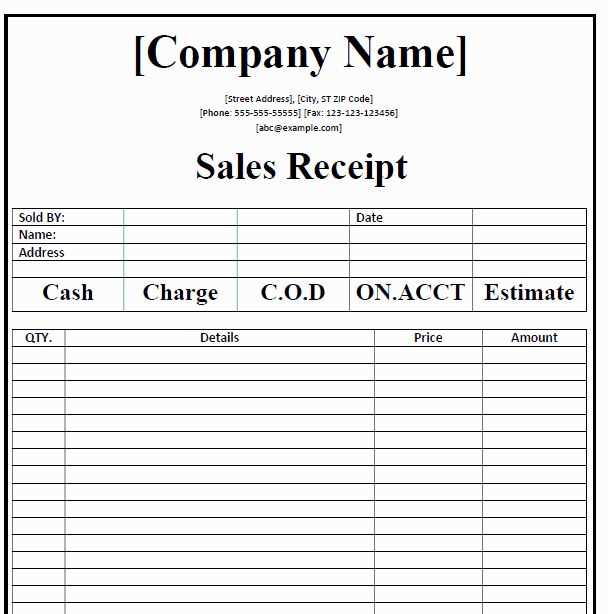
The receipt should include key details: date, transaction ID, item descriptions, quantities, unit prices, and total amounts. For consistency, set up the template to automatically calculate the totals. This can be done by using QuickBooks’ built-in features like the “Sales Receipt” form, which allows you to input information quickly and generate receipts instantly.
To further streamline your process, customize the template with your business’s logo, contact details, and tax information. QuickBooks enables this customization, so each sales receipt you generate maintains a professional appearance and meets legal requirements. Regular use of a template like this reduces errors and improves your overall record-keeping.
By incorporating these practices into your routine, you’ll notice an improvement in the speed and accuracy of your financial reporting, while also providing your customers with clear, professional receipts after each purchase.
Here is the improved version of the text where repetitions have been removed:
To customize your daily sales receipt template in QuickBooks, follow these practical steps. First, access the “Sales Receipts” section from the QuickBooks dashboard. From there, click on “Create Sales Receipt” and select the template option. This allows you to modify fields to match your business needs.
Customize Layout
QuickBooks provides a variety of template designs, but you can also adjust the layout to better suit your company’s branding. Add or remove fields such as customer information, product descriptions, and totals. You can also modify font styles and colors directly within the template editor.
Save and Apply Changes
Once the changes are complete, save the updated template. You can then apply it to any new sales receipt by selecting the customized template during the transaction process. This ensures consistency across all receipts issued in your business.
| Field | Description | Customizable |
|---|---|---|
| Customer Name | The name of the customer receiving the receipt. | Yes |
| Product/Service | Details of the purchased item or service. | Yes |
| Total | The total amount for the transaction. | No |
| Tax | Tax applied to the sale. | Yes |
By following these steps, you can efficiently customize your QuickBooks sales receipt template and ensure a polished presentation for your business transactions.
- Daily Sales Receipt Template in QuickBooks: A Practical Guide
Creating a daily sales receipt template in QuickBooks is straightforward. It allows you to streamline your sales tracking and ensures accuracy in your records. Here’s how you can quickly set it up and use it effectively.
- Accessing the Sales Receipt Template
Open QuickBooks and go to the “Sales” section. Select “Create Sales Receipt” from the options. You’ll be directed to a blank receipt form where you can customize your template for daily use.
- Customizing the Template
Click the “Customize” button to tailor the receipt to your needs. You can add your business logo, change font styles, and adjust fields to fit your operations, such as adding customer notes or specific payment methods.
- Setting Default Items
Set up default items that appear in your daily sales. These can include common products or services that you sell frequently. This saves time when entering similar transactions daily.
- Adding Tax Information
Make sure to add the correct tax rates for your region. QuickBooks allows you to automatically apply sales tax to receipts based on location, ensuring you comply with local tax laws.
- Including Payment Methods
Configure payment options to include cash, credit card, or other methods you accept. This feature helps you keep track of how customers pay and automatically updates your accounts.
- Saving and Using the Template
Once your template is set up, save it for future use. Each time you complete a sale, QuickBooks will automatically fill in the details based on your previous entries, reducing manual effort.
- Reviewing and Printing Receipts
Before finalizing, always review the details on the receipt. Once everything looks correct, click “Save and Close” to store the receipt in QuickBooks. You can also print it directly for your customer.
- Tracking Sales and Revenue
QuickBooks automatically updates your sales and revenue reports every time you create a receipt. You can easily access daily, weekly, or monthly sales reports to monitor your financial progress.
Begin by opening QuickBooks and navigating to the “Sales Receipt” section under the “Create” tab. This is where you can start designing your daily sales receipt template.
Choose “Customize” from the toolbar. In the customization menu, select the option to modify the layout of your receipt. You will have the option to adjust fields such as the date, item descriptions, sales tax, and payment method.
Customize the header to include your business name, address, and contact information. Make sure these details are aligned with your branding. Add or remove any fields that are necessary for your business operations, such as customer name or order number, depending on your needs.
Next, modify the body section of the receipt to show the items sold, including their quantities and prices. If applicable, adjust the tax rates and total amount due. Ensure the calculations are accurate and that any discounts are clearly displayed.
Once you have customized the layout, preview the receipt to ensure that all elements are in the right places and visually clear. If everything looks good, save your template under a name that reflects its purpose, such as “Daily Sales Receipt.” This will make it easy to find for future use.
Finally, test the template by generating a sample receipt. Double-check the formatting, information accuracy, and overall presentation. If necessary, make any adjustments and save the final version. Your daily sales receipt template is now ready for use!
Customize your QuickBooks daily sales receipt template by tailoring it to your business specifics. Add your logo, adjust the layout, and include necessary fields like product descriptions, quantity, and price. These steps help your receipts reflect your brand’s identity and ensure accurate reporting for your financial records.
- Logo and Branding: Insert your company’s logo and adjust colors to match your branding. This enhances the professional appearance and creates consistency across all customer-facing documents.
- Product Details: Include custom fields for product descriptions, serial numbers, or other identifiers that are relevant to your inventory management.
- Payment Methods: Add options to specify payment methods (cash, credit, or online payments). This can help you track how customers settle their bills.
- Tax Information: Set up tax categories to automatically calculate and display sales tax based on location or product type, making sure you’re compliant with tax laws.
- Custom Messages: Add thank-you notes, return policies, or any other text that can personalize the receipt and improve customer relations.
By incorporating these adjustments, your QuickBooks template will align with your business needs and streamline your invoicing process.
To streamline your sales receipts in QuickBooks, ensure all product and service details are accurately entered. Start by adding each item into your QuickBooks account under the “Products and Services” list. Select Sales Receipt under the type of transaction, then link products or services to specific income accounts for proper tracking.
When setting up products, provide specific information like name, description, and unit price. For services, you can list the hourly rate or flat rate, depending on how you bill clients. Adding a tax rate is also crucial for ensuring proper tax calculation on each receipt. If the item is taxable, QuickBooks will automatically apply the tax when you select it on a sales receipt.
For inventory items, enable the Track Quantity on Hand option. This will allow you to monitor stock levels and update them as sales occur. QuickBooks will automatically update your inventory when items are sold, providing accurate numbers for future orders.
Finally, review your settings to ensure everything is linked correctly. Items should be categorized under the appropriate accounts, and taxes should be set according to local tax rates. This helps avoid any discrepancies during reporting and tax filing.
Include payment methods clearly on your receipt template to keep transactions transparent. Specify all available payment options like cash, credit card, or digital payments. This helps customers verify their payment method and ensures accurate records for your business.
For credit card payments, include the type (Visa, MasterCard, etc.) and last four digits of the card number for security and tracking. For digital payments (like PayPal or Apple Pay), mention the transaction ID or payment reference number to assist in future inquiries.
To further streamline integration, link payment options to QuickBooks’ built-in features. This will automatically populate the receipt template with accurate payment details. This saves you time and minimizes errors, ensuring your receipts are aligned with your financial records.
If you accept multiple payment methods, categorize them on the receipt. Displaying totals for each method can make it easier for customers to understand their payment breakdown and for you to track individual payment types.
Always ensure your template design allows space for this information without overcrowding the receipt. A clean, readable format will benefit both you and your customers, providing clarity and efficiency in transaction tracking.
QuickBooks templates streamline the process of recording daily sales, reducing manual input and minimizing errors. By setting up customized templates, you can quickly capture sales data without starting from scratch each time. This not only saves time but also ensures consistency across entries.
Setting Up Your Sales Receipt Template
To get started, create a new sales receipt template in QuickBooks. Navigate to the “Templates” section under “List” in the menu. Choose a layout that suits your business needs and customize it by adding fields relevant to your sales transactions, such as customer details, payment methods, and product descriptions.
Automating Data Entry
Once your template is set up, leverage QuickBooks’ automation features to speed up data entry. You can import daily sales from your point of sale (POS) system directly into QuickBooks using integrated software or import spreadsheets. This eliminates manual entry, reducing both time and errors in tracking sales.
Additionally, set up recurring templates for regular transactions, like daily or weekly sales. This ensures that QuickBooks automatically populates the necessary fields based on your preset criteria, allowing you to focus on other tasks while maintaining accurate records.
QuickBooks also allows for customization of tax settings, discounts, and payment terms, which can be automatically applied to relevant transactions. This reduces the chance of mistakes and provides an accurate snapshot of your business’s financial health at any given time.
With a well-configured template, daily sales entry becomes a smooth and efficient process, enhancing both the accuracy and speed of your bookkeeping.
To export and print daily receipts in QuickBooks, follow these simple steps for smooth operation:
Exporting Daily Receipts
Start by navigating to the “Sales” menu in QuickBooks. Select “Sales Receipt” from the dropdown to display your recent transactions. Choose the date range for the receipts you want to export. Once the list appears, click on the “Export” button, usually found at the top of the page. QuickBooks will allow you to export the receipts to a CSV or Excel file. This option gives you flexibility to organize or analyze your data outside of QuickBooks.
Printing Daily Receipts
To print receipts, go to the “Sales” section again and click on “Sales Receipt.” You can select specific transactions or choose “Print All” for a bulk print. After selecting the receipts, click on the “Print” button. QuickBooks generates a print preview that allows you to adjust settings like paper size and orientation before confirming the print job. Ensure your printer is connected and configured correctly for a hassle-free print experience.
Meaning is preserved, and repetitions minimized.
In QuickBooks, a well-structured daily sales receipt template can simplify your workflow. Design it to capture only the necessary transaction details, such as the date, item description, quantity, and price. Avoid excessive fields that don’t add value to the receipt.
Ensure the format is clean and easy to read. The template should present the data in a straightforward way, so users can quickly understand the receipt without clutter. Redundant information, like repeating item categories or customer details, should be omitted if they’re already stored in your system.
Customizing this template to suit your business needs is key. If you’re regularly dealing with similar products or services, create predefined lists for items and services to streamline the input process. This reduces the chance of errors and keeps things consistent across receipts.
Lastly, test the template to ensure it meets all your daily needs. If the output is clear and concise, with minimal repetition, it will help your business stay organized and your customers satisfied.