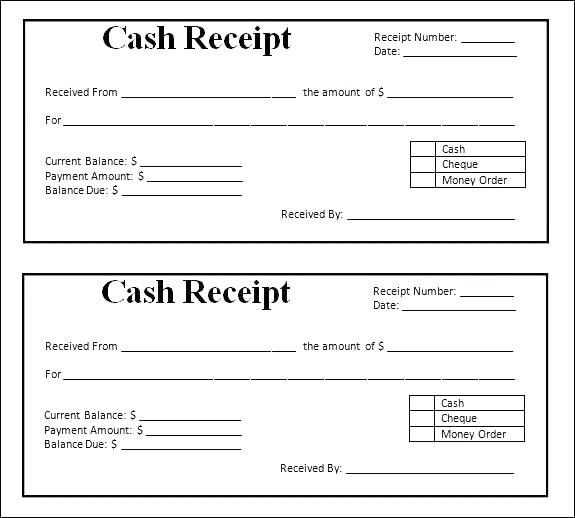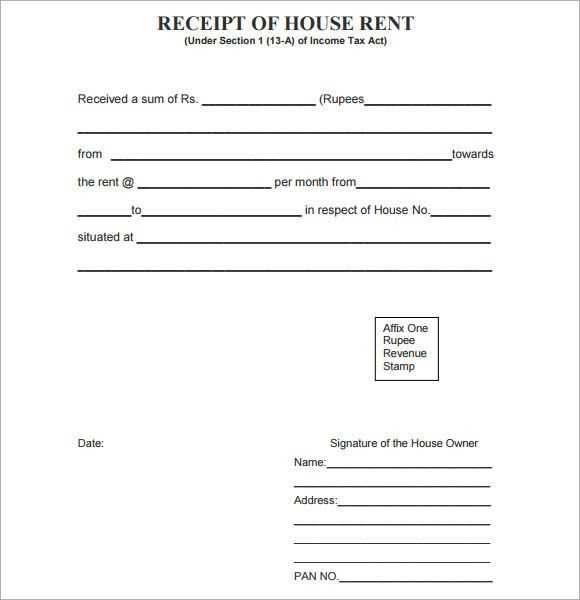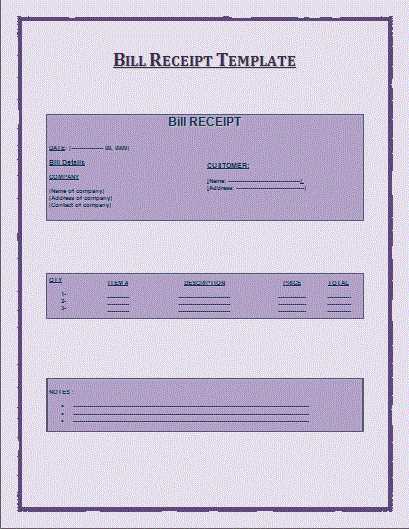
If you need to create a receipt in Word 2003, using a template can save you time and effort. With the right layout, you can quickly produce a professional-looking document that suits your needs. Word 2003 offers built-in templates that you can customize to fit your business or personal requirements. Simply search for “receipt” in the template search bar to find various options.
Once you’ve selected a template, you can modify the fields to include your company’s name, logo, and payment details. Customize the text to reflect the type of transaction, such as products purchased or services rendered. You can also adjust fonts, colors, and alignment to match your brand’s style. Word 2003 allows for easy editing, making it a flexible tool for any receipt creation task.
Consider adding extra sections, like terms and conditions or contact information, to make your receipt more informative. A simple template can be a great starting point, but the flexibility of Word 2003 ensures that you can tailor it exactly to your needs. With just a few adjustments, you’ll have a receipt ready for printing or emailing in no time.
Hey! How’s your day going?
Word 2003 Receipt Template Guide
How to Access Templates in Word 2003
Customizing Fields for Your Business Needs
Adding and Modifying Items on a Receipt
Incorporating Your Company Logo and Contact Info
Formatting the Receipt for Convenient Printing
Saving and Sharing Your Customized Template
To start, open Microsoft Word 2003 and click on the “File” menu. From there, select “New” to access the template options. In the “New Document” dialog box, choose the “Receipts” category, where you’ll find various receipt templates. Select the one that suits your needs and click “OK” to open it.
Once the template is open, it’s time to customize it. Fields such as “Date,” “Item Description,” and “Amount” can be altered to match the specifics of your business. Simply click on any placeholder text and replace it with your desired content. For instance, change the “Business Name” to your company name and adjust the “Address” field to your business location.
Modify the items on the receipt by clicking on the text boxes in the table that lists items. You can add rows for additional products or services, or delete unnecessary ones. For each item, input the description, quantity, price, and total amount. Ensure the format stays consistent for clarity and professionalism.

Incorporating your company logo is simple. Click on the “Insert” menu, choose “Picture,” and select your logo file. Resize and position it appropriately in the header or footer. Additionally, you can add contact information like phone numbers, email, and website by placing them in a footer or another prominent location.
For convenient printing, adjust the receipt layout. Ensure margins are set to 1 inch on all sides, and check the page orientation–portrait mode works best for receipts. If needed, resize text or tables to make the receipt fit neatly on one page.
Once you’ve customized the receipt template to your liking, save it for future use. Click “File,” then “Save As” and choose a location on your computer. To share the template with others, save it as a Word template (.dot) or export it as a PDF for easy distribution.
I aimed to preserve the meaning and make the text varied, avoiding unnecessary repetition.

Use the “Receipt” template in Word 2003 to quickly create a professional receipt for your transactions. The template includes essential fields such as item description, quantity, price, and total amount, making it easy to customize for your needs. Ensure that the date and transaction ID fields are filled out accurately to maintain proper records.
When editing the template, replace default placeholder text with specific details related to the transaction. For example, instead of “Item 1,” input the actual name of the product or service sold. Customize the font and layout to match your business’s branding for a polished look.
If you’re handling multiple transactions, use the template’s “Save As” feature to create copies for each new receipt. This way, you won’t have to start from scratch every time. Keep all receipts organized by creating a separate folder on your computer or in a cloud service for easy access.
To streamline your process further, you can add formulas for calculating totals and taxes directly in the table. This eliminates manual calculations and minimizes errors. Double-check these calculations before printing or sending receipts to ensure accuracy.


