Creating a Rent Receipt Document
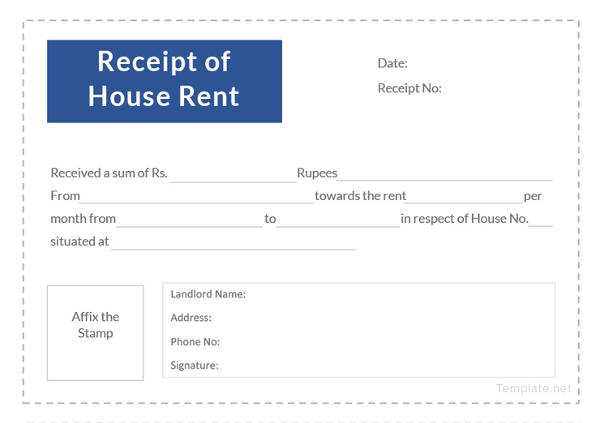
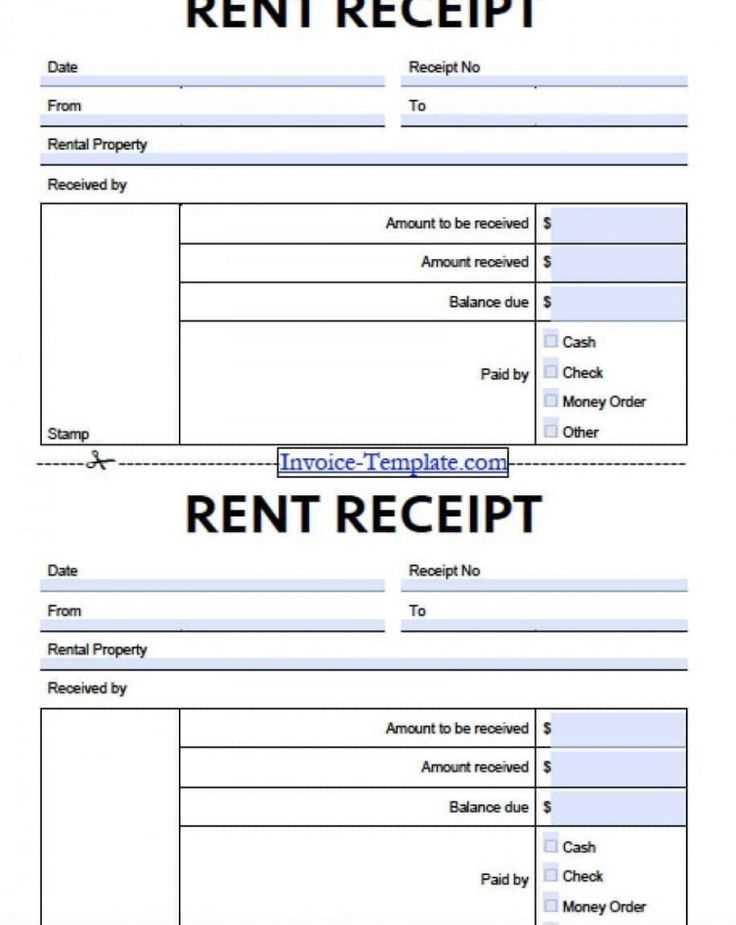
A rent receipt document should clearly outline key details such as the date of payment, tenant information, and rental amount. You can easily create a structured document by using Microsoft Word or any other word processor supporting DOCX format. The template should cover the following fields:
- Tenant’s Name – Ensure the tenant’s full name is recorded.
- Rental Period – Specify the month or duration of the payment.
- Amount Paid – Clearly state the amount the tenant has paid for that period.
- Payment Method – Indicate whether the payment was made via check, bank transfer, cash, etc.
- Landlord’s Information – Include your name, address, and contact details.
- Signature Line – Add a line for both landlord and tenant to sign, confirming the transaction.
Template Example
Here’s a simple example of what a rent receipt should look like:
Rent Receipt
Tenant Name: [Tenant Name]
Property Address: [Property Address]
Rental Period: [Start Date] to [End Date]
Amount Paid: [Amount]
Payment Method: [Cash/Check/Bank Transfer]
Date of Payment: [Payment Date]
Landlord's Name: [Landlord Name]
Landlord's Contact: [Phone/Email]
Signature of Tenant: _______________
Signature of Landlord: _______________
Tips for Customizing the Template
- Adjust Font and Formatting – Use a clean, easy-to-read font such as Arial or Times New Roman. Keep the font size consistent throughout the document.
- Add a Logo – If you are a property manager or have your own rental business, consider adding your logo at the top of the document for a more professional look.
- Use Fields for Reusability – Word processors allow you to set up fields for tenant and payment details so you can easily fill them out for every transaction.
Save the document in DOCX format for easy sharing and printing. You can also store it in cloud storage for quick access whenever needed.
Rent Receipt Template Docx: A Practical Guide
Creating a Rent Receipt Form in Word
Designing a Template for Tenant Details
Formatting Payment Information in the Template
Customizing the Receipt for Various Payment Periods
Including Legal Clauses in Your Receipt Template
How to Save and Share the Document with Tenants
Creating a rent receipt template in Word involves several simple steps. First, begin by opening a blank document and setting up a clean, professional layout. Include the property address, tenant name, and the rental period at the top of the receipt for easy identification.
Designing a Template for Tenant Details
Ensure you have clearly defined sections for tenant information. Include fields for the tenant’s full name, contact details, and lease term. These details will help both the landlord and tenant confirm the accuracy of the transaction.
Formatting Payment Information in the Template
Under payment details, include the rent amount, payment date, and the method of payment. You can also add a line for late fees or partial payments, if applicable. This structure helps in maintaining clarity and prevents any disputes later on.
Make sure the total amount is prominent, and use bold text or underlining to highlight important information such as the rent sum. For ease, consider using a table format to align the dates and amounts clearly.
For tenants who pay rent on different schedules (e.g., monthly, quarterly), add a section to specify the payment period, such as “For the month of January 2025.” This provides clear reference for both parties and avoids confusion.
When including legal clauses, add simple terms like “Payments are due on the first of each month” or “Late payment incurs a $50 fee.” These terms should be concise and placed at the bottom of the template, where they can easily be referenced if necessary.
Finally, save the document as a .docx file. You can share it with tenants via email or print it for physical distribution. Using Word’s ‘Save As’ feature allows you to keep a digital copy for your records.


