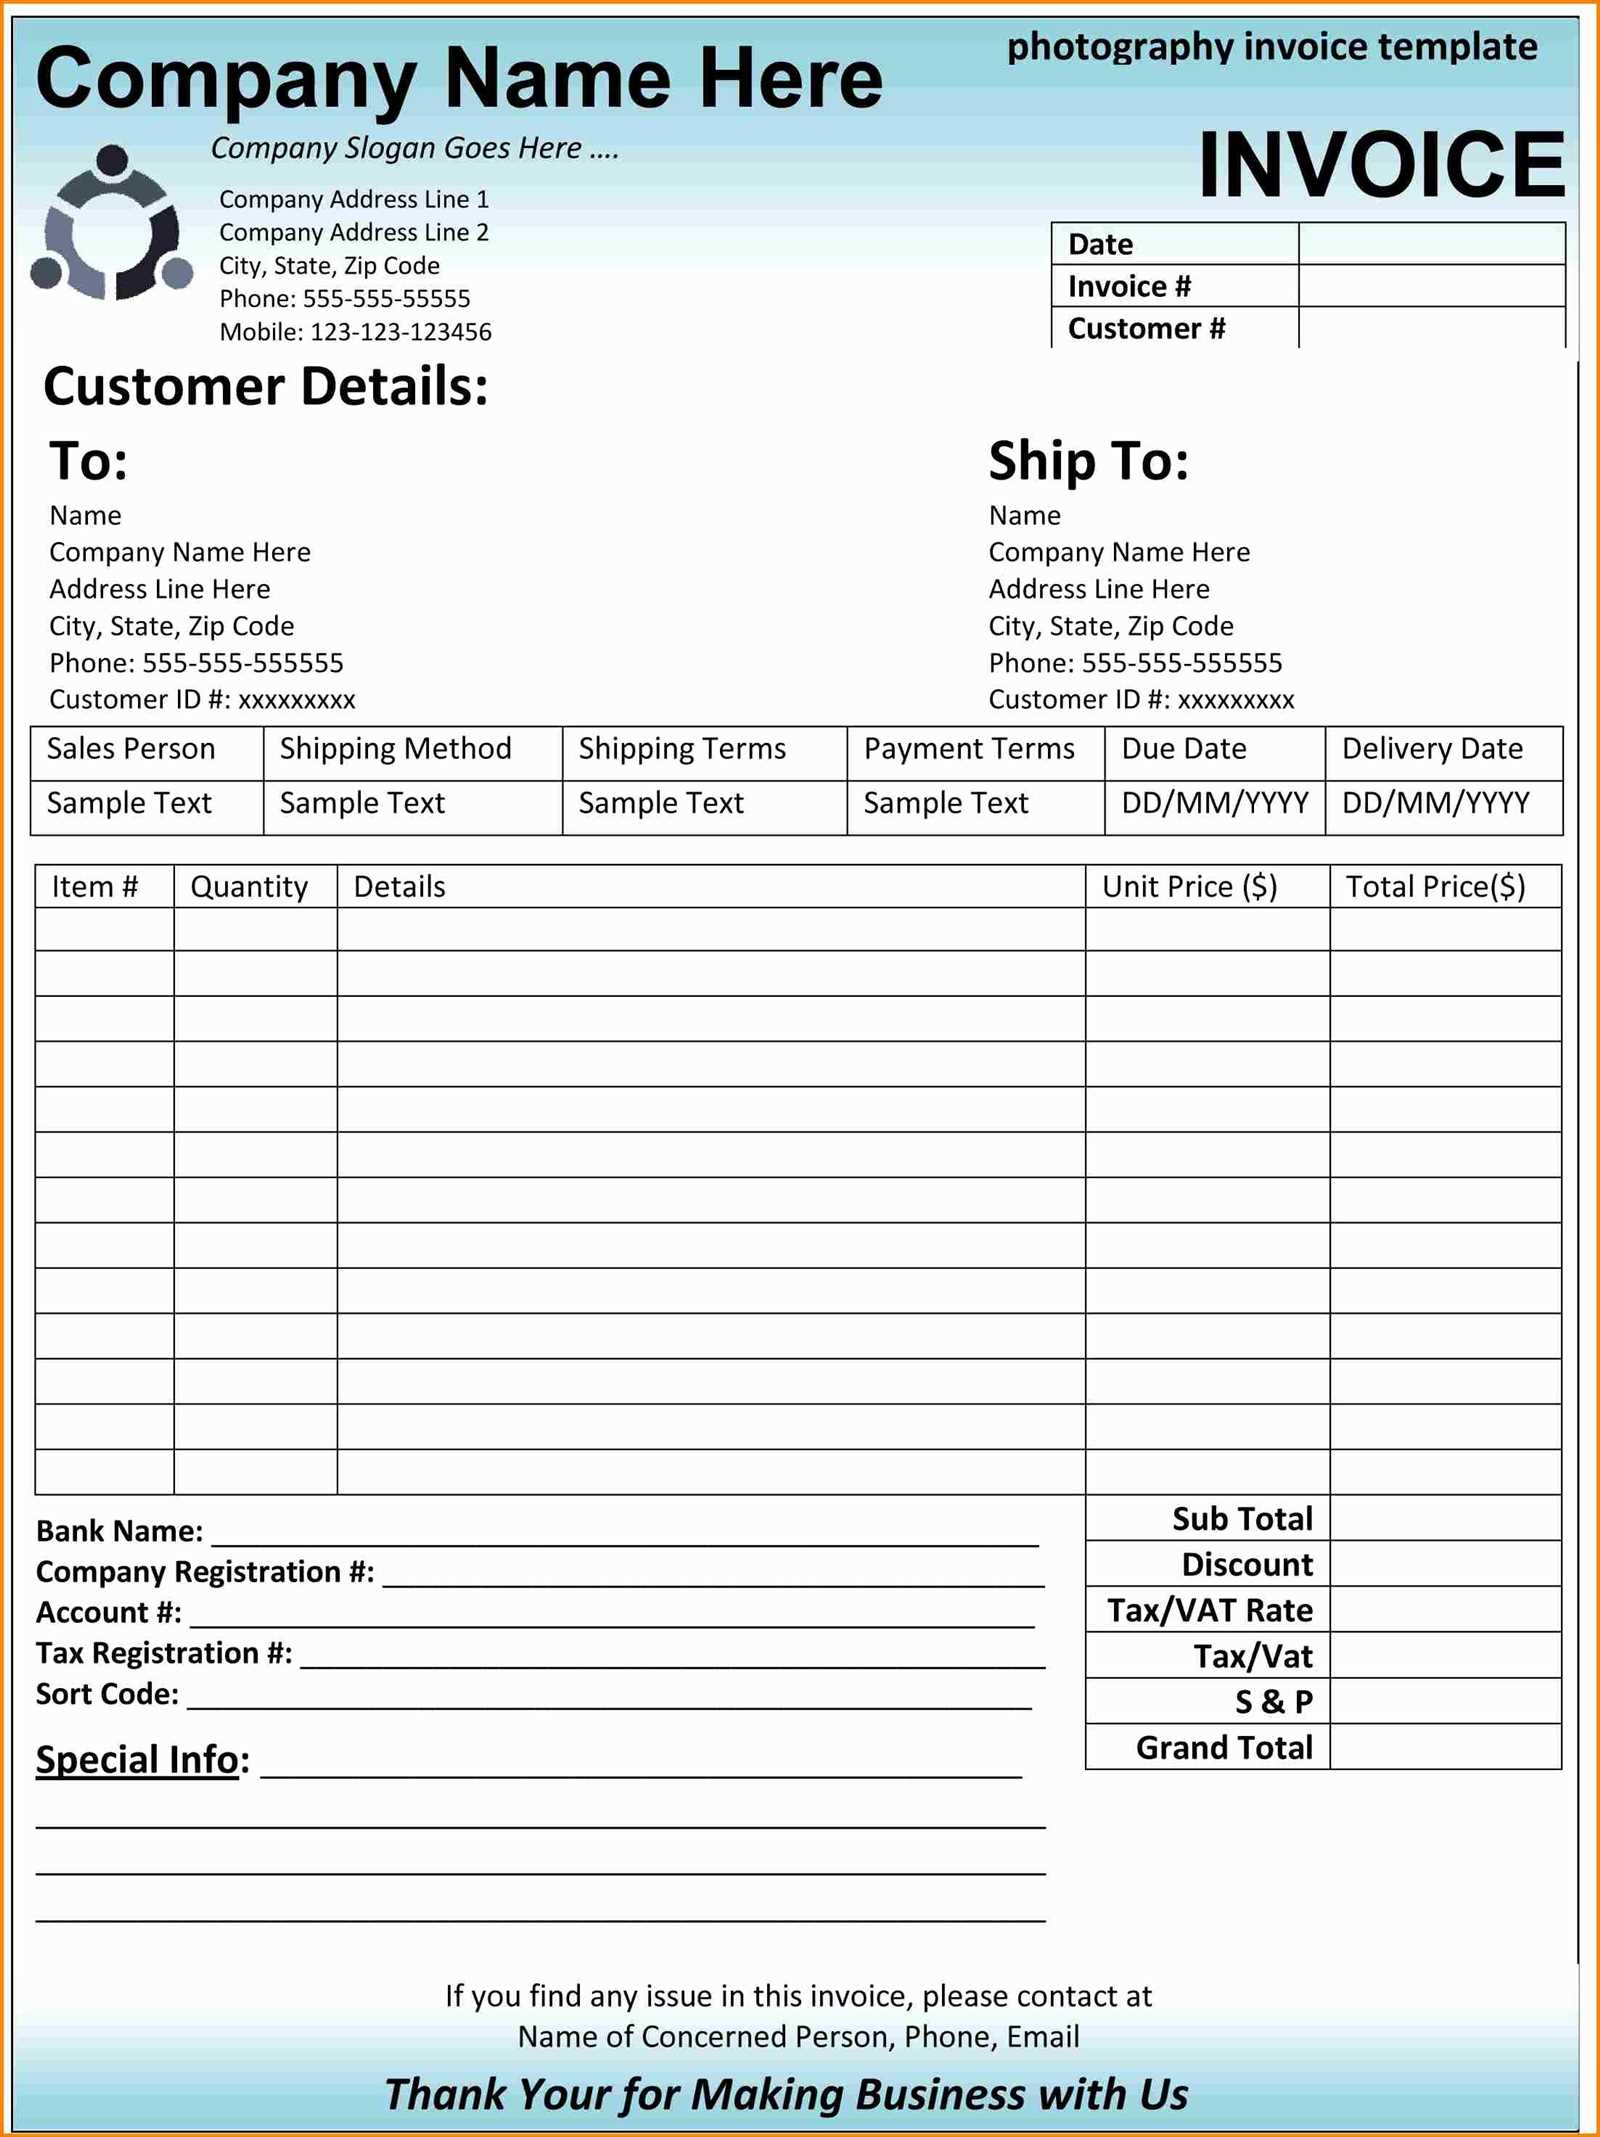
Get Started Quickly with a Simple Template
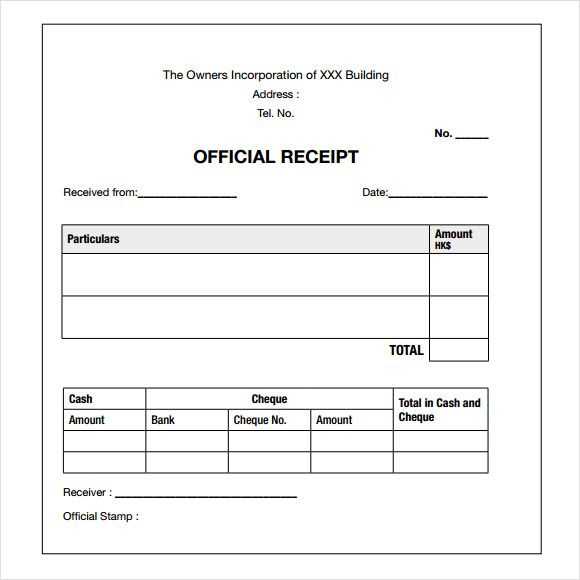
Use this free photography receipt template to streamline your business transactions. It’s straightforward and designed to make your billing process efficient, so you can focus more on your creative work. Customizing it to fit your needs is quick, and you can start using it immediately without any hassle.
What to Include in Your Photography Receipt
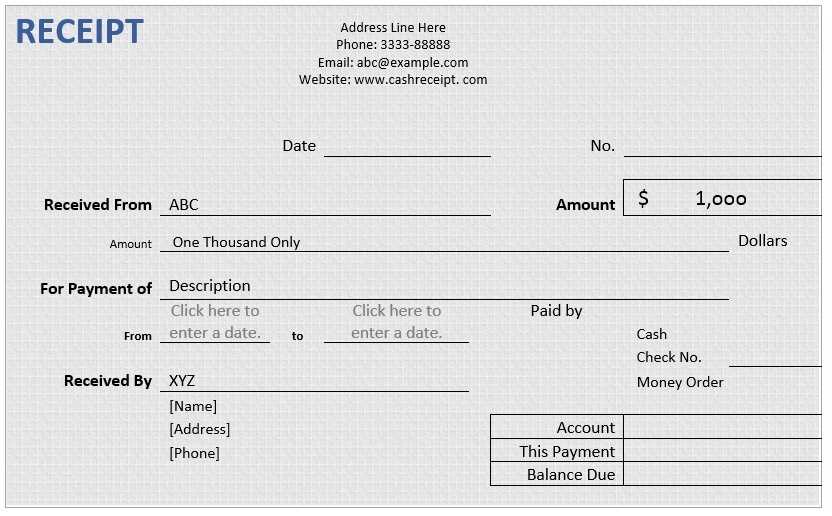
- Client Information: Include the client’s full name, address, and contact details for clear identification.
- Service Details: Describe the photography services provided, such as event coverage, portrait sessions, or product photography.
- Payment Amount: Clearly state the total cost for the services provided, including any taxes or additional fees.
- Payment Method: Specify how the payment was made, such as cash, credit card, or bank transfer.
- Receipt Number: Assign a unique number to each receipt for tracking purposes.
- Date of Service: Include the date or range of dates when the photography work was completed.
How to Customize the Template
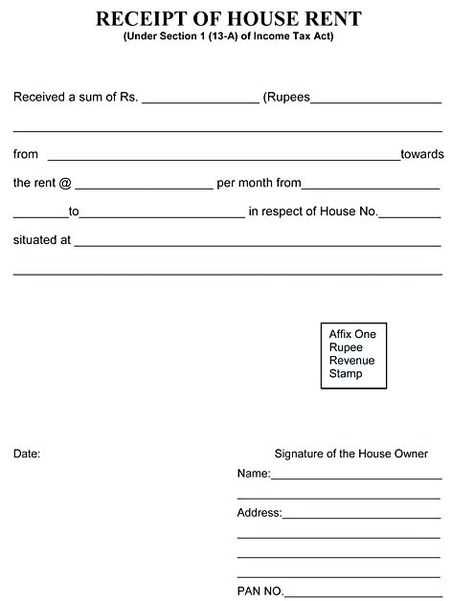
Adapt the template by adding your logo or business name at the top. Ensure your contact information is up to date. Modify the service description to match your specific offerings, and if you have a fixed rate or different packages, update the pricing accordingly. A personalized template helps to maintain a professional appearance for all your transactions.
Why Use This Template?
Using a pre-designed receipt template saves time and helps maintain consistency across all transactions. It also ensures that you don’t miss any important details that can help you and your clients stay organized. Whether you’re a freelance photographer or run a small photography studio, this template provides an easy and effective solution for managing payments and maintaining a professional approach to business transactions.
Free Photography Receipt Template
Choosing the Best Template for Your Business
Customizing Your Design for Clarity
Essential Information to Include in Your Receipt
Formatting Tips for a Polished Appearance
Using the Template for Various Payment Methods
Ensuring Legal Compliance with Documentation
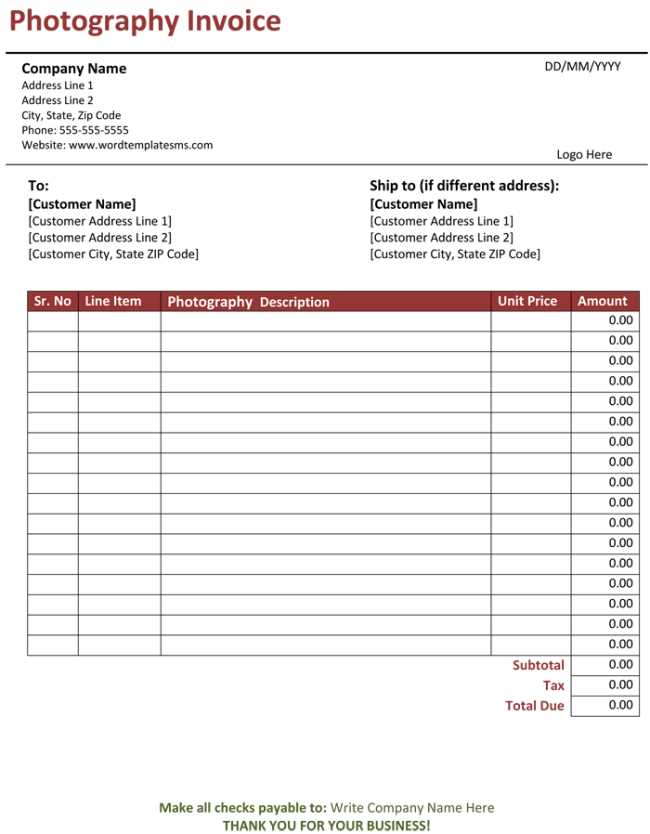
Start with a template that fits the size of your business. Choose one that clearly displays services, costs, and payment details. If you offer various packages, make sure the template has space to accommodate them all without overcrowding.
Keep the design clean and easy to read. Use clear fonts, and organize the layout with headers for different sections like client information, services, and total cost. This helps clients quickly review their purchase details.
Always include the client’s full name, address, and contact details. List each service or product provided, the price, and the total amount. Also, don’t forget to add the payment method used, whether it’s cash, credit card, or a bank transfer.
Ensure the format is easy to follow. Use bullet points or tables to separate items clearly. If your business includes taxes or discounts, highlight those in their own section so the client can easily identify them.
Make sure the template accommodates all possible payment methods. If you accept checks, online transfers, or different types of cards, include a section for each, with enough space to detail the transaction specifics.
Check the local laws regarding invoicing. Ensure your receipts contain all legally required information, such as business registration number, VAT details (if applicable), and the date of issue. Adjust your template to meet these needs before use.


