How to Create and Use an Editable Receipt Template in Excel

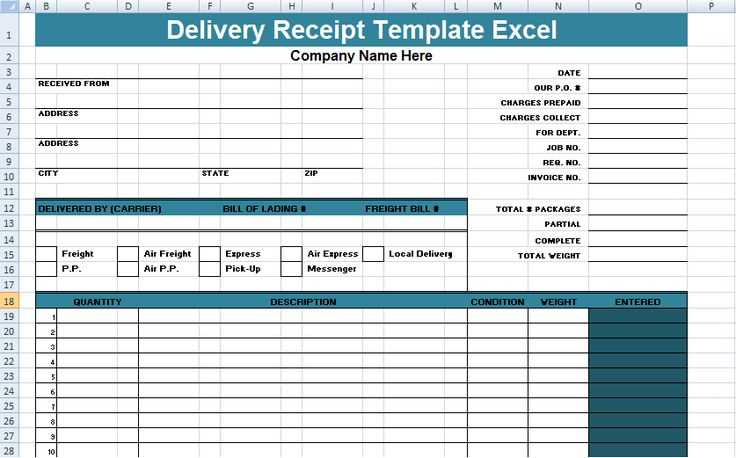
To set up a customized receipt template in Excel, open a new workbook and start by creating headers for the necessary details such as the receipt number, date, payer’s name, amount, and payment method. Use clear labels for each section. Make sure to format the cells accordingly: align text, set appropriate number formats for amounts, and apply borders to separate the sections for a clean layout.
Step-by-Step Guide

- Headers: At the top of your sheet, include labels such as “Receipt No.”, “Date”, “Payer Name”, “Amount”, “Payment Method”. Format the font to stand out and bold the headings for clarity.
- Columns for Data: Below each header, create cells where you will input or edit the data. These should be left open for flexibility. Consider using dropdown lists for payment methods to reduce errors.
- Formatting: For the “Amount” section, set the cell format to currency to automatically adjust for different currencies. Use conditional formatting for important values to highlight them (e.g., overdue payments).
Adding Formulae and Features
- Auto Calculation: Add a formula to calculate the total amount or tax if applicable. For example, use the formula =SUM(B2:B10) to sum the amounts entered in those cells.
- Customizable Layout: Excel allows you to change the layout with simple drag-and-drop actions, making it easy to add or remove sections depending on the requirements of each receipt.
- Editable Sections: To ensure the template is truly editable, use cell protection options. You can lock cells that contain formulas or static labels and allow only the fields with data to be modified.
Template Samples

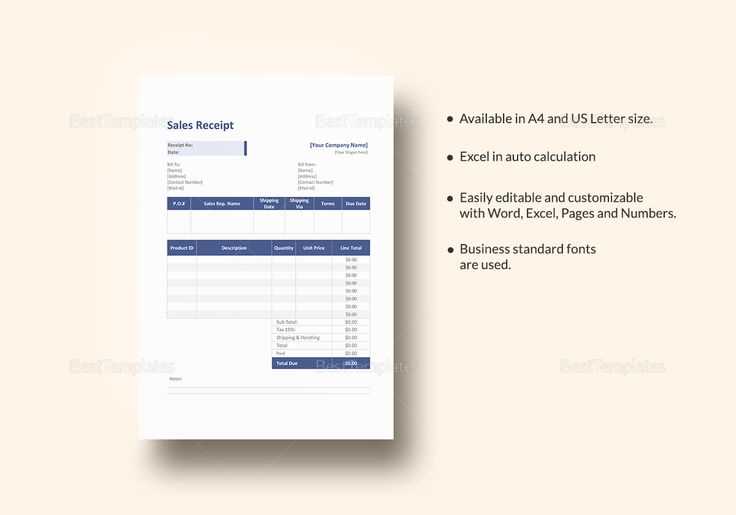
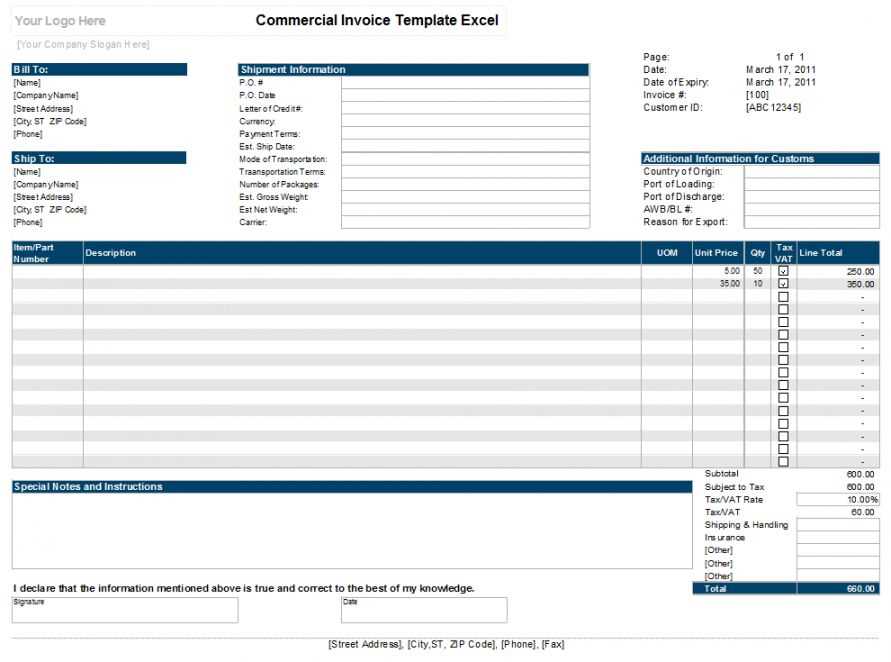
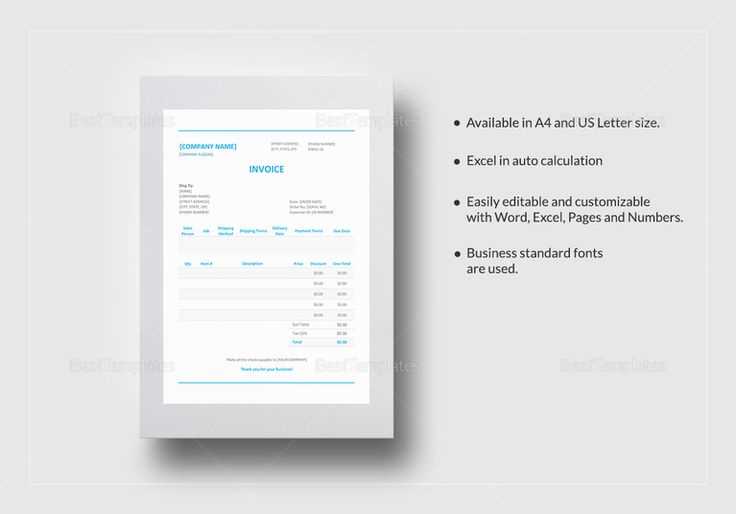
If you prefer to start with a template, many ready-made editable receipt templates are available for download. These templates can be customized to match the branding and details of your business. Ensure to adapt the layout, design, and calculation features to suit your needs.
Detailed Guide on Editable Receipt Template in Excel
How to Download a Customizable Excel Receipt Template
Personalizing Your Receipt Template for Various Transactions
Incorporating Company Branding into Your Template
Formulas and Functions for Automated Calculations
Best Practices for Organizing Receipts within Excel
How to Share or Print Receipts Directly from Excel
Begin by downloading a customizable receipt template from a trusted Excel resource, such as Microsoft Office templates or third-party websites offering free or paid templates. Ensure the template is compatible with your version of Excel and suits your transaction needs.
Personalize the template by adjusting fields like product names, quantities, pricing, and any additional notes relevant to each transaction. Modify cell styles, fonts, and formatting for clarity and ease of use. Ensure that all important data points, such as date and payment method, are included.
Incorporate your company’s branding by adding a logo, adjusting color schemes to match your brand’s identity, and customizing headers with your business name and contact information. This ensures your receipts maintain a professional look and are easily recognizable to customers.
Excel offers various functions for automating calculations. Utilize formulas like SUM to total amounts, IF to apply conditional logic (e.g., discounts), and simple multiplication to calculate totals with taxes. These formulas reduce manual input and minimize errors, making your receipts more accurate and time-efficient.
Organize receipts in Excel by grouping them based on date or customer and storing them in separate tabs or sheets. This helps maintain a clean structure and ensures easy access when reviewing or retrieving past transactions. Use filters to sort data and find specific receipts quickly.
Excel makes it simple to share or print receipts. To share, save the file in a compatible format like PDF and send it via email. For printing, adjust print settings to ensure all information fits on the page. Choose “Print Area” to define the receipt’s printable section and select your printer settings for optimal quality.


