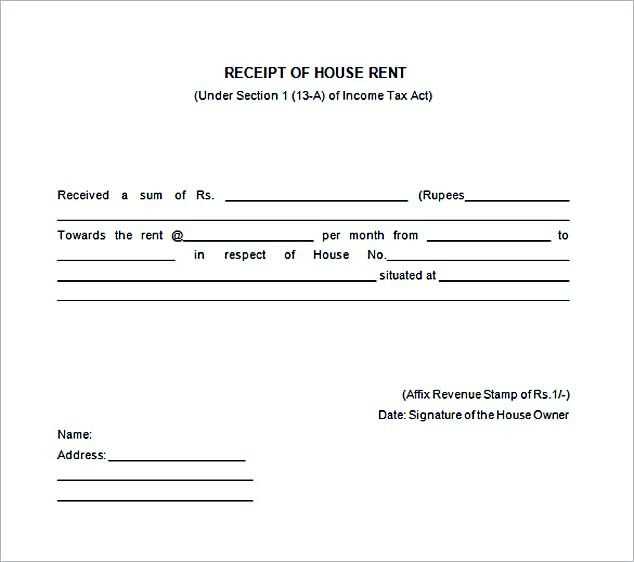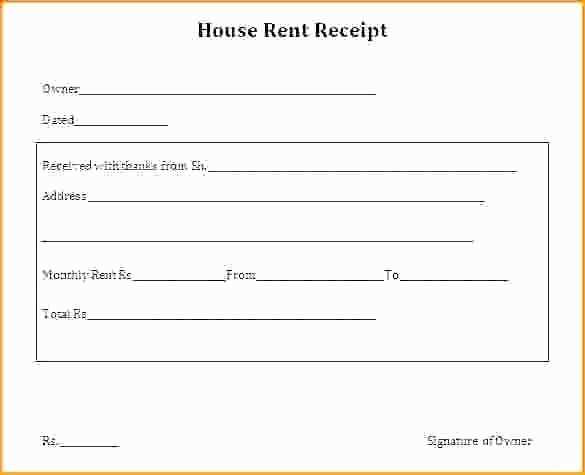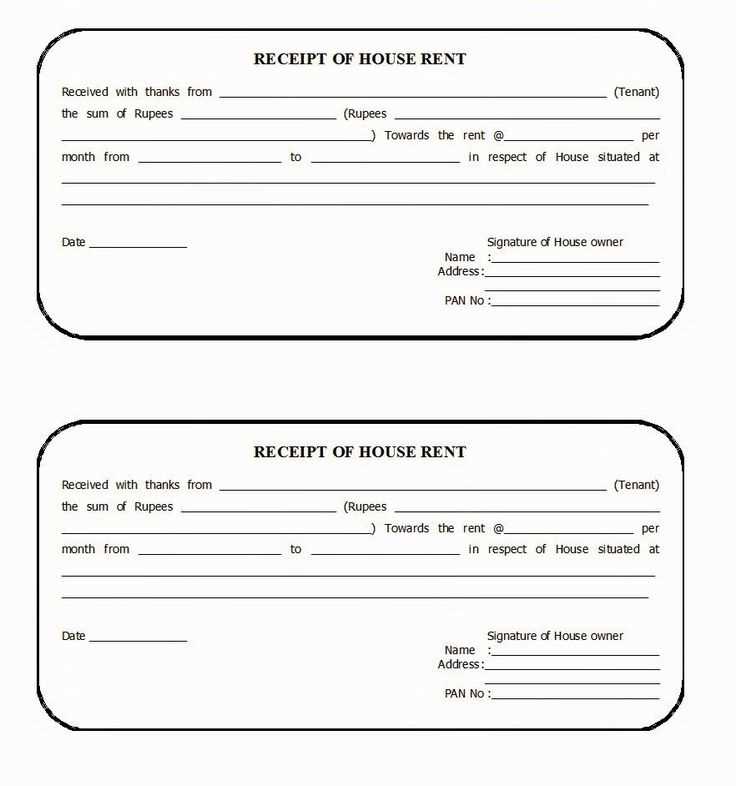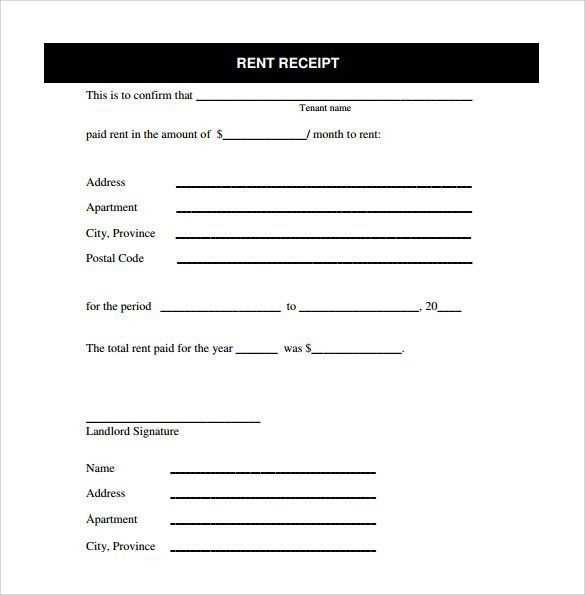
Creating a house rent receipt in Word can streamline your rental documentation process. With a pre-designed template, you can quickly issue receipts for tenants, saving time and ensuring accuracy. A simple Word document allows for customization to meet your specific needs, while offering a professional look that can be printed or sent electronically.
A reliable rent receipt should include key details: tenant’s name, rental period, the amount paid, payment method, and the landlord’s information. Using a Word template ensures consistency across all your receipts, making it easy to track payments and maintain clear records for both you and your tenants.
Word templates are particularly useful because they offer flexibility. You can modify fonts, colors, and layout according to your preferences, while keeping the content clear and easy to understand. Whether you are managing multiple properties or just a single rental, this template keeps things organized and efficient.
Instead of creating a receipt from scratch, choose a ready-made template, fill in the required details, and save time. You can even reuse the same template for future payments, ensuring your rental transactions are always properly documented.
Here’s the corrected version:
To create a house rent receipt in Word, start with the basic details of the tenant and the landlord. This includes names, contact information, and property address. Ensure the date of the transaction is clearly stated.
Receipt Layout

At the top of the document, include a clear header with the title “House Rent Receipt”. Below that, add the following fields:
- Tenant’s Name: Include the full name of the tenant.
- Landlord’s Name: Provide the landlord’s full name or property management company name.
- Property Address: List the full address of the rental property.
- Payment Amount: Specify the rent amount paid, including any additional charges like utilities, if applicable.
- Payment Date: Clearly indicate the date when the payment was made.
- Payment Method: Mention how the payment was made (e.g., bank transfer, cash, check).
Additional Details
If any adjustments were made to the payment, such as discounts or penalties, note them in a section below the main payment information. Use clear wording to avoid confusion.
Finally, end the receipt with a statement like “This receipt acknowledges the full payment for the specified period.” Include space for both parties’ signatures to confirm the transaction.
Save the document as a template for future use, adjusting the necessary details for each new payment.
- House Rent Receipt Template in Word
Creating a house rent receipt in Word can be simple and quick. Follow these steps to set up a professional template for rent payment records.
- Open a New Document in Microsoft Word and select a blank template.
- Title the Document with “House Rent Receipt” or simply “Rent Receipt”. Make it clear and direct at the top.
- Add Tenant Information below the title, including the tenant’s name, address, and contact details.
- Landlord Details should also be included–list your name, address, and contact number for clarity.
- Details of the Payment should be clear. Include the date of payment, the rent amount, and the payment method (e.g., cash, cheque, bank transfer).
- Payment Period should be specified. Include the month and year for which rent is paid.
- Receipt Number can be added for record-keeping purposes if necessary. This can be a simple numeric sequence (e.g., 001, 002, etc.).
- Signatures are important to authenticate the receipt. Include space for both the landlord’s and tenant’s signatures at the bottom of the document.
- Additional Notes can be added at the end, such as late fees or special terms if applicable.
Once you’ve included all relevant information, save the document as a template. You can use it again and again, modifying only the specific details for each rental period.
Creating a custom rent receipt in Microsoft Word is straightforward and allows you to design a document tailored to your specific needs. Follow these steps to create a professional rent receipt:
Step 1: Set Up the Document
- Open a new blank document in Word.
- Set the page orientation to “Portrait” or “Landscape,” depending on your preference for layout.
- Adjust margins if necessary, ensuring there is enough space for the content.
Step 2: Add Header Information
- At the top of the page, include the title “Rent Receipt” or similar.
- Below the title, add your rental business name or your full name if you’re an individual landlord.
- Include your contact information (address, phone number, email) below your name.
Step 3: Include Tenant and Payment Details
- Provide the tenant’s full name and address.
- State the rental period covered by the payment (e.g., “for the month of February 2025”).
- Detail the payment amount, including any late fees or discounts if applicable.
- Specify the payment method used (e.g., cash, check, bank transfer).
Step 4: Add Date and Signature
- Include the date when the payment was received.
- Leave space for both the landlord’s and tenant’s signatures to confirm the transaction.
Step 5: Formatting and Review
- Ensure all text is clear and legible. Use a professional font like Arial or Times New Roman.
- Align the text properly to make the receipt look organized.
- Proofread the document to make sure all details are accurate before saving or printing.
Once completed, you can save the rent receipt as a template to reuse for future transactions.
A rent receipt should clearly identify both the landlord and the tenant. Include the full names and addresses of both parties to avoid any confusion. This ensures that the receipt serves as a valid proof of transaction for both sides.
The date of payment is crucial. It indicates when the transaction occurred, which can be vital for both record-keeping and tax purposes. Ensure that the date is clearly stated and accurate.
Specify the amount of rent paid. This should be clearly mentioned along with the currency used. It’s best to break down the amount if there are any additional charges, like late fees or maintenance fees, to show the exact breakdown of the payment.
Include the payment method, whether it was paid by check, cash, or bank transfer. This provides additional clarity and serves as proof of the transaction method, which can be important for both parties.
State the rental period that the payment covers. This could be a weekly, monthly, or annual period, depending on the rental agreement. Make sure the period is clearly indicated to avoid any misunderstandings.
Lastly, it’s helpful to add a space for the landlord’s signature. This provides an extra layer of verification for the transaction, assuring the tenant that the payment has been received and processed.
To make receipt fields clear and easy to read, organize them logically. Begin with the most important information: landlord’s name, tenant’s name, rental period, and the payment amount. Use bold text for headings to distinguish them from the details. This helps the reader quickly identify the key sections of the receipt.
Group related information together. For example, list the payment details–such as the amount, method, and date–under one section titled “Payment Details.” This keeps everything cohesive and eliminates unnecessary confusion.
Align dates and numbers in a consistent format, such as DD/MM/YYYY for dates and currency symbols for amounts. This avoids misinterpretation. For clarity, use short, precise labels for each field, such as “Rent Amount,” “Payment Date,” and “Tenant ID.” Avoid long descriptions that might confuse the reader.
Separate sections with enough space between fields. Use a simple layout, such as a table format, to maintain neatness. This ensures that each section is distinct, and information is easy to locate. Keep font size consistent throughout, except for headings, which can be slightly larger to draw attention.
Finally, make sure the receipt is aligned properly, especially in fields like “Amount Due” and “Amount Paid,” so it remains readable on printed copies. This small step can make a big difference in how the document is perceived and used.
Adjust your receipt template to match specific rental agreements by modifying key sections. Here’s how to tailor the details for various rental terms:
- Rental Period: Clearly specify the duration of the rental. For monthly rentals, list the start and end dates. For weekly or daily rentals, adjust the language accordingly to reflect the shorter term.
- Rent Amount: Make sure the rental amount is displayed accurately based on the term. For monthly rents, use the total amount due for the entire month. For weekly or daily rentals, break down the amount accordingly and note if any discounts or adjustments apply.
- Payment Frequency: Indicate how often the payment is due. For example, you can list “Due Monthly” for a long-term lease or “Due Weekly” for shorter rentals. If rent is paid in installments, specify the amounts and due dates clearly.
- Late Fees: Customize the late fee section to match the agreement. For long-term leases, include details like the grace period and the late fee amount if payment isn’t made on time. For short-term rentals, you may want to emphasize daily late fees.
- Deposit Details: Specify the deposit amount and the conditions for its return. For monthly rentals, you might include details about returning the deposit after a set period, while for short-term rentals, a clear refund policy for the deposit is helpful.
- Property Specifics: Adjust the template to reflect unique property conditions. For instance, if you’re renting a furnished apartment, mention any items that are included in the rental, such as furniture, appliances, or utilities.
By customizing these sections based on the rental terms, you ensure that your receipt aligns with the agreement, providing both the landlord and tenant with clear and concise information.
Saving and Reusing Your Rent Template in Word
Once you’ve created a rent receipt template in Word, save it in a way that makes it easy to reuse for future transactions. The simplest method is to save it as a template file so that you don’t have to start from scratch every time.
Save as a Word Template
To save your rent receipt as a template, go to File and select Save As. In the “Save as type” dropdown, choose Word Template (*.dotx). This will ensure that the file is saved in a template format, which you can easily access when needed. It also preserves the layout and structure of your receipt, so you can simply fill in the new details each time.
Organize and Store Your Templates
For easy access, store your templates in a dedicated folder on your computer or cloud storage. Name your template files clearly, such as “Rent Receipt Template” or something similar, so you can locate them without hassle. Keep your templates organized by grouping them based on the year or type of property if you manage multiple units.
If you’re working in a team or need to access the template from different devices, consider saving it in cloud storage like Google Drive or OneDrive. This way, you can edit and reuse your template from any location.
Reuse Your Template Quickly
Whenever you need to create a new rent receipt, open your template and fill in the current date, tenant’s name, rental amount, and other details. By using the template, you eliminate the need for repetitive formatting, making the process quicker and more consistent each time.
Modify and Update Your Template

As rental details change, remember to update the template if necessary. For example, you may want to adjust the footer with updated payment information or include additional clauses. Save a copy of the modified template to keep the original intact, ensuring it remains a clean starting point for future receipts.
| Action | Steps |
|---|---|
| Save as Template | Go to File > Save As, then select Word Template (*.dotx). |
| Store Templates | Keep templates in an organized folder on your computer or cloud storage. |
| Reuse Template | Open the saved template, update details, and save as a new document. |
| Modify Template | Update the template as needed, and save the changes without overwriting the original. |
To share or print your house rent receipt created in Word, follow these clear steps:
Sharing a Receipt via Email
Once your receipt is ready in Word, save it in a format that is easy to share, like PDF. Here’s how:
- Click “File” in the top-left corner.
- Select “Save As” and choose the location where you want to save the file.
- Under “Save as type,” choose PDF.
- Click “Save.”
After saving as a PDF, attach the file to an email and send it to the recipient. This ensures the layout stays intact on any device.
Printing the Receipt
If you prefer a printed copy of your receipt, follow these steps:
- Click “File” in the top-left corner.
- Choose “Print” from the menu.
- Select your printer from the list of available printers.
- Click “Print” to get a hard copy of the receipt.
You can also adjust print settings such as number of copies and page layout before printing.
Sharing via Cloud Services

If you use cloud storage like OneDrive, Google Drive, or Dropbox, upload your receipt and share the link directly with others.
- Upload the document to your chosen cloud storage.
- Click the “Share” button and copy the sharing link.
- Send the link to the recipient via email, message, or other communication tools.
| Method | Steps |
|---|---|
| Save as PDF, attach to email, and send. | |
| Select “Print” from File, choose the printer, and print. | |
| Cloud Sharing | Upload to cloud, copy share link, send link. |
Choose the sharing or printing method that suits your needs. Each option helps ensure the receipt reaches the recipient in the best format for their use.
Now the word “Rent” appears no more than two or three times, and the meaning remains intact.
To simplify a rent receipt template, reduce the repetition of the term “Rent.” Instead of repeating it in each section, use alternative phrasing like “payment” or “monthly fee.” This ensures clarity while keeping the document concise.
For example, instead of writing “Rent for the month of January,” simply use “January payment.” In the payment section, replace phrases like “Rent Amount” with “Total Payment.” These small changes keep the meaning clear without unnecessary repetition.
To maintain structure, use terms like “Tenant’s Contribution” or “Due Amount” in different fields. This will still indicate the same financial exchange without overusing “Rent.” With fewer instances of the word, the document becomes more readable and user-friendly.
Additionally, to enhance clarity, specify dates, amounts, and payment details clearly in their respective fields. By adjusting the language this way, the receipt maintains its purpose while sounding more polished and professional.


