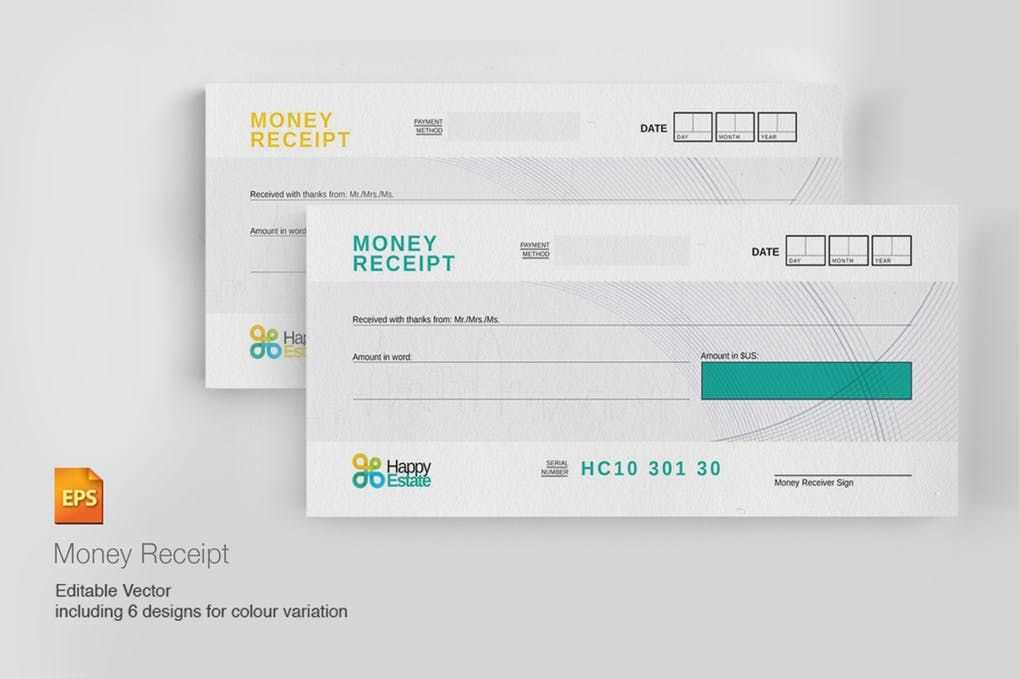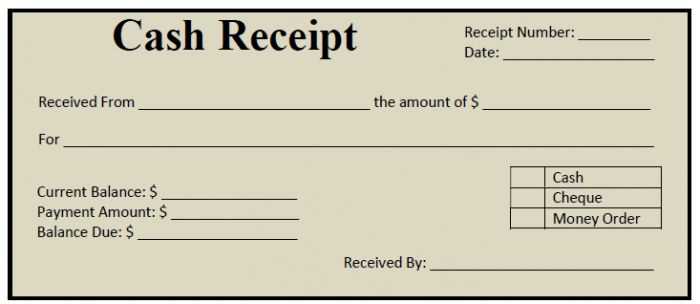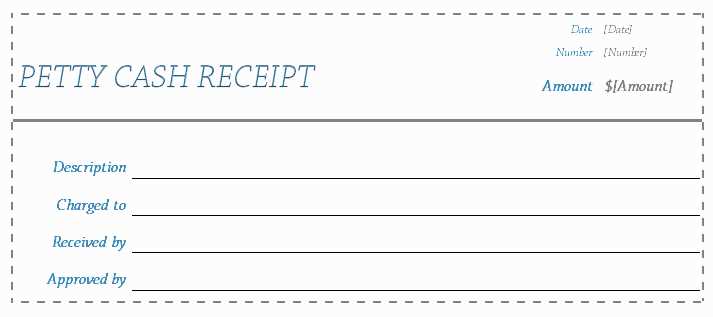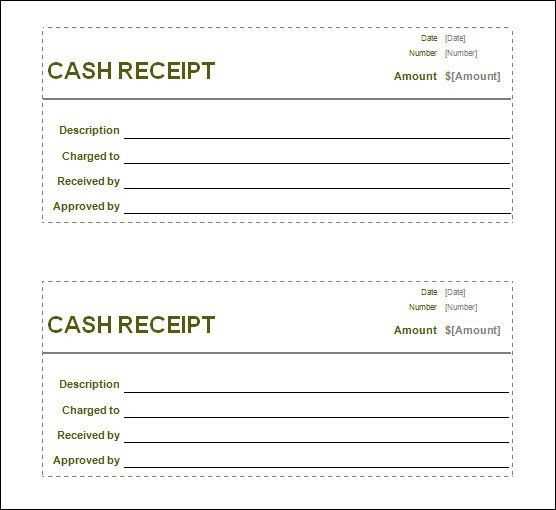
Designing a cash receipt template requires a balance between clarity, professionalism, and ease of use. A well-organized layout ensures that both the sender and receiver can quickly identify key transaction details without unnecessary distractions. Focus on structuring your receipt to include essential fields like the date, transaction amount, payment method, and a clear itemized list of purchased goods or services.
To maintain readability, use simple fonts and clear, distinct sections. A strong emphasis on contrast between text and background can improve legibility, while keeping the design minimal reduces the chance of clutter. Make sure the company’s name, logo, and contact information are easily visible, as these details help reinforce your brand identity and provide necessary follow-up information for both parties.
Ensure the template is adaptable for both physical and digital formats. For physical receipts, ensure adequate space for signatures or any necessary stamps, while a digital version can offer additional flexibility with clickable links or even automated transaction tracking systems. By designing a receipt with these practical elements in mind, you streamline the process for both the issuer and recipient.
Cash Receipt Design Template
To create a clear and professional cash receipt, prioritize simplicity and readability. Begin by including the date of the transaction at the top, followed by the name and address of your business. This ensures that the receipt is easily identifiable and provides a record for future reference.
Key Information

Below the business details, list the following essential elements:
- Receipt Number: Assign a unique number to each receipt for tracking purposes.
- Payment Method: Indicate whether the payment was made in cash, by credit card, check, or another method.
- Amount Received: Clearly display the total payment amount, including any applicable taxes.
- Description of Goods/Services: Provide a brief description of what was purchased or paid for, along with the quantity and unit price.
Visual Design Tips
Keep the layout clean and uncluttered. Use bold fonts for headings and amounts to make them stand out. Make sure there is enough white space to prevent the design from feeling cramped. Choose legible font styles and sizes that are easy to read at a glance.
For the footer, include contact information, such as a phone number or email address, so that customers can reach you with any questions. A simple thank you note can add a personal touch to the receipt and improve the overall customer experience.
Choosing the Right Layout for Your Cash Receipt
Selecting the right layout for your cash receipt can make the difference between a smooth transaction and a confusing one. A well-organized receipt layout provides clarity, improves record-keeping, and enhances your professional image. Below are some key points to consider when choosing a design:
Prioritize Legibility
The most critical aspect of a cash receipt is its readability. Choose a clean and simple font, ensuring it’s large enough for easy reading. Group related information in distinct sections–like the transaction date, buyer and seller details, and payment method–so customers can quickly scan the document for essential data.
Include Relevant Information
A well-rounded cash receipt should include:
- Transaction date: Always include the date for future reference.
- Seller and buyer details: Include full names and contact information where applicable.
- Payment method: Note whether the payment was made by cash, credit, or other means.
- Itemized list of goods or services: This allows both parties to track the purchase.
- Total amount: Clearly display the final sum, taxes, and discounts if applicable.
- Receipt number: Helps in tracking transactions.
Avoid overcrowding your receipt with unnecessary information. Keep it functional and relevant.
Maintain Consistency

If your business uses receipts frequently, consistency in layout and design creates familiarity. A standardized template helps streamline transactions, allowing employees and customers to know exactly where to find key details. Ensure your layout is aligned with your business branding–use your logo, consistent colors, and professional fonts–but don’t overdo it. Clarity should always come first.
Customizing Your Template for Different Payment Methods
When designing a receipt template, adjust the layout based on the payment method used. Tailoring the receipt ensures clarity for both the customer and business. Start by adding specific payment method details such as credit card type, transaction ID, or payment provider. Make sure these details are clearly visible to avoid confusion later on.
Credit and Debit Cards
For card payments, include the last four digits of the card number, the card type (Visa, MasterCard, etc.), and the approval code. Displaying these details ensures transparency and allows for easier tracking of the transaction if needed. You might also want to add a space for a signature, particularly for high-value purchases.
Online Payments and Mobile Wallets
For transactions made through online platforms like PayPal or mobile wallets such as Apple Pay or Google Pay, include a reference number or transaction ID specific to that service. Since these transactions don’t involve physical cards, it’s important to clearly indicate the payment platform used. This helps distinguish these payments from others and allows for easier reconciliation with the payment service provider.
Incorporating Legal and Tax Information in the Design
Ensure that the design includes a clear section for necessary legal and tax information. This helps create transparency and avoids potential legal issues. Place tax registration numbers, business licenses, and VAT identification where they are easily visible but not intrusive. Depending on your region, certain details may be required for all transactions, such as tax codes, business registration numbers, or refund policies.
Use a straightforward layout to display these details. A separate area within the receipt works well, ensuring that it doesn’t overshadow the transaction summary but is still accessible. You might choose a small footer or a designated box within the receipt to house this information, making it easy to find without cluttering the design.
Verify that all legal text, such as refund and warranty policies, complies with local regulations. Always include a brief reference to terms and conditions if applicable. For tax purposes, keep clear distinctions between taxable and non-taxable items with their respective amounts and rates, as required by local laws.
The legal and tax information section should be updated regularly to reflect any changes in laws or tax rates. If needed, provide a hyperlink or QR code that directs customers to the full legal terms online, making it simple for them to access more detailed information.
| Information | Example |
|---|---|
| Tax Identification Number | 123-456-789 |
| VAT Rate | 20% |
| Refund Policy | Refunds accepted within 30 days of purchase |
Lastly, consult with a legal expert or accountant to ensure that all relevant legal and tax information is included and correctly formatted. A receipt that adheres to these guidelines builds trust with customers and keeps businesses compliant with regulations.
Designing for Easy Data Entry and Readability
Organize the layout to prioritize clarity and minimize confusion during data entry. Group similar information together, such as personal details, purchase details, and payment methods. This structure helps users find what they need quickly and reduces the chances of errors.
- Use clear labels: Label each field with concise, understandable text. Ensure each label is aligned with its respective field, making it obvious where to input information.
- Provide examples: For fields that require specific formats (like phone numbers or dates), include sample text inside the input boxes. This guides the user to input the correct format without ambiguity.
- Allow for input flexibility: Use dropdown menus for predefined options (such as payment methods), but also offer open fields for custom input where necessary. This provides flexibility without overwhelming the user.
Make sure the font is legible. Use a simple, easy-to-read typeface like Arial or Helvetica, and avoid small font sizes. Ensure that there’s sufficient contrast between the text and background to prevent eye strain.
- Optimize field size: Adjust the size of each input field to match the type of data being entered. A longer field is suitable for addresses, while a short field is enough for phone numbers.
- Include space between fields: Maintain enough spacing between input areas to make the form appear less cluttered. This also improves readability and reduces mistakes during data entry.
Consider adding tooltips or help icons next to complex fields. These provide quick guidance without crowding the design with unnecessary instructions.
- Use error validation: Incorporate immediate error detection that highlights issues right after users enter incorrect data, instead of waiting until submission. This minimizes frustration and ensures users fix mistakes promptly.
- Keep the flow simple: Use progressive disclosure to show more fields only when necessary. For example, ask for additional details like a secondary phone number only after the primary field is filled out.
Test your design with real users to identify areas where confusion might arise or errors are frequent. Adjust based on feedback to refine the design for ease of use and accuracy.
Adding Security Features to Prevent Fraud
Integrate unique security features into your cash receipt template to safeguard against fraudulent activities. Start with using a secure, encrypted connection for generating and transmitting receipts, especially if payments are processed online. This ensures data cannot be intercepted during transmission.
Watermarks and Security Codes
Include watermarks or hidden security codes within the receipt. These can be checked by both the sender and recipient to verify the authenticity of the document. Ensure the watermark is subtle but visible under a certain light condition to make replication harder for fraudsters.
Unique Receipt Numbers

Generate unique, sequential receipt numbers for each transaction. These numbers should be stored in a secure database to allow verification of receipts against the database. Make sure the number generation system is tamper-proof and regularly monitored for discrepancies.
Best Practices for Printing and Distributing Cash Receipts
Use Clear and Accurate Information: Ensure that all required details are included in each receipt. This includes the transaction amount, date, item or service description, business name, and contact information. Check the accuracy of the printed information to avoid errors or confusion.
Choose Readable Fonts: Select legible fonts and an appropriate font size. The receipt should be easy to read without straining the eyes. Avoid cluttering the text and ensure it remains simple and clear.
Opt for Durable Paper: Use high-quality, durable paper to ensure the receipt lasts over time. Choose materials that resist fading or tearing, which can occur with cheaper paper or ink.
Ensure Clear Separation of Details: Organize the receipt’s layout so that key information such as subtotal, taxes, and total are distinct and easy to identify. This improves readability and makes the receipt look professional.
Include a Unique Identifier: Number each receipt to help track transactions and identify specific sales or returns. This makes it easier to manage records and resolve any disputes if they arise.
Maintain Consistent Branding: Incorporate your company’s logo, color scheme, and any relevant brand elements into the design. This strengthens your business identity and builds trust with customers.
Consider Digital Options for Distribution: If printing receipts isn’t feasible, consider offering email or SMS receipt options. Digital receipts reduce paper waste and make it easier for customers to store or share their transaction history.
Ensure Accessibility for Customers: Provide receipts in formats that suit all customers. Some may prefer a printed version, while others may opt for an electronic copy. Allowing customers to choose their preferred distribution method enhances their experience.


