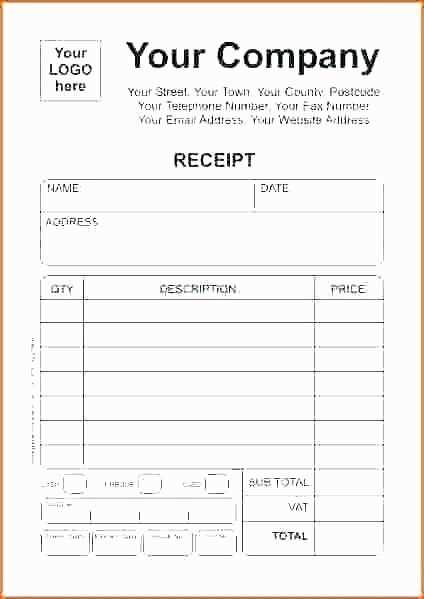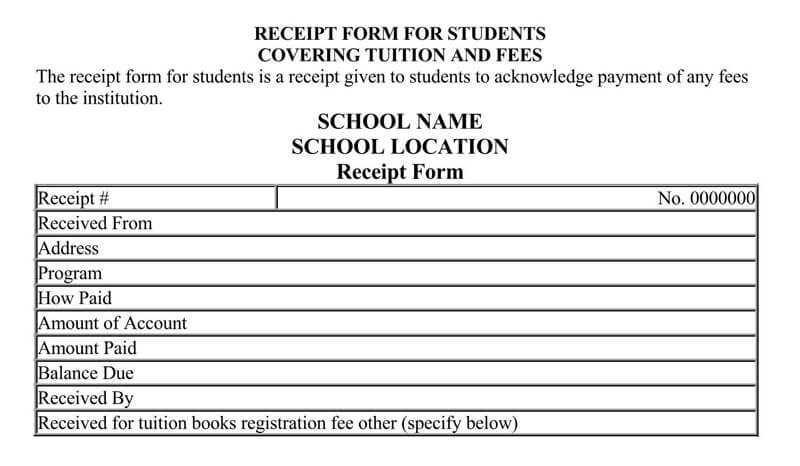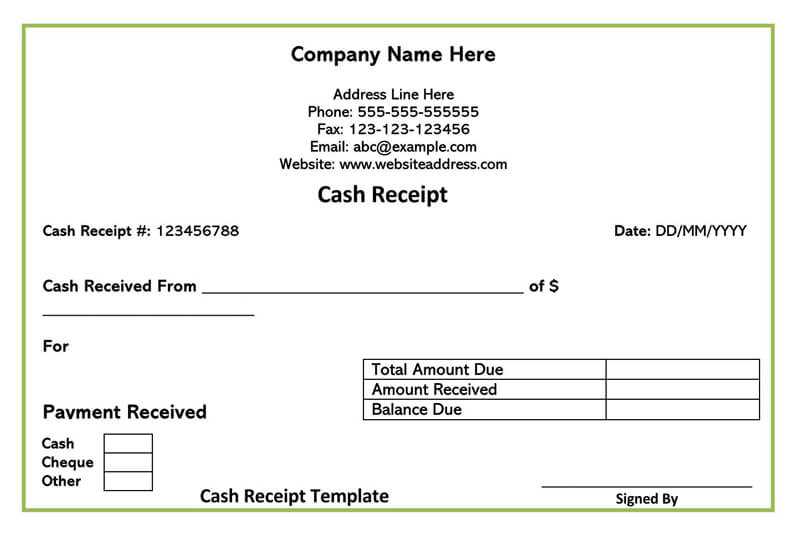
To maximize your printing space, use a “four up on a sheet” template for receipt books. This design allows you to fit four receipts on one page, saving both paper and time. The template layout ensures that each receipt is properly aligned and ready for easy cutting, making it ideal for high-volume tasks.
Customize the template according to your needs by adjusting the margins, spacing, and size of the receipt fields. With clear sections for the date, amount, description, and signature, this format keeps everything organized. It’s simple to add your logo or business information to the header, giving each receipt a professional look.
Printing these templates is straightforward. Once you have set up your document in a word processor or design software, simply print them on standard letter-size paper. Cut out the receipts along the designated lines for neat, uniform results. This method is especially useful for small businesses or personal use, ensuring that receipts are both functional and visually appealing.
Receipt Book Template Four Up on a Sheet
To create a “Four Up on a Sheet” receipt book template, follow these steps to ensure clear and organized layouts for printing multiple receipts on a single page. This format is particularly useful for bulk printing, making it efficient and practical for businesses.
- Set up the page size: Use standard letter size (8.5 x 11 inches) for the document. Adjust the margins to leave space around the edges for a neat printout.
- Divide the page into four sections: Each section will hold one receipt. Use a 2×2 grid layout, where each receipt occupies one quadrant of the page. Ensure there’s enough space between the sections for perforation or cutting.
- Use columns and rows for consistency: Align each receipt’s content in a structured format. Include fields such as date, receipt number, amount, and description. Ensure these elements are uniformly spaced within each quadrant.
- Consider margin and padding: Maintain a consistent margin around each receipt, with enough padding between text fields. This keeps each receipt easily readable and ensures that cutting or perforating between sections is straightforward.
- Design each receipt clearly: Include a header (e.g., company name), line items, totals, and space for a signature or additional notes. Keep fonts readable and sizes consistent across the document.
By following these guidelines, you can efficiently create a receipt book template that allows for four receipts to be printed on a single sheet, maximizing paper use and minimizing print costs.
Choosing the Right Layout for Four Receipts
For a receipt book with four receipts per sheet, opt for a grid layout. This format maximizes space and maintains clarity. Use two columns and two rows to ensure each receipt is clearly separated. This structure works well for businesses that issue multiple transactions at once, offering a compact but legible design.
Align the receipts evenly, leaving enough space between them to avoid confusion during printing or cutting. The margins should be consistent, and the sections for date, item description, and amounts should be clearly defined with bold headers or borders.
Consider a landscape orientation for better space utilization. This can help keep the content readable without cramming information into small areas. Ensure the text size is uniform and legible, especially in the receipt details area.
If customization is needed, include fields for special notes or discounts, but keep them to the sides or at the bottom of each receipt to avoid cluttering the main transaction details. A clean, straightforward design enhances user experience and reduces errors.
Designing a Template in Word or Excel
To create a receipt book template with four copies on a single sheet, start by setting the page layout. In both Word and Excel, you can modify the page orientation to “Landscape” for a wider layout. This provides more space to fit four sections on one page. In Word, adjust the margins to a narrower setting, such as 0.5 inches, to maximize the available area. For Excel, make sure the columns and rows are sized appropriately to fit four receipts side by side.
In Word, use a table structure to divide the page into four equal parts. Insert a table with two rows and two columns. Adjust the cell size to match the dimensions of the receipts you want. Add borders around each cell for clear separation. Include necessary fields like “Date”, “Receipt Number”, “Amount”, and “Recipient Name” inside each table cell.
In Excel, you can use a similar approach. Create a table with two columns and two rows, and resize the cells to fit your desired receipt size. Format each cell with borders and add text boxes for each field. Excel also offers the benefit of easy calculations, which is useful if you want to include totals or automatic date generation.
After creating the basic layout, check the alignment and spacing between the cells. Ensure that each section has enough space for legible text. For both Word and Excel, it’s crucial to keep the receipt information organized and easy to read.
For a more refined design, consider adding a logo or a header. In Word, insert the logo into the header section and resize it to fit within the layout. In Excel, you can place the logo in one of the receipt sections or align it across the top of the sheet.
Once the template is designed, save it as a reusable document. In Word, save the file as a template (.dotx), while in Excel, you can save the file as an Excel Template (.xltx). This will allow you to easily generate new receipts in the future without having to redesign the layout each time.
Steps to Customize Your Receipt Book
Choose a template that matches your needs. Many receipt book templates come in four-up formats, which allow you to print multiple receipts per sheet. This layout is perfect for businesses that require a high volume of receipts but want to minimize paper usage.
Customize the header to include your business name, address, and contact details. Ensure this information is clear and easy to read, as it helps customers identify your business quickly.
Adjust the receipt fields to reflect your business transactions. Common fields to include are the date, description of items or services, price, tax, and total amount. If necessary, add custom fields specific to your business type.
Incorporate a logo or branding elements. A logo adds a professional touch and reinforces your business identity. Ensure it’s placed prominently but doesn’t overwhelm the other information on the receipt.
Set up a numbering system for the receipts. This helps with organization and keeps track of the transaction history. You can either manually number them or use an automatic numbering tool provided by your template software.
Print a test page before finalizing your customizations. Check for alignment, clarity, and overall appearance. Make adjustments as needed to ensure the printed receipt looks clean and professional.
Printing Tips for Optimal Alignment
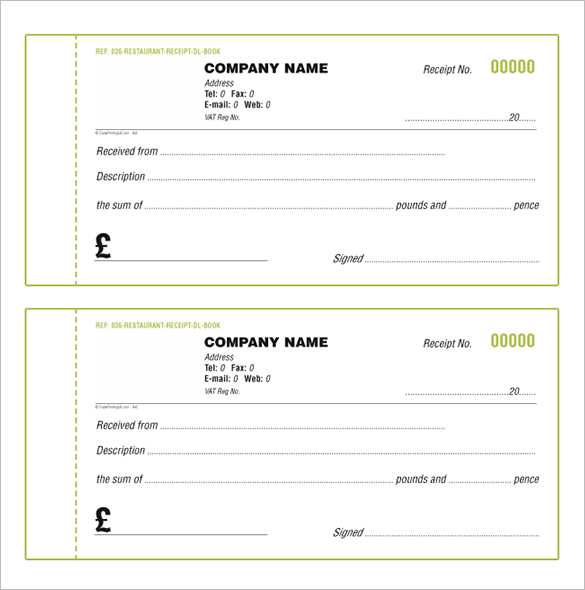
To achieve precise alignment when printing a “receipt book template four up on a sheet,” follow these steps:
- Use a High-Quality Printer: Ensure your printer is capable of handling multiple copies per page without misalignment. Regular printers might struggle with precision in dense layouts.
- Check Paper Size Settings: Verify that your document is set to the correct paper size (usually A4 or Letter) in both your design software and printer settings. Incorrect settings can cause unwanted margins or text cutting off.
- Center the Template: Position the template centrally within the printable area of the page. Use the alignment tools in your printing software to check for any shifts in positioning.
- Test Print: Before printing multiple copies, do a test run on regular paper. This helps identify any misalignments or adjustments needed without wasting materials.
- Use the Correct Margin Settings: Adjust your page margins so the template is spaced evenly across the sheet. Avoid default settings that might skew content too close to the edge.
- Align Paper in Printer Tray: Place your paper precisely in the printer tray, ensuring it’s aligned correctly. Misalignment in the tray can result in crooked prints.
- Use Print Preview: Always check the print preview to see how the layout will look on the page before finalizing the print job.
By following these steps, you can prevent misalignment and ensure your receipt book template prints accurately every time.
How to Organize Receipts for Quick Access
Store receipts in clearly labeled folders or envelopes. Use categories like “Groceries,” “Online Purchases,” and “Business Expenses” to make retrieval straightforward.
Use date ranges within each category to create subfolders or sections. This minimizes the time spent sifting through piles of receipts, allowing you to quickly find what you need. For instance, “Groceries” could be split by month or season.
Consider digital options for high-volume receipts. Take photos or scan receipts to store them on your computer or cloud. Organize them by categories and dates, just like you would with physical receipts. Keep an updated backup to prevent data loss.
Use receipt holders or binder sheets for physical receipts. These holders have slots or plastic pages that keep receipts in order and prevent them from getting damaged. If you prefer a more flexible system, try using binders with index dividers.
Set a routine for organization. Sort and categorize receipts weekly or monthly to prevent them from piling up. Make it part of your regular routine to ensure they stay organized and accessible when you need them.
Label envelopes or folders with specific dates if you’re using physical storage. This helps you to locate receipts from specific time periods quickly, especially when looking for tax documents or warranty claims.
By maintaining a consistent system for organizing receipts, you reduce clutter and improve your ability to access important documents in a flash.
Common Issues and How to Avoid Them
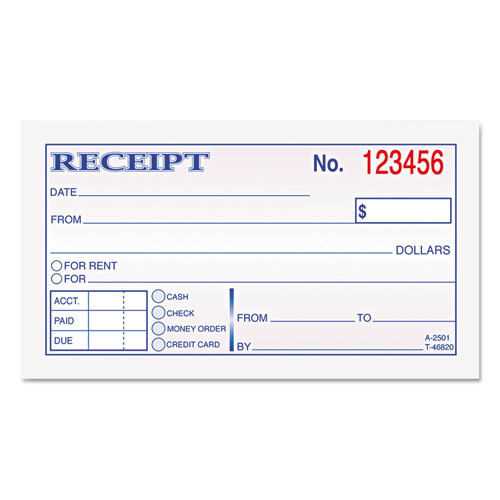
One common mistake when using a “four up” receipt book template is misalignment between the sections on the page. To prevent this, ensure that the margins and grid settings are properly configured before printing. If you’re using software to create the template, double-check the alignment settings in the print preview mode.
Incorrect Scaling
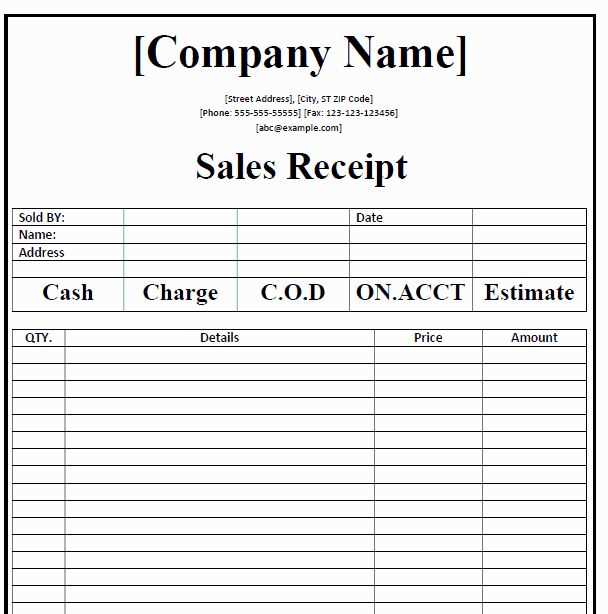
Another issue is incorrect scaling, which can lead to receipts being cut off or printed too small. Always set the scale to 100% in the print settings. Avoid using the “Fit to page” option, as it can distort the layout, making the text unreadable or the sections misaligned.
Overcrowded Text
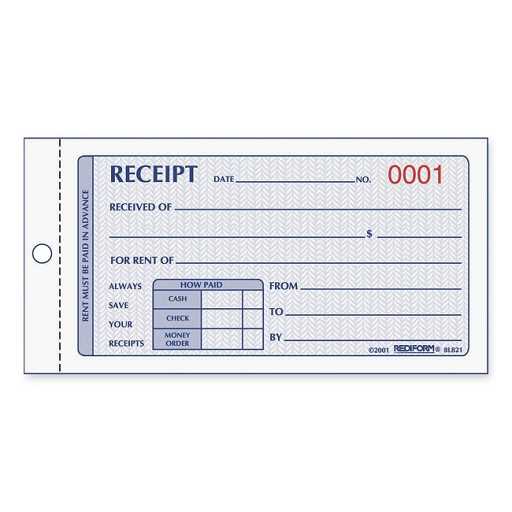
Overcrowding text in the receipt sections is a frequent problem. Keep text concise and legible, ensuring there’s enough space for each entry. Use a clear, readable font like Arial or Times New Roman, and maintain consistent spacing between lines to avoid cramming too much information into a single box.
