For managing business receipts effectively, a well-structured spreadsheet template can streamline record-keeping. Organizing income and expenses in a clear, concise format ensures accuracy and simplifies financial tracking. It’s crucial to include columns for date, vendor, amount, payment method, and description to maintain a comprehensive log of transactions.
Customize the template to match your business needs. Add categories for different types of expenses such as office supplies, services, or travel costs. This makes it easier to sort and analyze data at a glance. If you’re using the template for tax purposes, ensure there’s a section for tax details and totals.
By creating this template, you’ll have an accessible, organized system for tracking all receipts. This reduces the chances of errors and makes it easier to compile reports for budgeting or auditing purposes. Regularly update the spreadsheet to stay on top of your finances.
Sure, here’s the modified version without repeating words excessively:
Using a spreadsheet template for receipts in business provides a clear, organized way to track financial transactions. Start by creating columns for the date, customer name, item description, quantity, price, and total amount. This layout ensures you can easily reference and calculate the costs associated with each sale.
Organizing Transaction Details
Ensure that each field is tailored to your business needs. For example, if you offer services, add columns for service type and duration. Customizing the template allows you to track additional specifics that can help with accurate reporting and billing.
Automation Features
Set up formulas to automatically calculate totals and taxes. This reduces human error and saves time when processing large numbers of receipts. Consider using conditional formatting to highlight important figures, like overdue payments, for quicker decision-making.
- Spreadsheet Template for Business Receipts
To create a practical spreadsheet template for business receipts, structure it in a way that captures key transaction details. Start with columns for the receipt number, date, customer name, item description, quantity, price per unit, and total amount. Ensure each column is clearly labeled and organized to allow quick data entry and retrieval. You can also include a column for payment method, whether it’s cash, card, or another form.
Consider adding a simple formula for calculating totals and taxes automatically based on the item price and quantity. This can save time and reduce errors when entering data. Use conditional formatting to highlight overdue payments or items with special discounts. By incorporating these elements, the template will serve as a reliable tool for tracking receipts and ensuring accurate record keeping.
In addition, allow space for notes or specific instructions that may pertain to individual transactions. This could be useful for discounts, promotional codes, or special instructions regarding the sale. The more straightforward and user-friendly the template, the more it will streamline your receipt management process and improve your business operations.
Tailor receipt templates to meet the unique needs of your business. Start by including your company’s logo, contact information, and tax identification number. For retail businesses, highlight itemized lists of products, quantities, and prices. Adjust the layout to ensure clarity and ease of understanding for customers. For service-based businesses, incorporate sections for service descriptions, hourly rates, and payment methods.
Retail Businesses
In retail, receipts should reflect the purchase details clearly. List each item with its price and quantity, then calculate taxes and totals. Providing a return or exchange policy and transaction ID can increase transparency. Include space for promotional codes if applicable to enhance customer experience.
Service-based Businesses

For service industries, receipts need to break down service descriptions, hours worked, and applicable rates. Ensure your template allows for easy customization, such as adding additional notes or adjusting for discounts. Mention the type of service provided, and if applicable, include payment terms or deposits.
To track multiple payment methods in receipts, ensure each payment type is clearly recorded in a separate column within your template. Create a specific column for each payment method (e.g., credit card, cash, mobile payment) to allow easy identification and accurate record-keeping.
Steps to Organize Payments in Your Template

1. Define clear headers for each payment method in your spreadsheet. Use simple labels such as “Credit Card,” “Cash,” “Mobile Payment,” and “Other” if needed.
2. Add an additional column for “Total Paid” where the sum of all payment methods will be displayed. This will help ensure that the total is correct regardless of how the payment is split.
3. For each transaction, input the corresponding amounts under the correct payment method column. If a payment involves multiple methods, allocate the respective amounts accordingly.
Example of a Spreadsheet Layout

| Receipt Number | Date | Amount | Credit Card | Cash | Mobile Payment | Total Paid |
|---|---|---|---|---|---|---|
| 001 | 02/07/2025 | $50.00 | $30.00 | $10.00 | $10.00 | $50.00 |
| 002 | 02/08/2025 | $75.00 | $50.00 | $25.00 | $0.00 | $75.00 |
By organizing your receipt tracking in this way, you’ll have a clearer view of payment distributions and can easily verify the accuracy of transactions. This method also helps in reconciling financial records and ensures consistency across different payment types.
To integrate taxes and discounts smoothly into receipt templates, set up automated formulas to calculate tax rates and discount percentages. Ensure that tax and discount sections are clearly defined and easy to locate. This approach minimizes errors and simplifies the process for both the customer and the business.
Adding Taxes
For tax integration, define a tax rate field that automatically calculates the applicable tax on the subtotal. Most regions have different tax rates, so include an option to set different tax categories. This will allow flexibility when dealing with various products or services that may be taxed at different rates.
Applying Discounts

Discounts can be applied either as a fixed amount or percentage. Create a discount field where the user can enter the discount value, and use a formula to deduct it from the total before tax. It’s helpful to display the discount separately on the receipt so the customer can see the amount they saved.
By automating these processes, you reduce the potential for human error, save time, and provide a transparent, accurate receipt for your customers.
To streamline the receipt process, implement automatic numbering and consistent date formatting using spreadsheet formulas. This will eliminate manual entry errors and enhance the organization of records.
For automated numbering, use a simple formula like this in the first column:
| Formula for Automatic Numbering |
|---|
| =ROW()-1 |
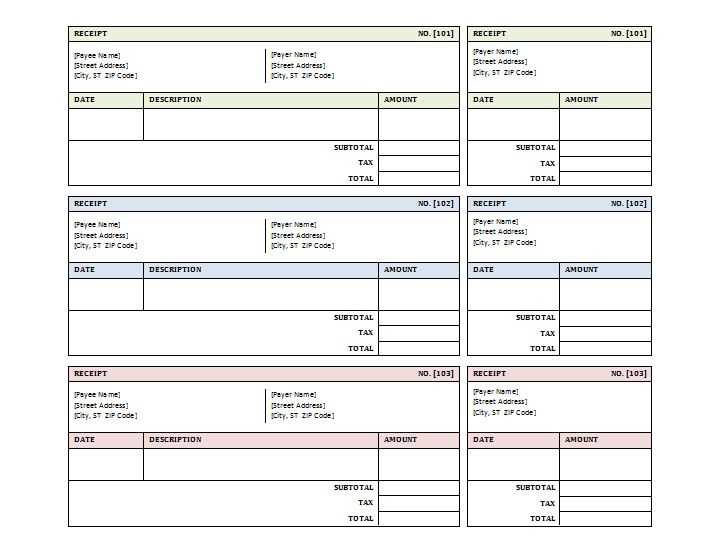
This formula generates a sequential number for each new entry by subtracting 1 from the row number. Copy this formula down the column to apply it to all future rows. If you prefer to start from a different number, you can adjust the formula accordingly, for example: =ROW()+100 to begin numbering from 101.
For date formatting, use a consistent format by applying the TEXT function. This will standardize the appearance of dates across receipts. Use the following formula:
| Formula for Date Formatting |
|---|
| =TEXT(TODAY(),”MM/DD/YYYY”) |
In this example, the TODAY() function automatically fetches the current date and the TEXT function formats it as “MM/DD/YYYY”. You can adjust the date format to match your needs by changing the text inside the quotes (e.g., “DD-MM-YYYY” for day-first formats).
By automating both the numbering and the date format, you ensure that each receipt is consistently formatted, easy to track, and error-free. These simple formulas can save time and reduce human error in your business operations.
Start by designing templates that adapt easily to both digital and printed formats. The key is to ensure a clean layout with all necessary details, such as company name, address, date, itemized list of purchased goods or services, and total amount. These components should be clearly legible and organized.
For digital receipts, ensure the template is mobile-friendly. Use scalable fonts and simple structures that display well on any screen size. Include hyperlinks where customers can view their purchases or download a PDF version for their records.
- Use a table format to structure the receipt clearly.
- Consider adding a logo or company branding for a professional touch.
- Include payment methods and transaction reference numbers for tracking.
- For digital receipts, incorporate an email confirmation option.
For printed receipts, ensure the design is optimized for standard paper sizes (such as A4 or receipt paper). Keep text sizes consistent and use high-contrast colors to make it easy to read in different lighting conditions.
Once the basic structure is in place, consider customizable fields. Customers should be able to personalize certain sections, such as the receipt title or company information. This makes the template versatile for different business needs.
- Make the date and time fields dynamic for easy updating.
- Include fields for taxes, discounts, and delivery charges if relevant.
Test the template thoroughly to ensure it looks good on both screens and prints correctly. Always preview the layout on different devices before finalizing it for public use.
Use password protection for your spreadsheet file to prevent unauthorized access. This ensures that only trusted individuals can view or edit your receipt data. Make sure to choose a strong password that combines numbers, letters, and special characters.
To share receipts securely, use cloud storage services with built-in encryption. Google Drive, Dropbox, and OneDrive offer options to store and share files with restricted access. Always enable two-factor authentication (2FA) for added security.
For sensitive information, consider storing receipts in a separate, password-protected file or folder. Use encryption tools to encrypt the file before uploading it to any cloud service. This ensures that even if the file is accessed, the data remains unreadable without the decryption key.
Always back up your receipts in multiple locations. This prevents data loss in case of unexpected issues like hard drive failure or cloud service interruptions. Keep backups both online and offline to ensure maximum security.
- Encrypt receipts before sharing with others.
- Use read-only permissions for shared files.
- Track and log access to your spreadsheet to monitor who views or edits the receipts.
- Review access permissions periodically and revoke unnecessary access.
By following these steps, you ensure that your receipt data remains safe, secure, and only accessible to authorized individuals.
When creating a receipt template for business use in a spreadsheet, it’s important to focus on simplicity and clarity. The goal is to make the process as quick and accurate as possible for both the business owner and the customer.
- Start with clear labels: Include fields for the date, transaction number, business name, customer information, product or service description, quantity, unit price, and total amount. These are the essentials for every receipt.
- Use formulas for calculations: Implement simple formulas that automatically calculate totals. For example, multiplying quantity by unit price to get the subtotal, and adding tax if applicable. This reduces errors and saves time.
- Incorporate a tax field: Add a separate field for tax calculations. Make sure the tax rate is adjustable, so it can be easily changed depending on location or applicable tax laws.
- Include a thank-you note: Adding a short message like “Thank you for your business” can make the receipt feel more personal and professional.
- Consider a logo section: If your business has a logo, add a small space at the top or bottom of the receipt. This increases brand recognition and adds a polished touch.
- Design for readability: Use a clean, readable font and avoid clutter. Ensure there is enough space between the sections, making it easy for anyone to read at a glance.
- Ensure adaptability: The template should be easy to modify for different transaction types. Consider making a few versions of the template for different needs, like one for services and one for product sales.