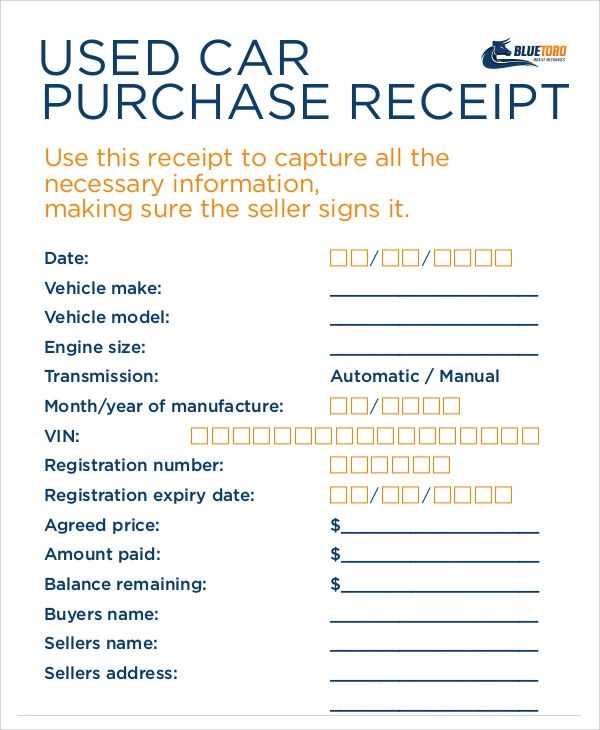
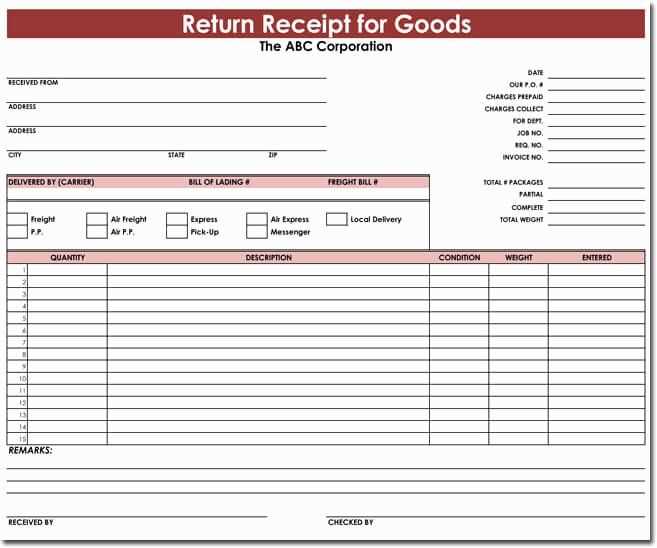
Creating a receipt for purchase of goods is straightforward when you have the right template at hand. A well-structured receipt helps maintain clear records for both businesses and customers. The template should include key details such as the date, items purchased, quantities, unit prices, and total amount. Each section should be clear to avoid confusion, ensuring a smooth transaction process.
Start by including the seller’s name, contact information, and the receipt number. This not only provides identity to the transaction but also enables easy reference for both parties. Then, list the goods or services purchased, breaking down individual prices and quantities. Always make sure to calculate the total amount due, including any taxes or discounts applied, so that the customer understands exactly what they are paying for.
By keeping the format simple yet detailed, you ensure that the receipt is both informative and professional. Having a good template for receipts helps avoid mistakes and ensures that every purchase is documented properly for future reference or warranty claims. A receipt isn’t just a formality; it is a vital part of the purchase process for both businesses and consumers.
Here is the revised version without repetitions:
Ensure the receipt includes the complete list of purchased goods with clear item descriptions and quantities. Avoid repeating information, such as item names or prices, unless necessary for clarity. Structure the receipt so that each item is listed once, followed by its unit price and total cost. Double-check the accuracy of the total sum, including any taxes or discounts applied. This will help maintain transparency and prevent confusion for both parties.
For items that have multiple variants, specify the exact version or model number. This prevents any ambiguity when processing returns or exchanges. Keep the language simple and direct to ensure all details are easy to understand at a glance.
Include a separate line for payment methods and any relevant transaction IDs. If the purchase was made online, mention the order number or tracking information. This extra layer of detail is helpful in case the receipt needs to be referenced in the future.
Lastly, the receipt should include your business contact details and any relevant terms regarding returns or warranties. This reinforces professionalism and provides a point of reference for customers in case of issues with their purchase.
- Receipt for Goods Purchase Template
Use the following template to create clear and concise receipts for goods purchased. A well-structured receipt ensures that both the buyer and the seller have a transparent record of the transaction.
Template Structure

The basic structure of a receipt includes essential information such as the seller’s details, buyer’s details, a description of the purchased goods, and the transaction specifics. Here’s an example:
--------------------------------------------------------
Receipt Number: [Unique ID]
Date: [Transaction Date]
Seller: [Seller’s Business Name]
Address: [Seller’s Address]
Phone: [Seller’s Contact Number]
Email: [Seller’s Email Address]
--------------------------------------------------------
Buyer: [Buyer's Full Name]
Address: [Buyer's Address]
Phone: [Buyer's Contact Number]
--------------------------------------------------------
Item Description     Quantity     Unit Price     Total Price
[Item 1 Name]        [Qty]        [Price]        [Total]
[Item 2 Name]        [Qty]        [Price]        [Total]
--------------------------------------------------------
Subtotal: [Total Subamount]
Tax (X%): [Tax Amount]
Discount (X%): [Discount Amount]
--------------------------------------------------------
Total Amount: [Total Amount Due]
--------------------------------------------------------
Payment Method: [Cash/Credit/Debit/Other]
Transaction ID: [Payment Processor ID]
--------------------------------------------------------
Thank you for your purchase!
Key Elements

- Receipt Number: A unique identifier for each transaction. This helps both parties reference the transaction easily.
- Date: Clearly state the date the goods were purchased.
- Seller’s and Buyer’s Details: Contact information for both parties ensures the receipt can be traced back to them if needed.
- Itemized List: Provide the name, quantity, and price for each item to avoid confusion.
- Subtotal, Tax, and Discount: Break down the cost of the purchase, including any applicable tax and discounts.
- Total Amount: The final amount to be paid after taxes and discounts.
- Payment Method: Specify how the payment was made (cash, credit, debit, etc.).
- Transaction ID: If paid electronically, include the transaction ID for reference.
This template serves as a straightforward guide for creating receipts that are clear, organized, and easy to follow.
Design a clean and functional layout for your receipt template. Include basic yet important elements such as the company name, address, and contact details at the top. This establishes immediate trust and makes the document easily identifiable. Follow this with a clear section for the customer’s name and contact details, as well as a unique receipt number for easy tracking.
Ensure the itemized list of purchased goods is simple to read. Use a table format with clear columns for the item description, quantity, price per unit, and total cost. This helps to quickly convey the information to the buyer, minimizing confusion. For consistency, ensure each row in the table is aligned and that the font is legible.
| Item Description | Quantity | Unit Price | Total Price |
|---|---|---|---|
| Product 1 | 2 | $15.00 | $30.00 |
| Product 2 | 1 | $10.00 | $10.00 |
Clearly display the total amount at the bottom of the table. After the itemized list, add tax details if necessary, showing both the tax rate and the amount charged. This keeps things transparent for the customer.
Lastly, include payment method information, whether it’s cash, credit card, or online payment. This ensures all financial details are captured and avoids ambiguity. Include any refund or return policies to clarify post-purchase steps, if relevant.
A goods purchase receipt must include clear and concise details to ensure both the buyer and seller have a proper record of the transaction. Here’s a breakdown of the most important elements:
1. Seller’s Information
Always include the seller’s full name or business name, address, and contact details (email and phone number). This helps both parties identify the source of the goods in case of any future inquiries or issues.
2. Buyer’s Information
Including the buyer’s name and contact details adds transparency and helps verify the transaction if necessary. It’s especially useful for returns or warranty claims.
3. Date and Time of Purchase
Clearly state the exact date and time when the purchase took place. This will serve as a reference point for any follow-ups or disputes.
4. Description of Goods
List each item purchased, including a brief description, quantity, and unit price. This makes it easy to confirm exactly what was bought and helps prevent misunderstandings.
5. Total Amount Paid
The total amount should clearly show the sum of all items, including taxes, discounts, or any additional fees. Break down each cost component to avoid confusion.
6. Payment Method
Record the method used for payment–whether cash, credit card, bank transfer, or other forms. This gives a clear trail of the financial transaction.
7. Transaction or Receipt Number
Assigning a unique receipt number makes tracking purchases simpler and ensures you can easily reference the specific transaction in case of any follow-up actions.
Adjust your receipt template to reflect the specifics of your business operations and customer expectations. Here’s how to personalize it effectively:
- Include Business Information: Make sure your template clearly displays your business name, address, contact details, and logo. This helps customers recognize your brand and quickly contact you if needed.
- Customize Item Descriptions: Ensure that product names and descriptions are specific to your business. Avoid generic terms; use precise language to reflect your products or services.
- Tax Information: Include the applicable tax rate and any special tax considerations that are relevant to your region or industry. For example, different goods might have different tax rates or exemptions.
- Payment Method Section: Add a section to note the payment method used (e.g., credit card, cash, online transfer). This can help resolve any disputes or confirm payment history.
- Personalized Terms: If your business has specific return policies or warranties, include this information directly on the receipt to ensure customers are aware of your terms.
- Discounts and Promotions: If discounts or promotional offers were applied, clearly show these on the receipt. Customers like transparency, and it helps you track the effectiveness of your promotions.
- Order Number or Transaction ID: For tracking and reference purposes, always include a unique order number or transaction ID. This ensures easy identification in case of follow-ups or inquiries.
- Logo and Branding: Adding your business logo or specific branding elements reinforces your brand identity, making the receipt feel more official and professional.
- Additional Information: For some businesses, it may be helpful to include a section for notes, whether it’s thanking the customer or providing information on upcoming promotions.
By fine-tuning these elements, you ensure that your receipt template not only serves its basic function but also supports your business operations and customer satisfaction.
Ensure the receipt includes a clear statement of the transaction, such as the date of purchase, names of the buyer and seller, and a description of the goods. This helps clarify the terms and protect both parties in case of disputes.
Include the payment details, such as the total amount paid, the payment method, and any taxes or additional fees. This transparency is critical for tax purposes and may also be required by law depending on your jurisdiction.
If applicable, outline any warranties or return policies. These terms must comply with consumer protection laws, which may vary by location. Provide sufficient time for returns or exchanges as required by law.
Ensure the receipt reflects compliance with local tax regulations. This includes displaying the correct tax rates, tax identification numbers, and ensuring the receipt is formatted in a way that meets local accounting standards.
Verify that the receipt includes any necessary disclaimers or terms and conditions. For instance, if there are limitations on liability or exclusions, make them clear to avoid future misunderstandings.
Tailor your receipt template based on the payment method used to ensure accuracy and clarity. Start by adding payment-specific details that align with the transaction type. For example, if the customer paid with a credit card, include the card type (Visa, MasterCard, etc.) and the last four digits. If using digital wallets, mention the platform (PayPal, Apple Pay) and the transaction ID.
Cash Payments

For cash payments, indicate the exact amount received, and if applicable, note any change given. Include a line that states “Paid in Cash” to avoid confusion. Providing a breakdown of the total amount, including taxes and discounts, can help clarify the transaction.
Electronic Payments

For electronic payments, ensure the receipt contains transaction details such as the transaction number, payment processor, and payment confirmation. If applicable, provide a reference code. These elements add transparency and allow customers to easily verify the payment.
By customizing your receipt template for each payment method, you build trust with your customers and ensure your records are consistent and clear.
Use a clean and simple layout. Keep essential details like the date, items purchased, price, and total amount clear and easy to read.
- Ensure the font is legible. Opt for standard fonts like Arial or Times New Roman in sizes between 10pt and 12pt for easy reading.
- Align all text to the left or center. Avoid mixing different alignments for a cleaner look.
- Organize the receipt in a logical flow, starting with store information, followed by transaction details, and finishing with payment methods or return policy.
- Include enough spacing between sections to prevent clutter. Keep the receipt to a manageable length, avoiding unnecessary information.
For printing, choose a paper size that fits most printers, such as A4 or letter size. If you are using thermal printers, ensure the template fits the specific width of your printer paper.
- Test the receipt template with sample transactions before printing bulk copies to ensure alignment and accuracy.
- Print using high-quality ink or toner to avoid fading over time.
Adjust margins and spacing to ensure everything fits within the printable area of the paper. Double-check that the text does not extend past the edges.
Lastly, save your receipt template in a high-resolution format (such as PDF or PNG) to ensure clear printing without distortion.
Receipt for Purchase of Goods Template
To create an accurate receipt, ensure all transaction details are included. The layout should feature a clear list of items bought, their prices, and any discounts applied. Always add a section for tax and total amounts, highlighting each figure for transparency.
Use headings to separate sections like “Item Description,” “Quantity,” and “Total Cost” for easy readability. A receipt should also have the name of the store or service provider, the date of purchase, and the payment method used.
To make your receipt clear, display any necessary legal information, such as return policies or warranty details, at the bottom. Including a unique transaction number will also help with tracking purchases.
A simple, organized structure avoids confusion and helps the customer review their purchase without difficulty. Make sure the font size is legible and the design not too cluttered, as clarity is the main goal.