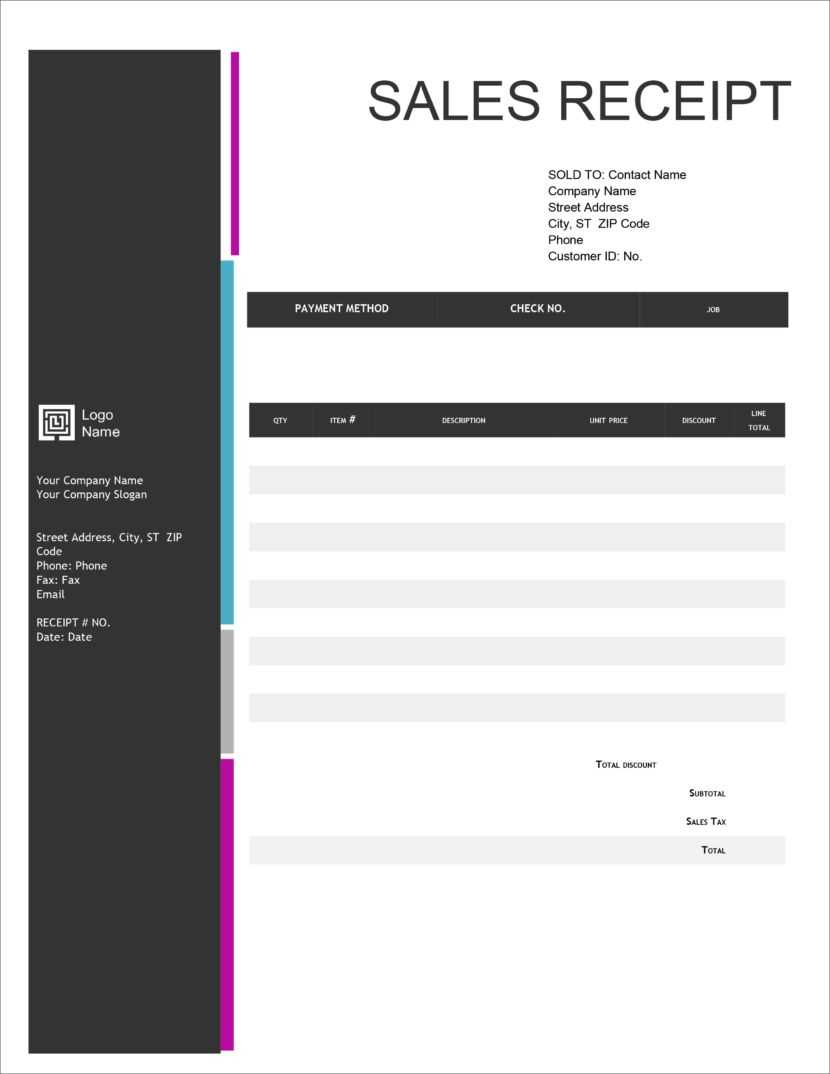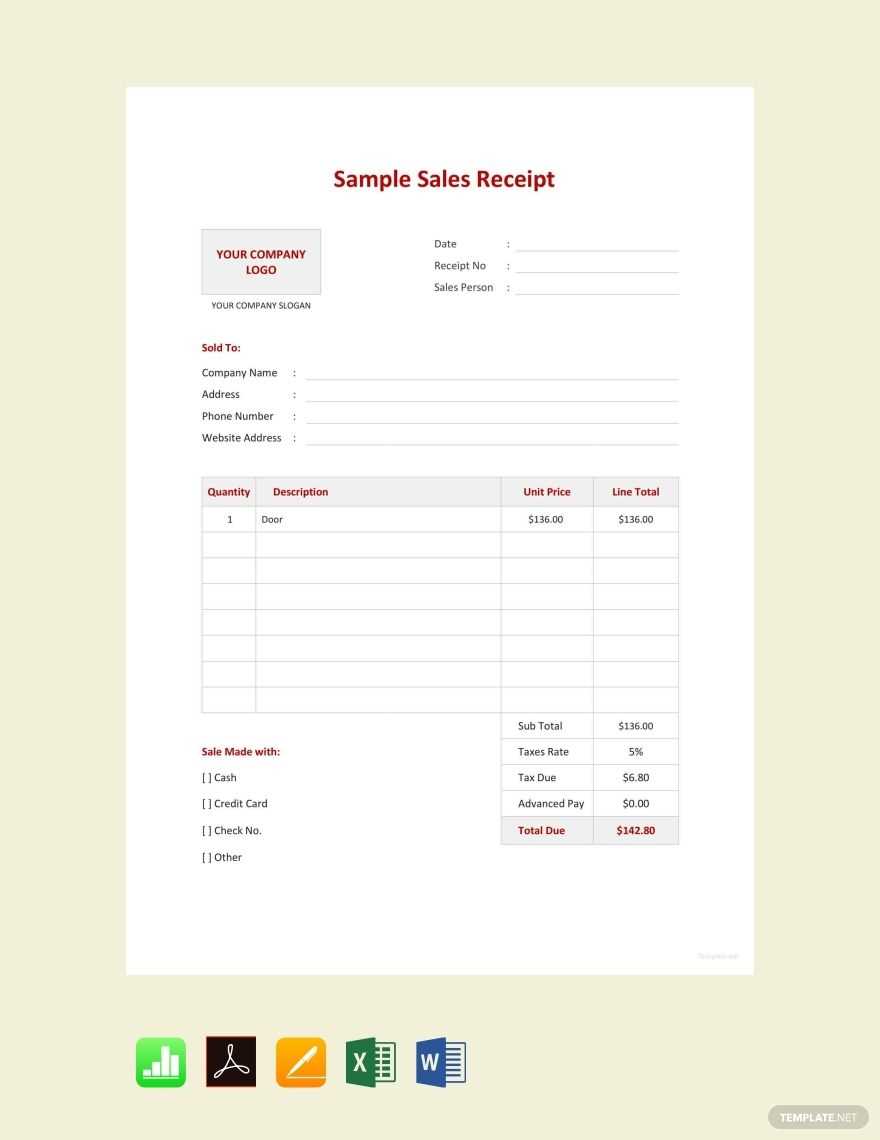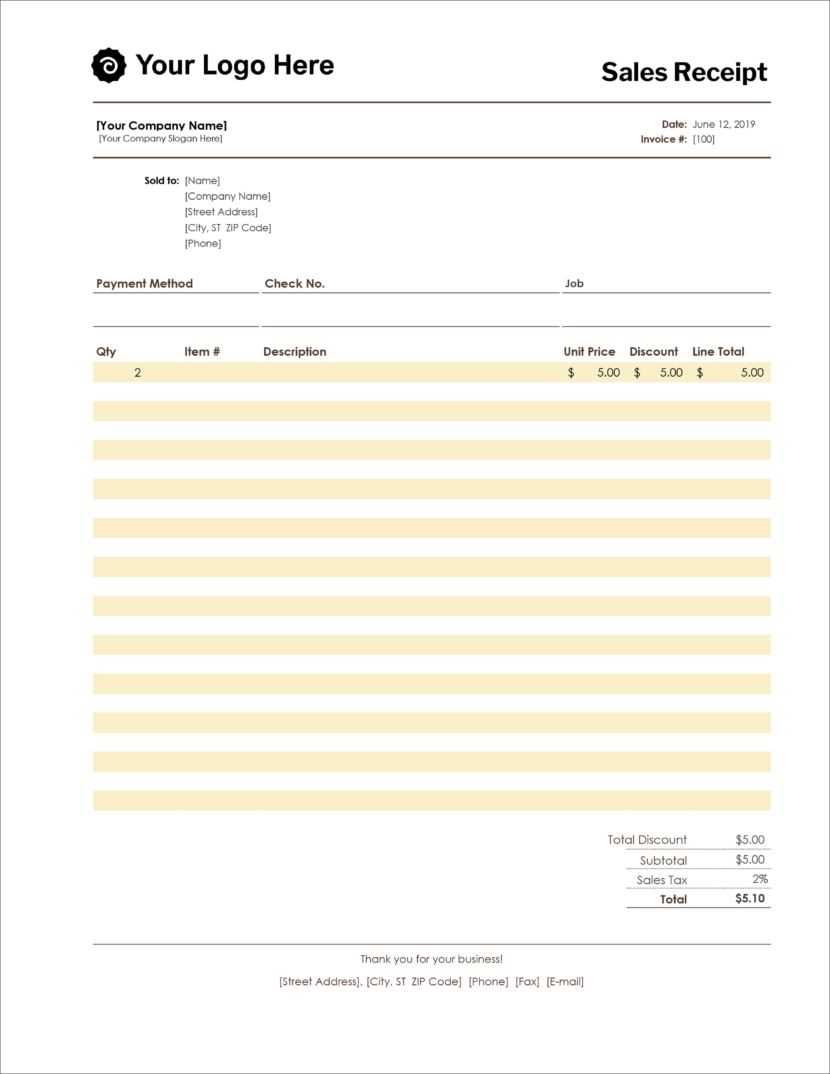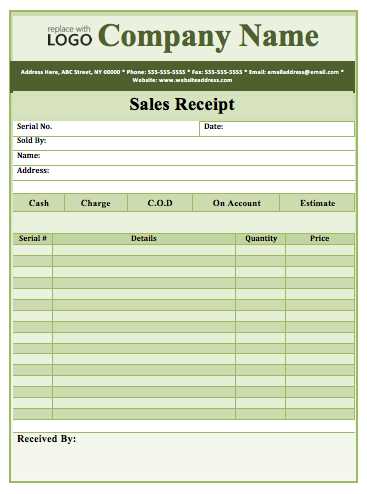
Creating a Sales Receipt in MS Word

Design a simple yet professional sales receipt in MS Word by using a pre-designed template. Follow these steps to create a clean, functional receipt that meets your business needs:
- Open MS Word and search for “Sales Receipt” in the template section.
- Choose a template that fits your brand style. MS Word offers a variety of designs, from basic to detailed templates, allowing for customization.
- Customize the template by adding your business name, logo, and contact information at the top of the document.
- Include receipt details: Add fields for date, receipt number, item descriptions, quantities, unit prices, and totals. Ensure these fields are clear and well-spaced for readability.
- Incorporate payment details like method of payment, transaction ID, and any tax information.
- Review your layout to confirm all necessary details are visible and organized in a neat, professional format.
Formatting Tips

- Use bold for headings and section titles to improve clarity.
- Keep fonts consistent for easy reading. Stick with standard fonts like Arial or Times New Roman.
- Align the text properly to ensure a polished look.
- Adjust margins and spacing to fit the receipt onto a standard letter-sized page (8.5” x 11”).
Saving and Printing the Receipt

Once the template is filled in and formatted, save it as a .docx file for future edits. You can also save it as a PDF for easy sharing or printing. Print the receipt on standard paper or use pre-printed receipt paper for a more professional appearance.
With MS Word’s easy-to-use tools, you can create and modify a sales receipt in no time. Whether for one-time use or repeated transactions, this template will make your process smoother and more organized.
Sales Receipt Template in MS Word
How to Create a Custom Receipt Template in MS Word
Incorporating Company Logo and Contact Details
Setting Up Itemized List with Pricing Information
Adding Payment Methods and Transaction Details
Formatting the Template for Simple Customization
Saving and Reusing the Receipt Template

To create a custom receipt template in MS Word, start by opening a new document and selecting a blank page. Customize the layout by adjusting the margins and adding a header for your company’s logo and contact details. Place the logo in the top-left corner and enter your business name, address, phone number, and email just below or beside it. This ensures your brand is visible on every receipt.
Next, insert a table to structure your itemized list. Each row should include a description of the item, quantity, price, and total cost. For better organization, you can use columns for each data point, ensuring the receipt is easy to read and clear. Include a row at the bottom for a subtotal, tax, and final total. Ensure that the calculations are accurate and spaced appropriately.
To add payment methods and transaction details, create a section below the itemized list. Include fields for payment type (cash, credit card, etc.), transaction number, and the total amount paid. This section helps provide a clear record of the payment details.
Format the template for easy customization by using Word’s built-in styles and tables. Choose simple fonts and clear headings, which will allow you to update or change the template as needed without hassle. Avoid overly complex formatting, keeping the template easy to use and modify.
Once your template is set up, save it as a Word template file (.dotx). This will allow you to reuse the design whenever needed. Simply open the template, fill in the specific details for each transaction, and save it as a new document. This makes the receipt process efficient and consistent across all transactions.


