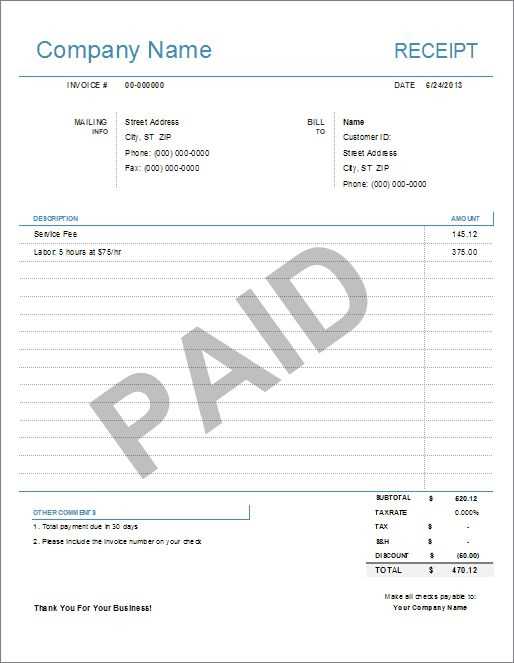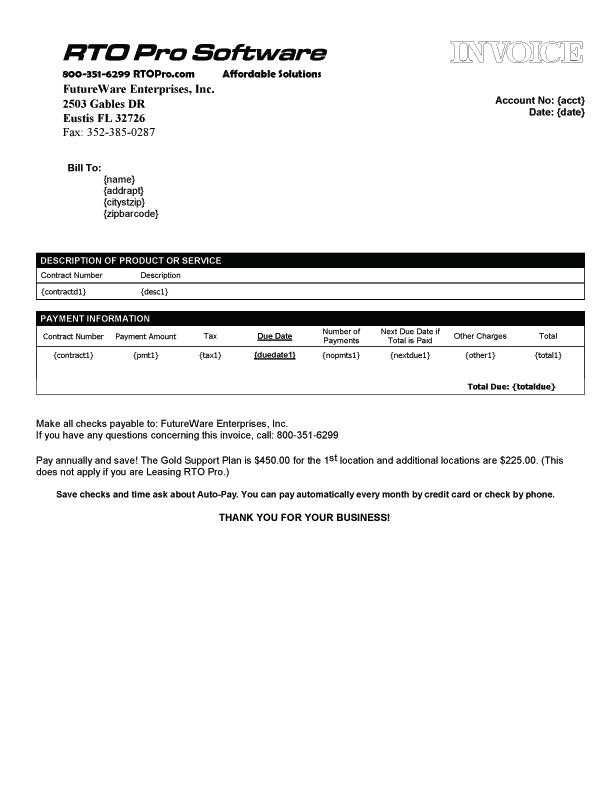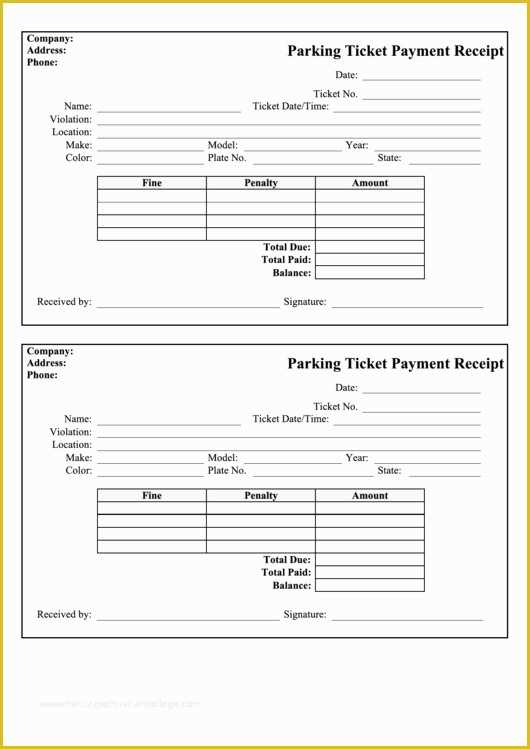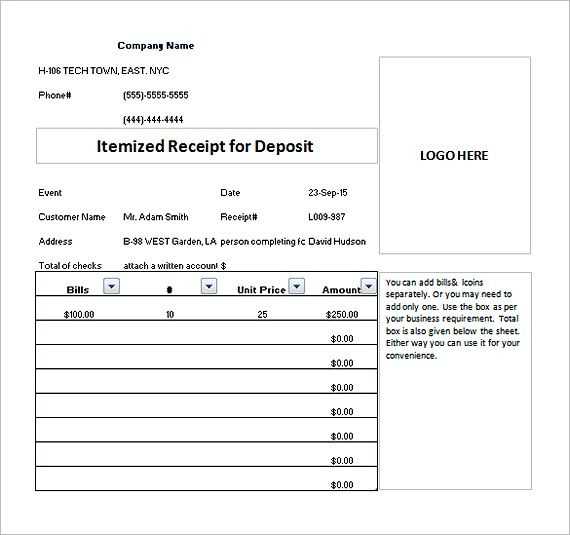
Using an oil change receipt template in Word can save time and ensure you have all the necessary information organized. These templates are designed to capture key details like the vehicle’s make and model, date of service, oil type, and the technician’s name. Having a pre-formatted document makes it easy to maintain a clear record for future reference or warranty purposes.
Customizing the Template allows you to adjust the fields according to your needs. You can add or remove sections depending on what information you need to track. For example, some templates may include space for the mileage or a description of any additional services provided during the oil change.
Save time by using a ready-made structure. You can quickly input the details and print or save the receipt digitally. This provides both the customer and the service provider with a clean, professional document that reflects the service accurately.
Oil Change Receipt Template Word
Creating a professional oil change receipt in Word is simple and efficient. This type of template should include all necessary details about the service provided. Below are the main elements to include:
Key Elements to Include
The receipt should cover the following points:
- Service provider’s name, address, and contact information
- Customer details, including name and vehicle information (e.g., make, model, year)
- Specific services rendered (e.g., oil change, filter replacement)
- Cost breakdown, including labor and parts
- Date and time of the service
- Signature field for the service provider
Sample Oil Change Receipt
Here’s a sample format you can follow when creating a receipt in Word:
| Service Provider | Auto Shop XYZ, 123 Main St, Anytown, USA |
|---|---|
| Customer | John Doe, 2015 Toyota Camry |
| Service Description | Oil change and filter replacement |
| Date of Service | February 7, 2025 |
| Cost Breakdown |
Oil Change: $30 Filter Replacement: $10 Labor: $20 Total: $60 |
| Payment Method | Credit Card |
| Signature | _________________________ |
Once the template is ready, you can save it as a .docx file to easily customize it for each customer. Make sure to keep the layout simple and clear for both the customer and the service provider to understand the details quickly.
Customizing Your Template for Business Use

Tailor the template to reflect your business identity by updating key elements. Modify the header with your company name, logo, and contact information. Ensure that the font and colors align with your branding guidelines for consistency across all documents.
- Company Name and Logo: Replace the placeholder with your business name and logo at the top of the receipt. Use high-quality images for the logo to maintain a professional appearance.
- Contact Details: Include your business phone number, email, and website. Make sure these details are up-to-date and visible, so customers can easily reach you.
- Service Description: Add a detailed description of the oil change services offered, including any special packages or discounts. Customize the list of services to match what your business provides.
Update the payment sections with your preferred methods, whether that includes credit cards, cash, or mobile payments. You can also add a tax field or section for additional charges like disposal fees or service surcharges. Ensure these fields are clear and correctly formatted for easy calculation.
- Payment Methods: Specify all accepted payment methods, including any online payment systems. Make sure customers know exactly how they can pay.
- Tax and Additional Charges: Include a tax percentage field and space for extra charges, if applicable. Set these fields to calculate automatically, making transactions smooth.
To improve customer experience, consider adding a section for service recommendations or a reminder for the next oil change. This provides value and encourages repeat business.
- Customer Recommendations: Offer recommendations for other vehicle services based on the oil change, such as air filter replacements or tire checks.
- Next Service Reminder: Include a reminder for the next oil change date. This can be automatically calculated based on the date of service.
Finally, add a professional footer with your business hours, social media links, and a thank-you note. This personal touch can enhance customer satisfaction and encourage them to return.
Adding Essential Service Details to Your Receipt
Include the exact type of oil used for the service. Specify the brand, grade, and quantity to ensure clarity. This gives your customers confidence in the quality of the product and helps with future reference, such as if they need the same oil during their next visit.
Next, record the date and mileage of the vehicle at the time of the oil change. This helps both the customer and the mechanic track maintenance intervals, ensuring that the vehicle stays in optimal condition.
Be sure to list the specific services performed, such as the oil filter replacement, fluid top-ups, or any additional checks conducted during the visit. This adds transparency and reinforces the thoroughness of the service provided.
Include labor charges for the oil change separately from the product costs. This breakdown gives the customer a clear understanding of the total cost for the service rendered.
Finally, provide a clear warranty or guarantee information on the receipt. State the duration of the warranty on the oil or the service, as this adds value and reassurance for the customer.
Incorporating Payment Information and Discounts
Clearly list the payment methods accepted on the receipt, such as credit cards, cash, or checks. This allows customers to easily verify how they paid for the service. If offering a discount, ensure it is prominently displayed, showing the original price, the discount percentage or amount, and the final price after the discount is applied.
For discounts, include any necessary terms such as the date range during which the offer is valid or any requirements for eligibility, like membership status or the type of service performed. For instance, “10% off for first-time customers” or “Discount applies only on oil change services.”
Make the payment section easy to understand by breaking it into clear lines. For example, list “Subtotal,” followed by “Discount,” and then “Total” so that the customer can easily trace how the final amount was calculated. This helps avoid confusion and builds trust.
Formatting the Template for Easy Client Access

To make the oil change receipt template user-friendly for clients, structure it clearly. Place the most important details, like the service date and price, at the top, followed by customer information and a breakdown of services performed. This ensures that clients can easily spot the key data.
Use a clean layout with defined sections, such as a header for the business name, a section for customer contact details, and another for service items. Add enough white space around each section to prevent clutter and improve readability.
Font choice plays a key role in clarity. Opt for legible fonts like Arial or Times New Roman in a consistent size, typically 10–12 points. Bold headers and section titles to make them stand out. Avoid using too many font styles or colors, as this can distract the reader.
Align text to the left for easy reading, especially for itemized lists. Ensure the total price is clearly highlighted, preferably with a larger font size or in bold.
Interactive elements such as checkboxes or dropdown menus for services offered can streamline filling out the receipt. This not only speeds up the process but also ensures that nothing is overlooked. For digital versions, hyperlinks to the business website or payment methods can add convenience for clients.
Finally, make the template easily accessible in multiple formats–such as .docx and .pdf–so clients can choose the one that suits their needs. Offering both print and digital options will accommodate various client preferences.
Including Legal and Warranty Clauses in the Receipt

Incorporating legal and warranty clauses in the receipt helps protect both the service provider and the customer. Clearly outline any terms regarding the warranty coverage, limitations, and any legal disclaimers. This will prevent misunderstandings and set clear expectations from the start.
Warranty Terms
Include specific details about the warranty, such as the duration, coverage, and any exclusions. For instance, specify whether the warranty covers labor, parts, or both, and if it applies to a certain mileage or time frame. A clause like: “This oil change is covered under a 6-month/6,000-mile warranty on parts only” adds clarity.
Legal Disclaimers

Make sure to address legal disclaimers that limit your liability. This may include stating that the receipt is a record of service performed but not a guarantee of the vehicle’s future performance. An example clause could be: “The service provider is not responsible for any issues arising from pre-existing vehicle conditions.”
Ensure the wording is concise, easily understood, and accessible to all customers. Adjust clauses as necessary based on local regulations or specific service terms.
Ensuring Accurate Record-Keeping for Future Reference
To maintain precise records, consistently document every oil change with key details. Use a template to include the date, vehicle model, oil type, and the total cost. This method ensures you won’t miss any important information. If you rely on a service, ask for a receipt that lists both parts and labor costs separately for clarity.
When filling out your template, double-check the mileage and service intervals. These figures are crucial for tracking maintenance schedules and avoiding early wear. Include any additional notes, such as recommendations made by the service provider, which can be helpful for future services.
Store all receipts in a dedicated folder or digital file, organized by date or vehicle. This ensures easy access when you need it, whether for resale purposes or warranty claims. Regularly updating the record prevents any missing details, providing clear evidence of proper maintenance over time.


