A uniform receipt template ensures consistency and clarity in your transaction records. By using a standardized format, you can minimize errors, streamline data entry, and maintain a professional appearance for your business. A simple, well-structured template eliminates confusion, making it easy for both you and your customers to understand the details of each transaction.
Include key elements like the transaction date, itemized list of purchases, total amount, and payment method. Make sure the business name and contact information are clearly visible. This ensures that anyone reviewing the receipt can easily reach out with questions or concerns.
Organize the information logically. Place the transaction details at the top, followed by the payment breakdown. Use clear headings such as Subtotal, Taxes, and Total to guide the reader through the document. Use bold text to highlight key information and make it stand out.
By using a uniform receipt template, you also make it easier to track your finances. The consistency allows for more accurate record-keeping, whether for tax purposes or internal audits. Creating a standardized system from the beginning saves you time and effort down the line.
Understanding Key Elements of a Receipt
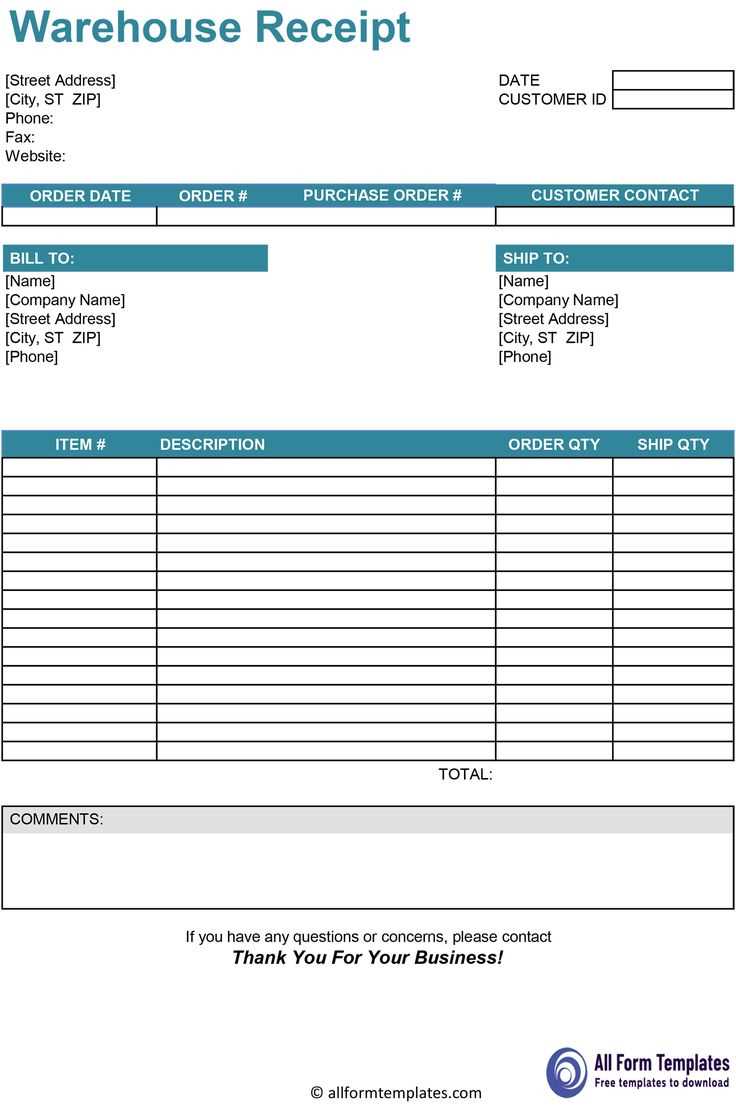
A well-structured receipt should clearly outline the transaction details for both the customer and the business. Focus on clarity and accuracy to avoid confusion. Key elements include:
- Vendor Information: Include the business name, address, contact number, and any other relevant identifiers like a tax number.
- Date and Time: Record the exact date and time of the transaction to ensure accuracy in case of returns or inquiries.
- Transaction ID or Receipt Number: Provide a unique reference number for each transaction, helping with easy tracking and resolution of issues.
- Itemized List of Purchases: Break down the items bought, including their descriptions, quantities, and individual prices. This helps the customer confirm their purchase and aids in returns or exchanges.
- Subtotal, Taxes, and Total: Show a clear breakdown of costs, including taxes. This transparency ensures customers understand how the total was calculated.
- Payment Method: Specify whether the transaction was completed via cash, credit card, mobile payment, or other methods. This provides an extra layer of verification.
- Return Policy and Terms: If applicable, include return or exchange policies. This is particularly helpful for items that might be returned or refunded later.
These elements create a transparent and professional receipt that protects both the customer and the business.
Designing a Simple and Clear Layout
Focus on clarity. A clean, minimalist design reduces clutter and guides the reader’s eye to the key elements. Use ample white space between sections to allow the information to breathe and prevent the layout from feeling cramped.
Prioritize Key Information

Place important details such as the total amount or date in a prominent location. Make sure the most critical information stands out through size or contrast without overwhelming the rest of the content.
Use a Grid Structure
Implement a grid to align elements neatly. Consistent alignment creates a balanced look and improves readability. This structure ensures each section is easy to find and visually pleasant to navigate.
Consistency is key. Stick to a single font style for body text and choose one or two additional fonts for headings or highlights. Limit color usage to a few complementary shades to keep the design cohesive.
Test the layout on multiple devices to ensure readability. A layout that works well on one screen may not be effective on another, so check how your template adapts to different sizes.
Choosing the Right Data Fields for Your Template
Focus on the data that directly impacts your workflow and end-users. For an efficient template, select fields that are most relevant to your process, ensuring simplicity and clarity. Begin with the basic information that must appear on each receipt, such as the transaction amount, date, and receipt number. These fields should be easily identifiable and placed in a consistent position.
Next, consider the context of your receipt. If it’s for retail, include itemized details like product names, quantities, and prices. For services, focus on the service description, hours worked, and rate. You can always add customizable sections depending on the type of transaction, but avoid overcrowding your template with unnecessary data.
| Field Type | Example | Use Case |
|---|---|---|
| Transaction ID | #12345 | Unique identifier for each receipt |
| Date | 12/01/2025 | Record the date of the transaction |
| Itemized List | Product A – $20, Product B – $35 | For retail or any sale with multiple items |
| Total | $55 | Final amount after taxes and discounts |
| Tax | $5 | For tax-inclusive transactions |
Consider also including payment method details, but only if relevant to the receipt’s purpose. If your template is for electronic invoices, data like the recipient’s email address and transaction method could be useful. Be mindful of data privacy regulations when deciding what to include.
Keep in mind that each additional field adds to the complexity of the template. Limit unnecessary fields to maintain clarity and reduce the chances of errors. Aim for a balance between providing enough information and keeping the format easy to read and understand.
Customizing Receipts for Different Business Needs
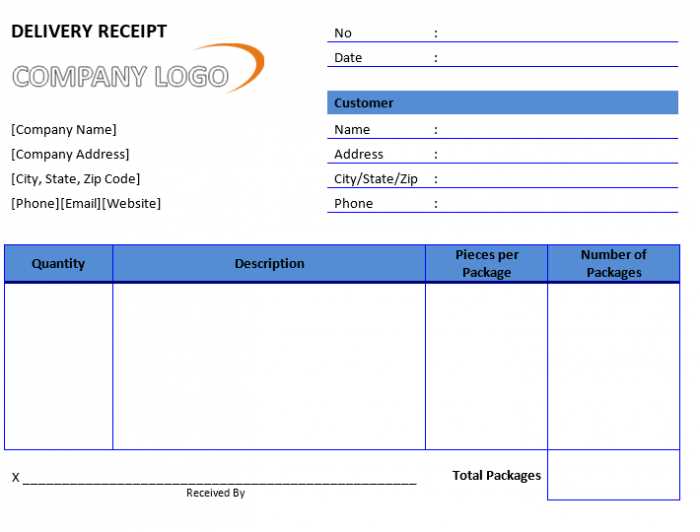
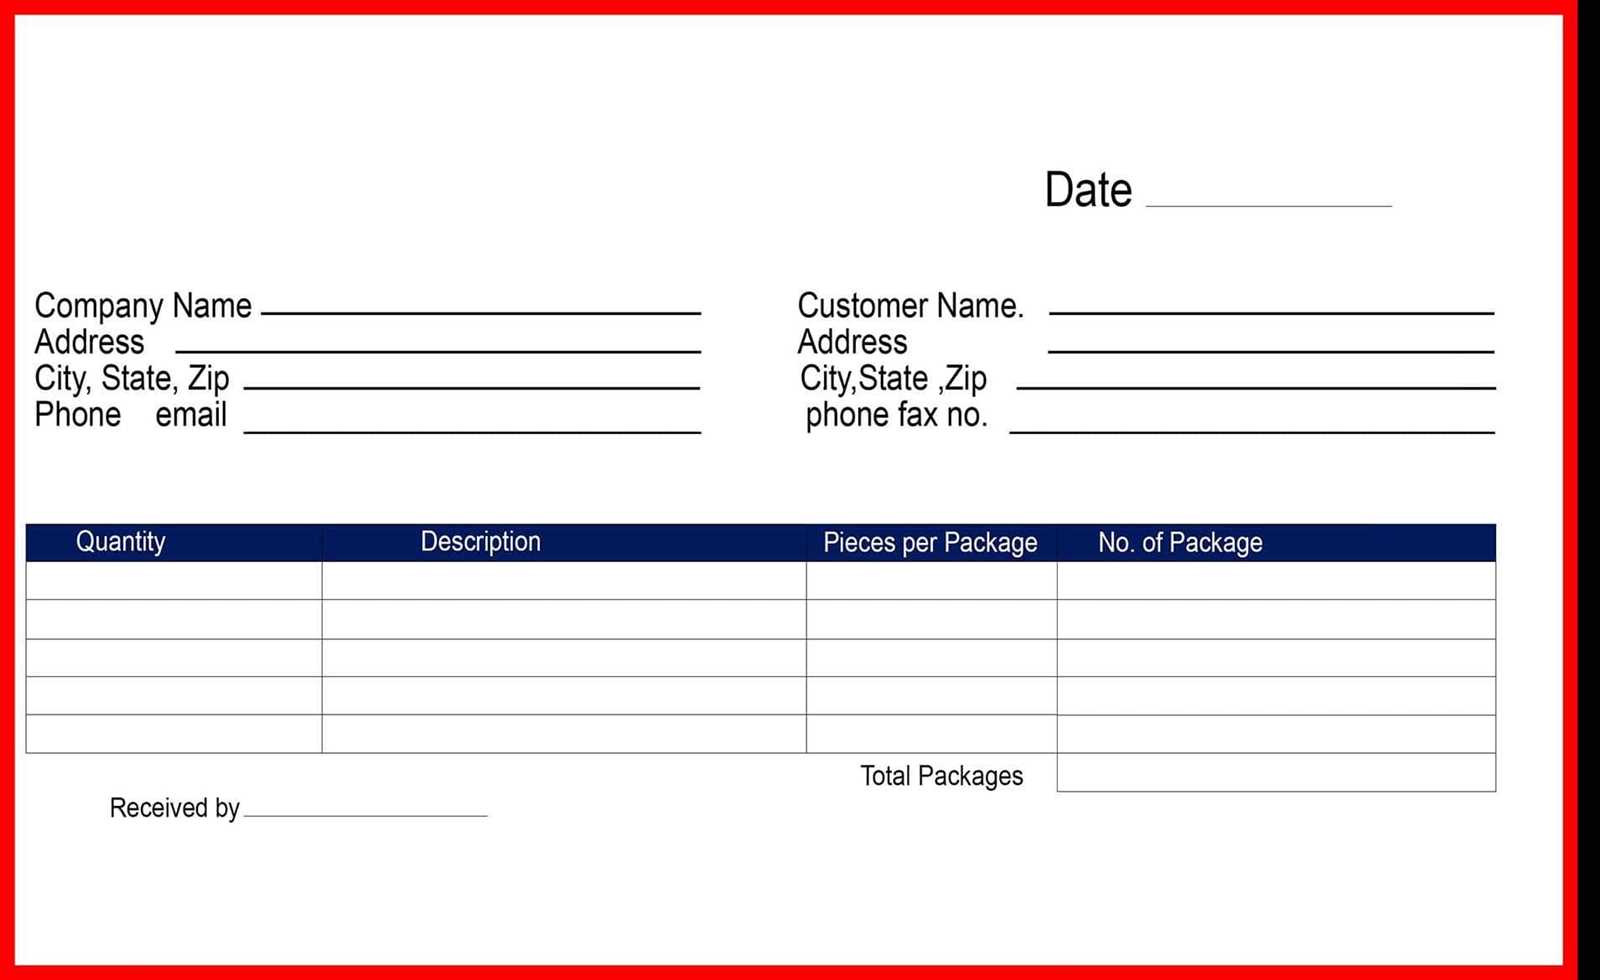
To tailor receipts to your business, focus on key details that align with your specific operations. Start by incorporating branding elements, such as logos and business names, for easy recognition. Customize the layout to include necessary information, like transaction type, customer contact details, and tax breakdowns.
Include Relevant Transaction Data
Each business may require different transaction data. For retail, itemized lists with quantities and prices help customers track their purchases. For service-based businesses, include service descriptions, hours worked, or rates. For both, ensure that taxes and totals are clearly visible.
Optimize Design for Readability
Choose fonts that are legible and appropriate for your brand. Keep the design simple and clean, without overcrowding the receipt. Use white space to separate sections like contact info, payment method, and footer details. This ensures your receipts are easy to read and professional in appearance.
- Retail: Itemized lists, prices, and discounts.
- Services: Description of service, hours, and hourly rate.
- Restaurants: Itemized food orders with tips and taxes.
- Subscription businesses: Start and end dates with renewal information.
Make sure the receipt includes any required legal information based on local regulations, such as refund policies or disclaimers. Adjust your receipts to support your customer experience while staying aligned with your business model.
Ensuring Legal Compliance with Receipt Formats
Adhere to local tax laws by incorporating required details on receipts. Each jurisdiction may have unique requirements for what information needs to appear, such as tax identification numbers, transaction dates, or specific item descriptions.
Key Information to Include
At a minimum, include the business name, address, and contact information. The receipt must also state the total amount paid, including taxes, and provide a breakdown of any applicable taxes. If required, list any relevant transaction or invoice numbers for tracking purposes.
Stay Updated with Local Regulations
Regularly review government regulations to ensure the format remains compliant. Local authorities may update requirements, such as adjustments to tax rates or new consumer protection laws that affect receipt content. Implementing automated systems can help you stay aligned with these changes.
Integrating Digital Tools for Easy Template Creation

Use online platforms like Canva, Google Docs, or Microsoft Word to simplify template creation. These tools provide pre-designed layouts that you can easily customize without starting from scratch. Select a template that suits your receipt style and adjust the design as needed. Most platforms allow easy drag-and-drop features, making it faster to organize text and images.
Leverage Automation Features

Integrating automation tools, such as Zapier or Integromat, can further streamline template generation. For example, connect your receipt template to your payment processing system, so details like date, amount, and transaction ID are automatically filled in. This minimizes human error and speeds up the process of generating receipts.
Optimize for Multiple Formats

Ensure your template is flexible enough to be saved or exported in various formats. Many digital tools let you export designs as PDFs, which are widely accepted and easy to share electronically. Also, consider creating a version that can be printed for in-person transactions, giving you more versatility.