Creating a Simple and Functional Receipt Template
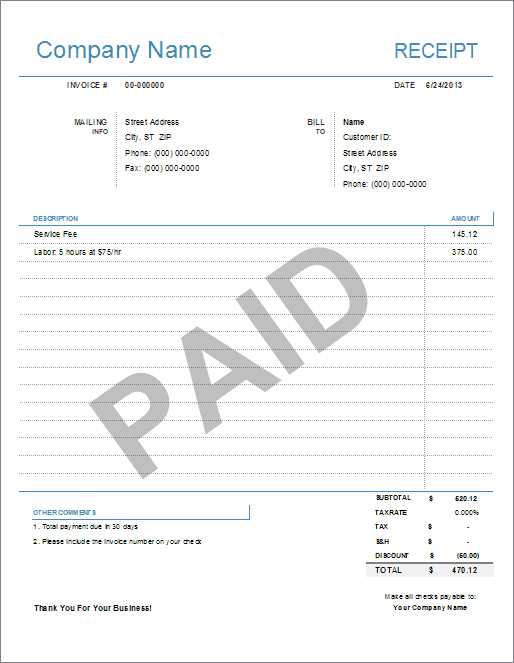
Use a straightforward layout for receipts in Word. Start by dividing the page into sections: vendor details, transaction information, and payment breakdown. This ensures clarity and a professional look.
Vendor Information
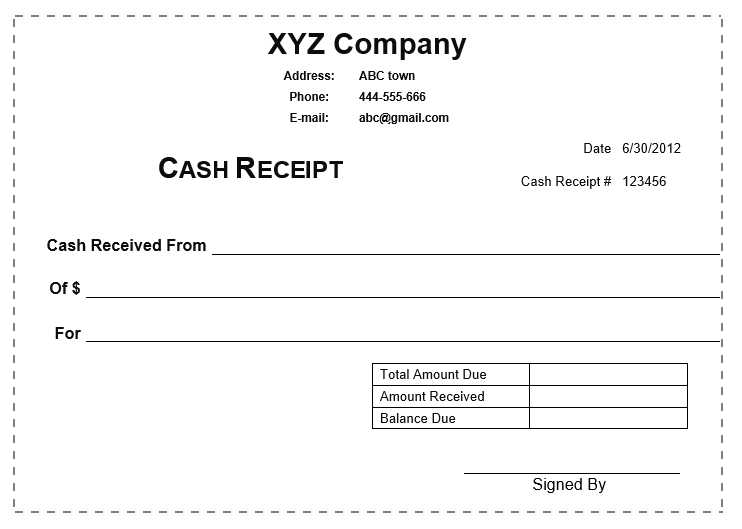
Place your company name, address, phone number, and email at the top. Add your logo to personalize the receipt. Use a larger font for your company name and smaller, easy-to-read fonts for the rest of the details.
Transaction Details
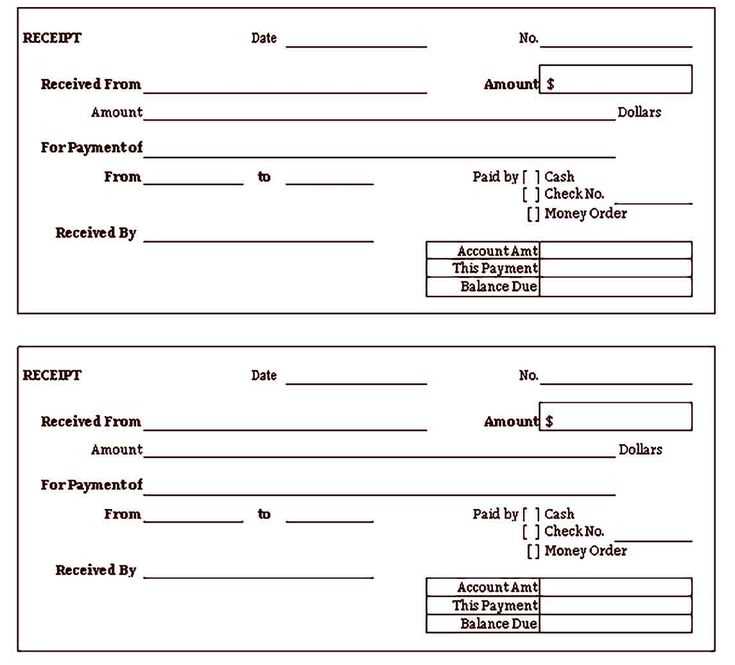
List the following key details: receipt number, date, and time of the transaction. Include a section for the customer’s name or company and an invoice number if applicable. This information helps in identifying the transaction quickly.
Payment Breakdown
Clearly list each item or service provided along with the price. Use a simple table for clarity. At the bottom, include the total amount, taxes, and payment method (cash, credit, etc.). Leave space for any additional comments or terms if necessary.
Formatting Tips for a Professional Look
- Consistent font usage: Stick with one or two fonts throughout the receipt. Use bold for headings and regular text for details.
- Spacing: Ensure proper spacing between sections to avoid a crowded look.
- Alignment: Align text properly to make the receipt easy to read and professional. For example, align transaction totals to the right.
- Margins: Set margins to 1 inch on all sides for a balanced layout.
Using Tables
For a clear payment breakdown, use a table. Add rows for each item, service, or charge. Label columns with headings like “Description”, “Quantity”, “Unit Price”, and “Total”. This format ensures that the receipt is neat and the numbers easy to read.
Adding Extra Features
If your business requires specific terms or return policies, add a small note section at the bottom of the receipt. You can also include a thank-you message for customers.
Saving and Sharing the Template

Once the receipt is designed, save it as a template in Word. This allows you to reuse the same format for future transactions, saving you time. You can also save the document as a PDF for easy sharing and printing.
Receipt Template in Word: A Practical Guide
Creating a Template from Scratch in Word
Formatting Tips for Professional Layouts
Adding Custom Fields for Personalized Documents
How to Include Itemized Lists and Automatically Calculate Totals
Incorporating Logos and Branding into Your Template
Saving and Printing Your Template for Easy Reuse

To create a receipt template in Word, start with a blank document. Set up the page layout by adjusting the margins to your preference, typically 1″ on all sides. For consistency, use a table to organize the receipt’s structure, ensuring easy alignment of all elements.
Formatting Tips for Professional Layouts
Use headers for the company name and receipt title. Apply bold and larger font sizes for these sections to enhance visibility. Align your text neatly with the help of tables or text boxes, ensuring a clean and structured look. Add borders to sections like itemized lists or totals for better readability.
Adding Custom Fields for Personalized Documents

Insert text form fields in Word to allow for easy customization of each receipt. These fields can include customer name, address, purchase details, and payment methods. To insert a form field, go to the “Developer” tab, choose “Text Box,” and place it where needed. This will let you quickly update information without altering the template layout.
For automatic calculations, use Word’s “Formulas” feature in tables. This allows you to calculate totals by multiplying quantities and prices, or summing item amounts.
Incorporate logos or branding elements by inserting your company logo in the header section. Resize and place it according to the design you prefer. This not only makes the template more professional but also reinforces brand identity.
Once you have set up your template, save it as a “Word Template (.dotx)” file. This ensures you can reuse the layout without overwriting it. To print, check your layout in Print Preview and adjust as necessary before sending it to the printer.


