To streamline your restaurant’s operations and create professional, branded receipts, use Lightspeed restaurant receipt templates. These templates are customizable, ensuring they reflect your restaurant’s unique style while maintaining clarity and simplicity for your customers.
Start by selecting a template that matches your restaurant’s aesthetic, whether it’s modern, casual, or upscale. Customize it with your logo, business details, and preferred layout. The template’s flexibility allows you to add important information like taxes, service charges, and gratuity options, giving customers a clear view of their total bill.
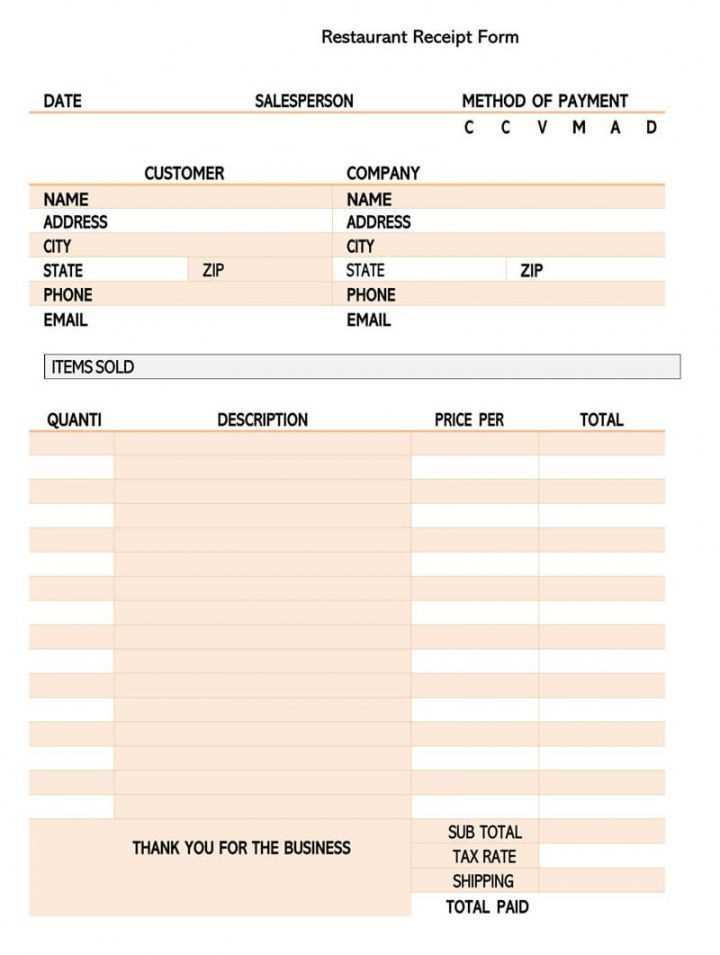
Make sure your template includes space for detailed itemization. Customers appreciate being able to see each dish or drink ordered, along with any modifications. This transparency can help reduce misunderstandings and ensure a smooth transaction process. Additionally, consider adding a thank you note or a promotional message at the bottom of the receipt to enhance customer experience and encourage repeat visits.
With Lightspeed, you can easily adjust your templates to accommodate different payment methods, tips, and discounts. Customization tools let you stay organized and ensure that every receipt serves as both a functional record and a marketing tool for your business.
Here’s the revised version where repetitive words are replaced while maintaining meaning and accuracy:
To improve clarity and conciseness, replace redundant words with synonyms or rephrase sentences to avoid unnecessary repetition. For example, instead of saying “quick and fast service,” opt for “swift service.” This reduces wordiness without changing the message.
When dealing with receipt templates, focus on keeping the structure simple and organized. Each section should be clear, such as the item list, pricing, and payment information, without overly repeating phrases or descriptions. Simplifying the text makes it easier for customers to understand their transaction details.
If you’re working with Lightspeed restaurant receipts, consider customizing the template to minimize repeated information. Adjust the wording in the header or footer to provide relevant details without redundancy, such as including the restaurant’s contact details only once.
Finally, ensure the language is customer-friendly. Avoid complex jargon and repetitive terms that can confuse or frustrate the reader. By making small edits, you can create a more polished and professional receipt layout.
Here’s the detailed HTML plan for an article on “Lightspeed Restaurant Receipt Templates” with six specific and practical headings:
1. Customizing Receipt Layouts
Adjust the receipt layout in Lightspeed to match your restaurant’s brand. Modify fonts, text sizes, and the inclusion of your logo for a consistent and professional look. This ensures your receipts align with your restaurant’s theme and customer experience. You can easily access the settings through the Lightspeed back office and choose from predefined templates or create your own. Customize headers and footers to feature specific details such as restaurant address or a slogan.
2. Adding and Removing Receipt Fields
Personalize your receipts by adding or removing fields based on your needs. Lightspeed allows you to modify essential details like item descriptions, pricing, taxes, and tips. If you want to include special promotions, loyalty points, or specific payment information, these can be incorporated into the receipt template. Streamline your receipts by removing unnecessary fields that do not apply to your restaurant’s operation.
3. Incorporating Payment Methods and Tips
Include clear payment method details on receipts, such as cash, credit, or mobile payment options. Lightspeed allows you to display information regarding tips, whether added manually by customers or automatically. Customizing how payment and tip data appear can help both customers and staff quickly understand transaction breakdowns, improving transparency and efficiency.
4. Ensuring Compliance with Local Tax Regulations
Make sure your receipts meet local tax standards by configuring Lightspeed to automatically apply tax rates according to your location. The platform allows you to set different tax rates for different items, ensuring accurate calculations. Customize tax labels and apply discounts in a way that stays compliant with local laws and helps avoid errors during audits.
5. Receipt Printing Options
Choose between different printing formats depending on your restaurant’s setup. Lightspeed integrates with various receipt printers, from thermal to standard dot matrix, allowing for quick and clear printing. Select paper sizes and adjust margins to optimize space and avoid cutting off important information. It’s also possible to send receipts directly to email or SMS, providing a more modern alternative to paper receipts.
6. Managing Receipts for Reporting and Analytics
Leverage Lightspeed’s data capabilities to track and analyze receipt information. You can easily export receipt data for detailed reporting on sales, customer behavior, and popular items. This helps you refine your service offerings and manage inventory more effectively. Use receipt data to track trends, promotions, and revenue streams, which can guide your business decisions moving forward.
- Customizing Receipt Layouts in Lightspeed
To customize receipt layouts in Lightspeed, access the ‘Receipt Templates’ section under the ‘Settings’ menu. From here, you can adjust the design to suit your branding needs, such as adding logos, adjusting font sizes, or modifying item descriptions.
Steps for Customizing Receipt Layouts
- Go to the ‘Settings’ menu and select ‘Receipt Templates’.
- Choose the template you want to modify. Lightspeed offers several pre-built templates, or you can create a new one from scratch.
- Adjust the layout by adding or removing fields. You can include company details, payment information, itemized lists, and more.
- Change the appearance, like font styles, sizes, and alignments to better match your business’s identity.
- Use the drag-and-drop feature to rearrange elements for a more streamlined look.
Advanced Customization

- If you’re familiar with HTML and CSS, you can fine-tune the receipt layout even further by adding custom code.
- For specific needs, like integrating loyalty points or custom tax calculations, custom scripts can be added to the template for automatic inclusion.
- Consider adding dynamic elements like a thank-you message or promotional codes that are automatically generated for every receipt.
After making your adjustments, preview the layout to ensure everything looks correct. Save your changes and test the new design by printing a sample receipt. This ensures the layout is functional and visually appealing before it’s used for live transactions.
To make your receipts stand out, incorporate distinct branding elements. This transforms a simple transaction record into a marketing tool that reinforces your restaurant’s identity. Start with your logo–ensure it’s clearly visible at the top of the receipt. A high-quality, well-placed logo boosts recognition and strengthens your brand’s image with each interaction.
1. Use Brand Colors
Choose colors that match your restaurant’s theme or logo. Use these in headers, borders, or background elements to create a cohesive look. Keep the color scheme simple, avoiding overwhelming the customer with too many hues. A balanced palette that complements your brand’s personality can make the receipt feel like an extension of the dining experience.
2. Incorporate Taglines or Slogans
If your restaurant has a memorable tagline, include it at the bottom or near the total. This subtle reminder reinforces your brand’s message and leaves a lasting impression. Make sure it fits well within the design and does not crowd important information like the total amount or date.
3. Fonts that Reflect Your Brand’s Personality

Fonts speak volumes about your brand. Choose one or two fonts that align with your restaurant’s vibe–whether it’s modern, rustic, or elegant. Keep readability in mind; legible fonts in an appropriate size ensure customers easily review their transactions without straining.
4. Custom Messages or Promotions
Incorporating a brief, personalized message or promoting a loyalty program can enhance customer engagement. Consider offering a discount on the next visit or highlighting upcoming events. This adds value to the receipt beyond the transaction, encouraging customers to return and feel connected to your brand.
5. Consistency Across All Touchpoints
Ensure that the branding on your receipts aligns with other customer-facing materials, like menus or online promotions. Consistency across all touchpoints strengthens your brand’s presence and makes your restaurant feel more polished and professional.
To ensure accurate billing, include tax and tip details clearly on your receipts. Display the tax as a separate line, indicating the percentage applied to the subtotal. This ensures transparency for both the customer and the restaurant. For example, if the subtotal is $50 and the tax rate is 8%, show a line that reads “Tax (8%): $4.00”.
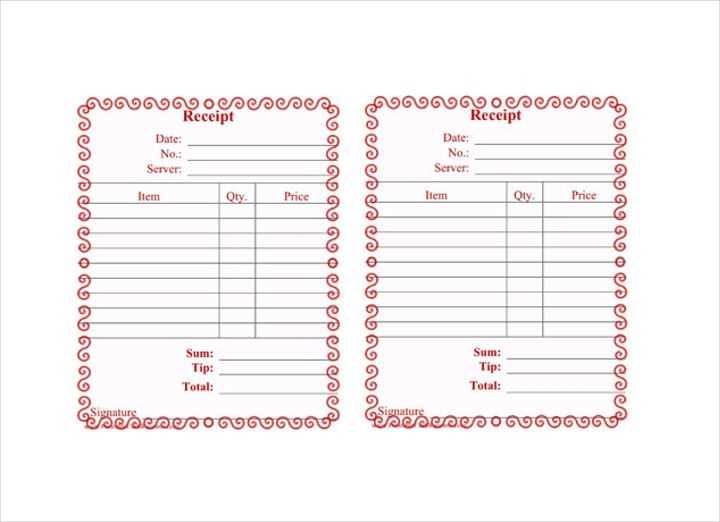
For tips, it’s best to provide options directly on the receipt or suggest a default amount based on the subtotal. For instance, if the subtotal is $50, offer a tip suggestion such as 10%, 15%, or 20%, alongside the corresponding dollar amounts: “Suggested Tip (10%): $5.00”, “Suggested Tip (15%): $7.50”, and “Suggested Tip (20%): $10.00”.
After displaying tax and tip options, show the total amount to be paid, ensuring it’s clear and easy to read. The final total should include both the subtotal and tax, plus the added tip. The customer should instantly see how each component affects the final bill.
For accuracy and efficiency, configure your receipt template to automatically calculate tax and tip based on the subtotal. This avoids errors and speeds up the checkout process.
To set up discounts on receipts in Lightspeed, go to the “Discounts” section in your account settings. Here, you can create various types of discounts, such as percentage-based or fixed amount reductions. Use these settings to customize which items or categories are eligible for discounts and define any applicable conditions (e.g., minimum purchase amounts or time-limited offers).
Applying Discounts to Receipts

Once your discounts are configured, applying them to receipts is straightforward. During the checkout process, select the discount option from the available menu and apply it to individual items or the entire receipt. The system automatically adjusts the total price, displaying both the original and discounted amounts on the receipt.
Managing Discount Visibility

Control how discounts appear on receipts by adjusting the settings in your “Receipt Layout” section. You can choose to show or hide discount details, and decide whether to display the percentage or the final amount saved. This helps maintain a clean and clear receipt format while providing customers with the necessary information about their savings.
Include clear and accurate order details on receipts to avoid confusion and ensure smooth customer experiences. List the items ordered, quantities, and any modifications such as special requests or changes. This helps both customers and staff track the specifics of an order with ease.
Modifiers such as add-ons, substitutions, or dietary requests should be highlighted separately. If an item is customized, clearly display those changes on the receipt to maintain transparency. For instance, if a customer asks for no cheese or a gluten-free option, print these details on the receipt. This ensures there’s no misunderstanding when the order is fulfilled.
Consider a format where each item is listed with its modifiers, ideally beneath or next to the item description, in a way that’s easy to read. This approach reduces errors and builds trust with your customers. Make sure the text is legible and succinct, and avoid overwhelming the receipt with unnecessary information.
To maintain accurate records, it’s crucial to export and print receipts efficiently. Begin by selecting the desired receipt format in the Lightspeed system, whether as a PDF or CSV file. Once exported, save the files in an organized folder system for easy access and retrieval. This helps keep your records intact and simplifies accounting processes.
For printing, connect your Lightspeed system to a compatible printer. Adjust settings for proper formatting before printing, ensuring that all necessary details such as taxes, totals, and payment methods are visible. A consistent layout prevents confusion and makes review easier.
Check regularly that your export and print settings align with your business needs. Verify that all receipt data is accurate and complete to avoid errors in financial tracking.
| Receipt Type | Export Format | Printer Settings |
|---|---|---|
| Standard Receipt | PDF, CSV | Ensure legible text, fit to page |
| Refund Receipt | Adjust for refund notation | |
| Custom Receipt | CSV | Check for custom field adjustments |
Regularly back up your exported files to cloud storage for added security. This step ensures your receipts are safely stored and accessible at any time.
When designing Lightspeed restaurant receipt templates, it’s key to focus on clarity and simplicity. Keep the list of items organized with proper indentations and bullet points. Group related items together, such as appetizers, mains, and desserts. This makes it easy for customers to review their order quickly. You can also use different bullet styles to highlight categories like discounts or taxes.
Ensure that the prices are aligned consistently for a clean look, making it easy to scan through the receipt. Use concise descriptions for each item to avoid overwhelming the customer with too much text.
Don’t forget to include your restaurant’s name and contact details at the top, ensuring they are prominently placed for easy reference. A clear, legible font should be used for all text, avoiding overly decorative styles that might compromise readability.