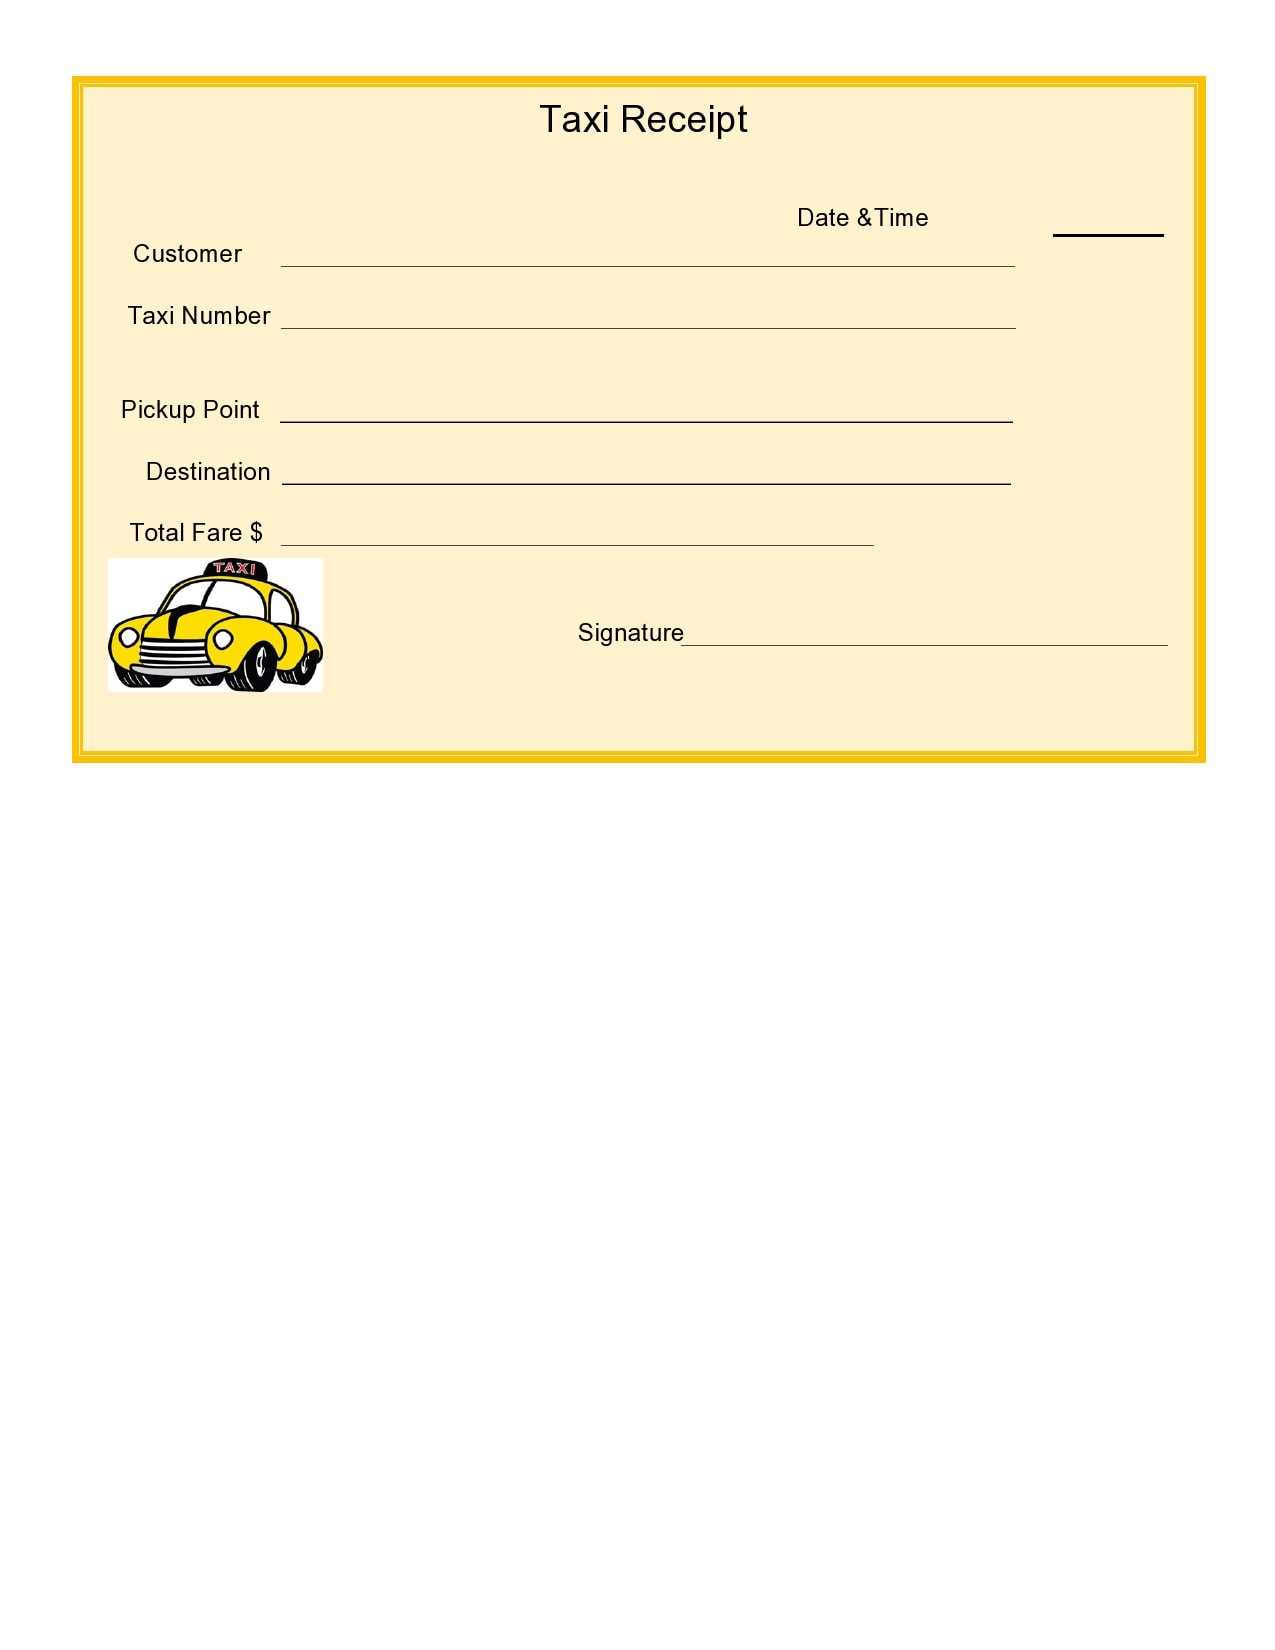
A blank credit card receipt template helps streamline transactions by providing a standardized way to document payment details. This simple document ensures transparency and consistency for both merchants and customers. Whether you’re running a small business or handling personal finances, having a customizable receipt template can save time and reduce errors.
Choose a template that clearly outlines key information such as the transaction amount, card type, and merchant details. A well-structured receipt should also include space for the date, transaction ID, and any relevant notes, ensuring both parties are on the same page. By using a blank template, you can fill in the specifics of each sale without starting from scratch each time.
Many blank credit card receipt templates come in a format that can be easily customized to fit your needs, whether you need additional fields or want to match your business branding. This flexibility is particularly useful for businesses that deal with various payment methods and require receipts for different types of transactions.
Make sure the template you choose aligns with local regulations regarding financial documentation. For instance, some regions require specific language or additional information to be included on receipts. By ensuring your template meets these requirements, you avoid potential compliance issues and maintain professionalism in your transactions.
Here’s the revised version with reduced repetition:
Remove redundant phrases and focus on clarity. Instead of repeating the same details, use concise language. If the information needs to be restated, try varying the structure. For example, change the word order or use synonyms. Keep the message direct, and ensure each point adds value. Aim for smooth flow between sentences, connecting ideas naturally. Prioritize simplicity and precision, ensuring the template is easy to understand and fill out without confusion.
When formatting, ensure each section is clearly labeled. Group related information together so the user can quickly identify where to write down the necessary details. Avoid adding unnecessary instructions–just focus on the essential elements, such as the payment amount, date, and recipient. These should be placed in an intuitive order that makes sense at a glance.
Lastly, test the template after creating it. Make sure it’s both readable and functional. Adjust if any part feels redundant or unclear. This ensures your template serves its purpose without overwhelming the user with repetitive or excess details.
- Blank Credit Card Receipt Template
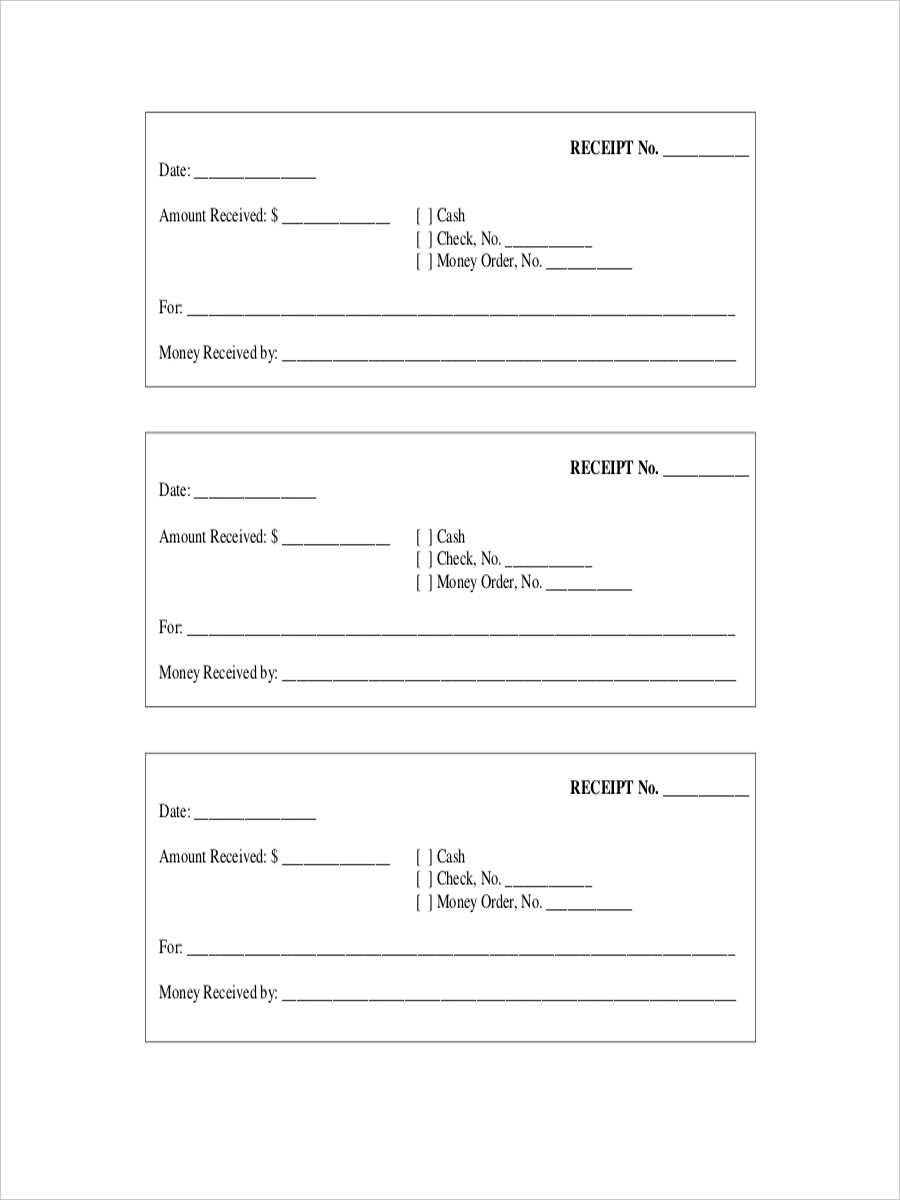
A blank credit card receipt template should include key details like the merchant’s name, contact information, and transaction ID. Make sure to add a clear section for the date and time of the transaction. Include the total amount, as well as a breakdown of any taxes or additional fees. Leave space for the credit card number (last four digits) and the payment method used. Having a signature area for the cardholder or a statement confirming the payment is also helpful.
For easy customization, use a template with editable fields for each section. This allows you to tailor the receipt to different transactions without starting from scratch each time. Ensure all text is legible, and the layout remains simple yet professional.
Consider using a digital template to streamline record-keeping and storage. This allows for quick printing or emailing of receipts, reducing the risk of physical loss. If printing, make sure to use quality paper to avoid fading over time.
To customize a blank credit card receipt, focus on including your business’s unique information, such as your logo, address, and contact details. This establishes brand identity and ensures the receipt is aligned with your business’s professional image.
Include a clear section for transaction details. List the date, transaction amount, and method of payment. You can also add a field for an authorization code or receipt number for easy reference in case of disputes or returns.
Modify the layout to fit the needs of your customers. Make sure the font is easy to read, and adjust the spacing for clear separation of different transaction elements. You can also include an optional section for tips or discounts, depending on the nature of your business.
Include a return policy or other terms and conditions on the bottom of the receipt, ensuring customers are informed of your business practices. This can help avoid misunderstandings and improve customer satisfaction.
Finally, ensure your receipt is compatible with your POS system or printing device. Test it before rolling out to ensure the design prints correctly and fits within your hardware limitations.
A credit card receipt should contain specific details to ensure clarity and accuracy. Include the following key elements:
- Merchant’s Information – Display the merchant’s name, address, and contact number for easy reference.
- Transaction Date and Time – Clearly indicate the date and time the transaction took place.
- Transaction Amount – Show the total amount charged, including any taxes or additional fees.
- Payment Method – Specify that the payment was made via credit card. Include the last four digits of the card number for reference.
- Authorization Code – Provide the unique code generated for the transaction, which confirms the payment was processed.
- Receipt Number – Include a unique identifier for the receipt, making it easy to track or refer to if needed.
Optional Elements
- Tip or Gratuity – If applicable, list any tips or gratuities added to the transaction.
- Refund or Return Policy – If relevant, include details about the merchant’s refund or return process.
Use a clean and straightforward layout. Ensure that key details such as the merchant’s name, date, and total amount are clearly visible. Place the total at the bottom or center to make it easily identifiable. This makes it quick for customers to understand and for businesses to keep track of transactions.
Clear Sectioning

Organize information into logical sections: header, item list, taxes/fees, and total. Clearly separate these sections with spacing or lines. This minimizes confusion and helps with quick data entry, whether it’s manual or automated.
Use Legible Fonts and Sizes
Choose readable fonts and use sizes that make it easy for people to read the receipt at a glance. Avoid overly small text, especially for essential information. Customers should not struggle to read any detail.
Keep abbreviations consistent. Stick to commonly used terms (like “Qty” for quantity, “Tax” for tax), and avoid jargon. Consistency ensures customers know what they are reading without second-guessing.
Ensure the layout works well for both paper and digital receipts. Print-friendly designs should also be mobile-responsive, so users can view the receipt clearly from their phones.
Keep your receipt templates organized by categorizing them based on the type of transaction. This will make it easier to locate specific receipts when needed. Separate templates for business, personal, and charitable contributions, for instance, will reduce confusion during audits or tax season.
How to Organize Receipt Templates

Store your templates digitally or physically in labeled folders or cloud storage. For digital records, use file names that clearly indicate the date and type of transaction. This helps avoid losing track of receipts and speeds up retrieval. You can use software or apps that automatically scan and categorize receipts as they are uploaded.
Regular Backups and Updates
Ensure regular backups of digital receipt templates to prevent data loss. Update templates periodically to reflect any changes in business requirements or tax laws. This guarantees you stay compliant with current regulations.
| Receipt Category | Template Type | Storage Method | Frequency of Updates |
|---|---|---|---|
| Business Expenses | Digital Template | Cloud storage | Quarterly |
| Personal Purchases | Physical Template | Filing Cabinet | Annually |
| Charitable Donations | Digital Template | Email Storage | Yearly |
Using a blank credit card receipt template carries potential legal risks. Ensure that all fields are completed accurately, including transaction details, merchant information, and the signature of both parties. Leaving critical information blank can lead to disputes or claims of fraudulent activity.
Fraud Prevention
Blank receipts provide an opportunity for misuse. Unauthorized parties could alter or fill in details to misrepresent the transaction. To mitigate this risk, maintain tight control over blank receipt forms, and consider using digital solutions with encryption or watermark features to track alterations.
Consumer Protection Laws

Failure to complete a receipt properly can violate consumer protection laws, especially if the incomplete receipt causes harm to the customer or merchant. Incomplete records may complicate refund claims or chargeback procedures. Always adhere to the standards set by your local consumer protection regulations to avoid legal repercussions.
Free and editable blank receipt templates are readily available online, offering flexibility and convenience for quick customization. Here are some of the best places to get them:
1. Google Docs
Google Docs provides a variety of free receipt templates. You can access them by searching for “receipt template” in Google Docs or by browsing through the template gallery. Once you find one you like, simply click to open, then edit and personalize it to your needs. All changes are automatically saved in the cloud for easy access anytime.
2. Microsoft Word Templates
Microsoft Word also offers a selection of receipt templates that are easy to modify. Head over to the “New” tab in Word, search for “receipt,” and browse through the options. These templates allow you to customize details such as the business name, amounts, and dates, making them suitable for various purposes.
3. Template Websites
- Template.net – Offers several free receipt templates that you can download and edit in various formats like Word, Excel, or PDF.
- Canva – A user-friendly graphic design platform where you can find editable receipt templates, especially if you want a more visually appealing design. You can edit text and style elements directly in the browser.
- Jotform – Features customizable receipt templates, with easy-to-fill-out forms. Some options are free, and others are available with a premium account.
4. Online Receipt Makers
Several websites provide tools for generating and downloading customized receipts in minutes. Many of these websites allow free access to their basic templates, where you can add transaction details and adjust formatting.
- Invoice Generator – A straightforward tool to generate simple receipts with editable fields. It’s free and doesn’t require an account.
- Zoho Invoice – Offers free receipt templates with the option to create professional-looking documents. It also allows for easy data entry and customization.
By using these resources, you can find the perfect blank receipt template, edit it to match your needs, and create professional receipts quickly and efficiently.
Credit Card Receipt Template Recommendations
For an effective blank credit card receipt template, start with clear labeling of key fields: merchant name, transaction date, amount, and card details. Ensure space for the customer’s name and signature. Keep the design simple but professional. Avoid overcrowding with unnecessary information; only include what’s vital for the transaction.
When setting up the template, focus on readability. Use a clean font and adequate spacing between elements. Make sure each section is distinct, with lines separating sections for clarity. This prevents confusion and makes the receipt easy to read at a glance.
Include a section for transaction approval codes and payment method details (e.g., Visa, MasterCard) for better transparency. This helps in case of disputes, providing a quick reference point for both parties.
Ensure the template can be adapted for different types of purchases. Flexibility is key to covering various transaction scenarios, including tips or discounts.
Lastly, consider providing a footer with contact information or terms and conditions. This gives customers a way to reach you for inquiries and strengthens trust in the transaction process.