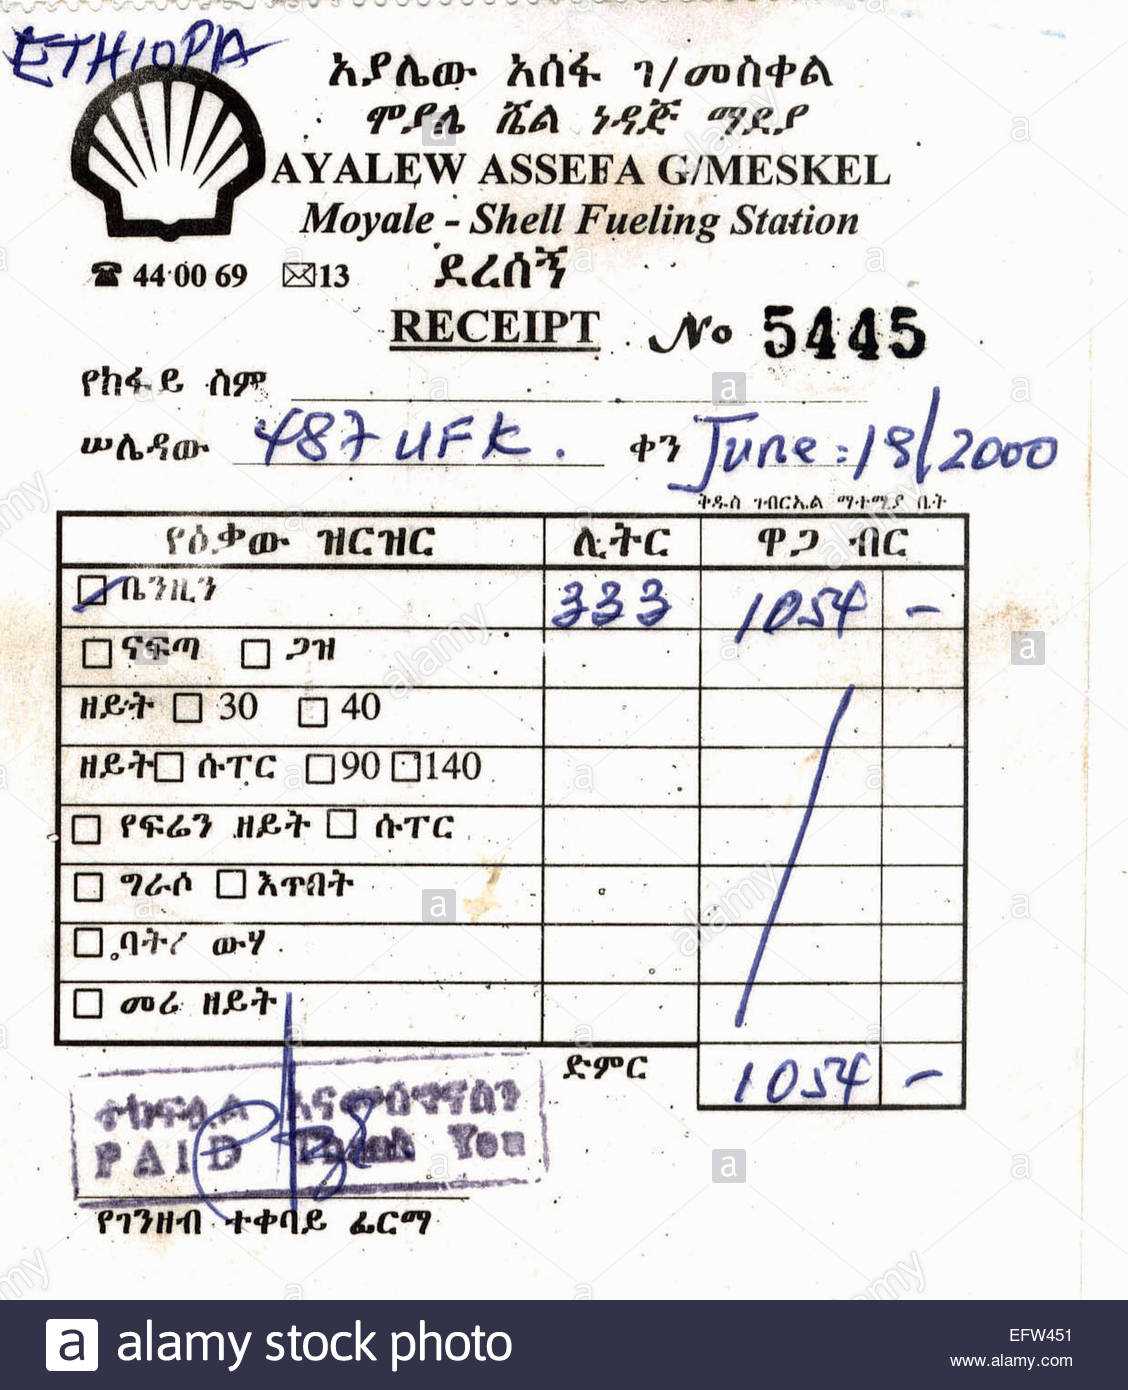
To create a simple, yet professional gas station receipt template, start by structuring key information that customers typically expect. Include the gas station’s name, address, and contact details at the top for easy reference.
Ensure there’s a section for transaction details, such as the date, time, type of fuel, and quantity purchased. The price per gallon/liter and total amount due should be clearly visible to avoid confusion. You may also want to add a unique transaction ID for record-keeping purposes.
A clear line for payment method should be included, whether it’s credit, debit, or cash. This will ensure transparency for both the business and the customer. Finish with a polite thank you note or a call to action, such as encouraging customers to visit again.
Use simple fonts and ensure that the template is easy to modify, so you can adjust it to suit your gas station’s branding and specific needs.
Free Gas Station Receipt Template
If you’re managing a gas station and need a simple yet functional receipt template, consider the following elements:
Basic Elements to Include
- Station Name and Address: Make sure the gas station’s name, address, and contact details are clearly displayed at the top.
- Transaction Date and Time: Include the exact date and time of the transaction to maintain accurate records.
- Receipt Number: Use a unique identifier for each transaction to track sales and avoid confusion.
- Fuel Type and Quantity: Specify the type of fuel purchased (e.g., Regular, Premium) and the amount (in gallons or liters).
- Price Per Gallon/Liter: List the price of fuel per unit, ensuring it’s easy for the customer to verify the total cost.
- Total Cost: Clearly state the total amount charged for the fuel and any additional services like car washes or snacks.
- Payment Method: Include the payment method used (e.g., Credit Card, Cash, Mobile Payment).
Customizing the Template
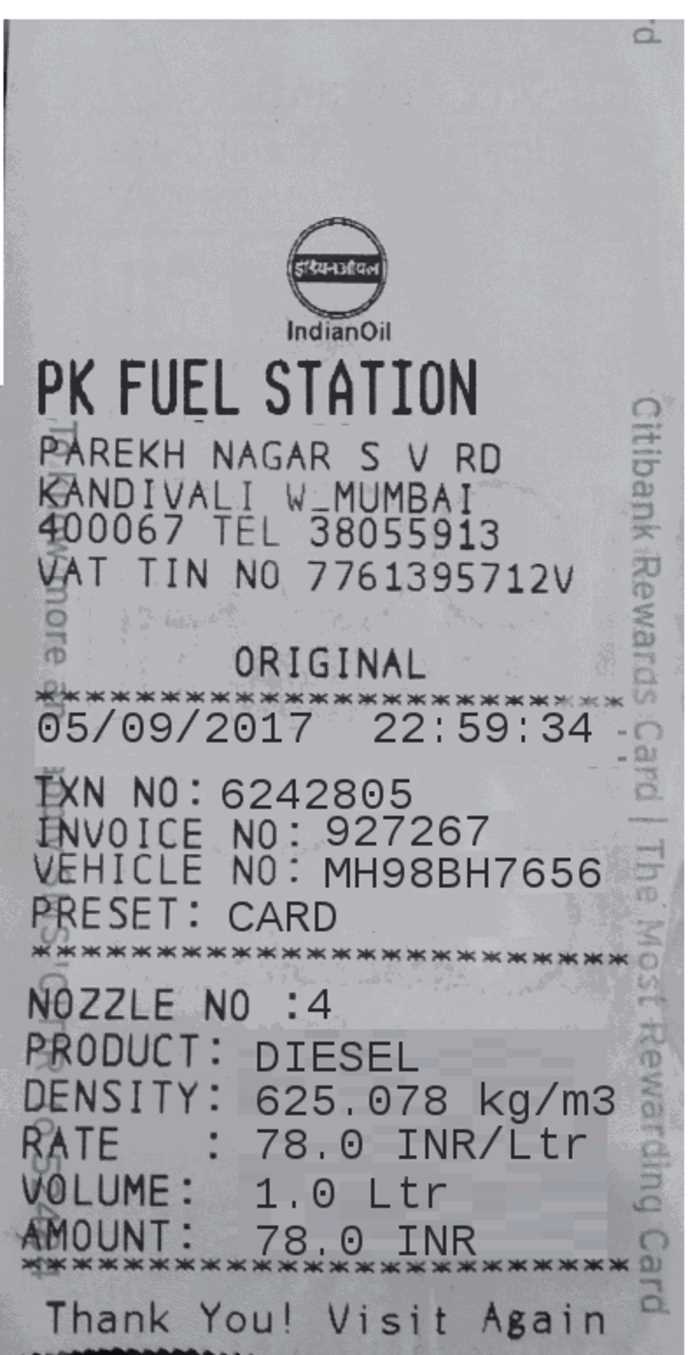
- Branding: Incorporate your station’s logo and branding colors to make the receipt personalized.
- Discounts or Promotions: If applicable, include any discounts or promotions to show the adjusted price.
- Tax Information: Add tax rates if required by local regulations to ensure full transparency for the customer.
These elements are fundamental in creating a practical receipt that both your staff and customers will find clear and professional. You can easily find customizable templates online, or even design your own with these details in mind. This approach not only ensures accurate record-keeping but also helps maintain a smooth operation for your business.
Customizing Fields for Your Gas Station Receipt
Modify the fields on your receipt to align with your station’s unique needs. Replace default text with your station’s name, address, and contact details for clear identification. For the transaction information, include fields for the fuel type, amount dispensed, unit price, and total cost. This provides your customers with a transparent breakdown of their purchase.
If you offer additional services like car washes or convenience store items, add separate sections for these purchases, including quantities and prices. Customize the payment method section to reflect cash, card, or digital payment options, making it easy for your customers to track how they paid.
Incorporate date and time stamps to help with record-keeping, and consider adding a receipt number for better organization, especially for refunds or disputes. Make sure the footer includes space for loyalty program information or special offers to encourage repeat visits. Adjust the layout to fit the paper size of your receipt printer for maximum efficiency.
Designing a Clear and Professional Layout
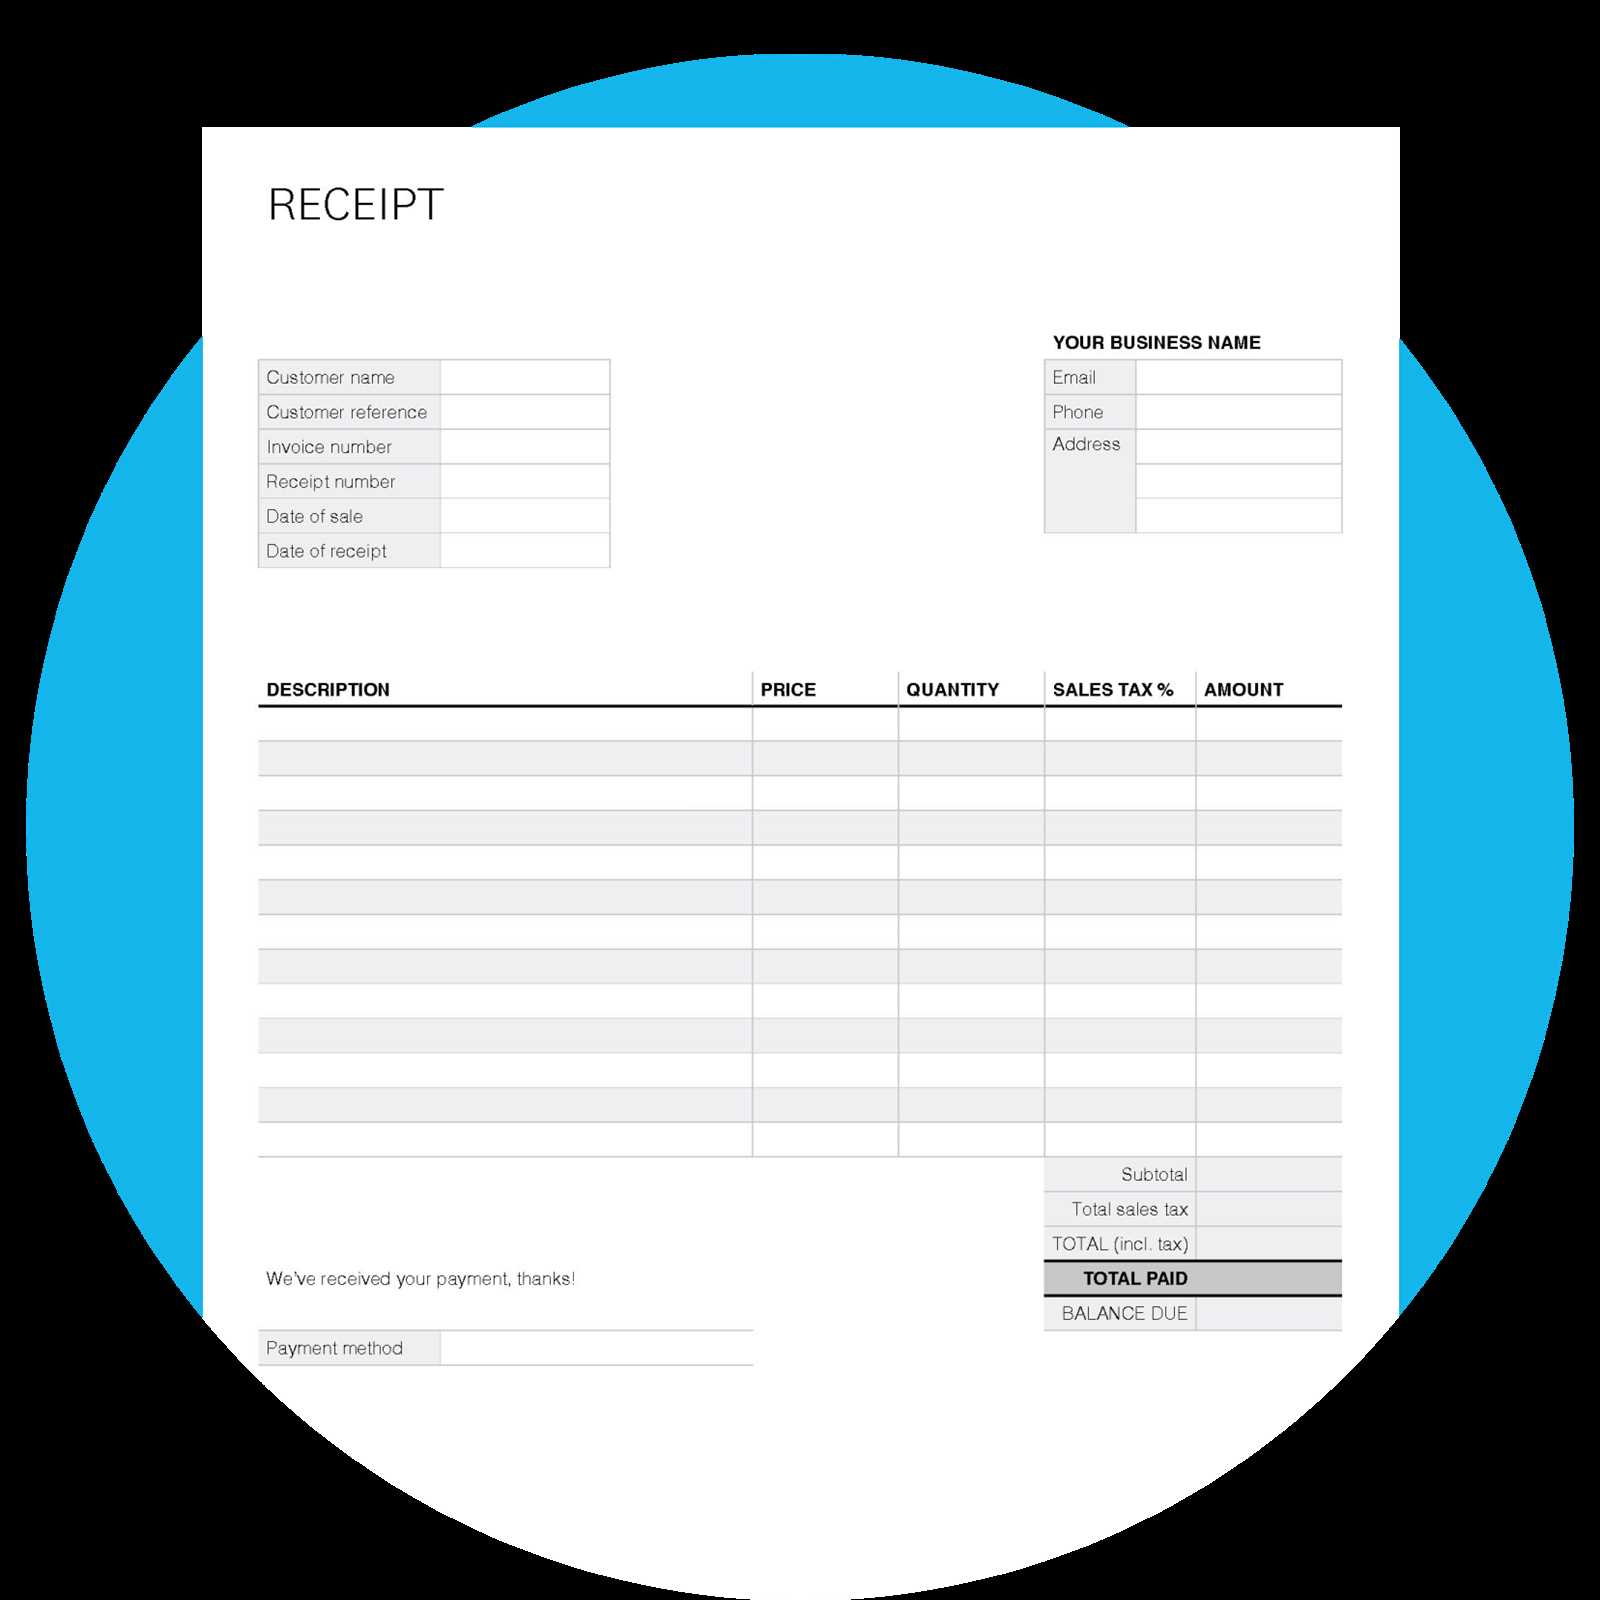
Focus on a clean structure with clear sections for each relevant detail. Organize key information such as transaction date, total amount, fuel type, and payment method in separate, easy-to-read blocks. Use consistent fonts and sizes to guide the reader’s eye and maintain a streamlined flow of information.
Prioritize readability by ensuring proper spacing between sections and text. A minimalistic approach, using only the necessary elements, prevents the design from feeling cluttered. Avoid overloading the receipt with too much detail–stick to the essentials.
Align all text left to maintain consistency across the document. This approach makes it easier for customers to quickly find the information they need. Place important data, like the total price, in larger, bold fonts to draw attention immediately.
Maintain a balance between text and white space. Too much white space can make the receipt feel unfinished, while too little can make it hard to read. Use grids or guidelines to create even spacing between lines and sections.
Incorporate your brand’s logo subtly but effectively. Position it at the top or bottom of the receipt to reinforce your identity without distracting from the important details. Keep the logo size proportional to the overall design.
Ensure all text is legible with sufficient contrast against the background. Avoid using colors that might make reading difficult. Stick to black or dark colors on light backgrounds for the best readability.
Incorporating Tax and Discount Information
Include clear tax and discount lines on the receipt to provide transparency for your customers. Start by calculating the sales tax based on the purchase total. In most templates, a field for “Sales Tax” or “Tax” will be visible, where you can input the appropriate amount. Specify the tax rate next to the figure to avoid confusion.
For discounts, list each discount separately, with the corresponding percentage or fixed amount deducted. It’s helpful to break down the discount amount, showing both the original price and the discounted price for clarity. This builds trust and ensures customers understand how much they saved.
| Description | Amount |
|---|---|
| Original Price | $50.00 |
| Discount (10%) | -$5.00 |
| Sales Tax (5%) | $2.25 |
| Total | $47.25 |
Finally, display the final total at the bottom of the receipt. This total should include the original price, any discounts, and the applicable sales tax, ensuring your customers can easily verify their purchase amount.
Ensuring Compatibility with POS Systems
Ensure the receipt template matches the data format your POS system uses. Stick to common standards like UTF-8 encoding to avoid character issues. Use consistent fonts and sizes to make text readable across different POS platforms.
Check the alignment and margin settings to make sure all information fits correctly within the printable area of the receipt. Some POS systems have specific width limitations, so adjusting your template to these settings ensures the receipt is printed properly every time.
Test the template on various POS systems to guarantee compatibility. Even slight differences in printing mechanisms may affect how the receipt appears, so it’s essential to test it across multiple devices to identify potential issues.
Use templates that support dynamic fields for items such as date, time, and price, ensuring they are automatically filled in during the transaction. This avoids manual input errors and makes integration smoother with your POS software.
How to Create a Printable Template
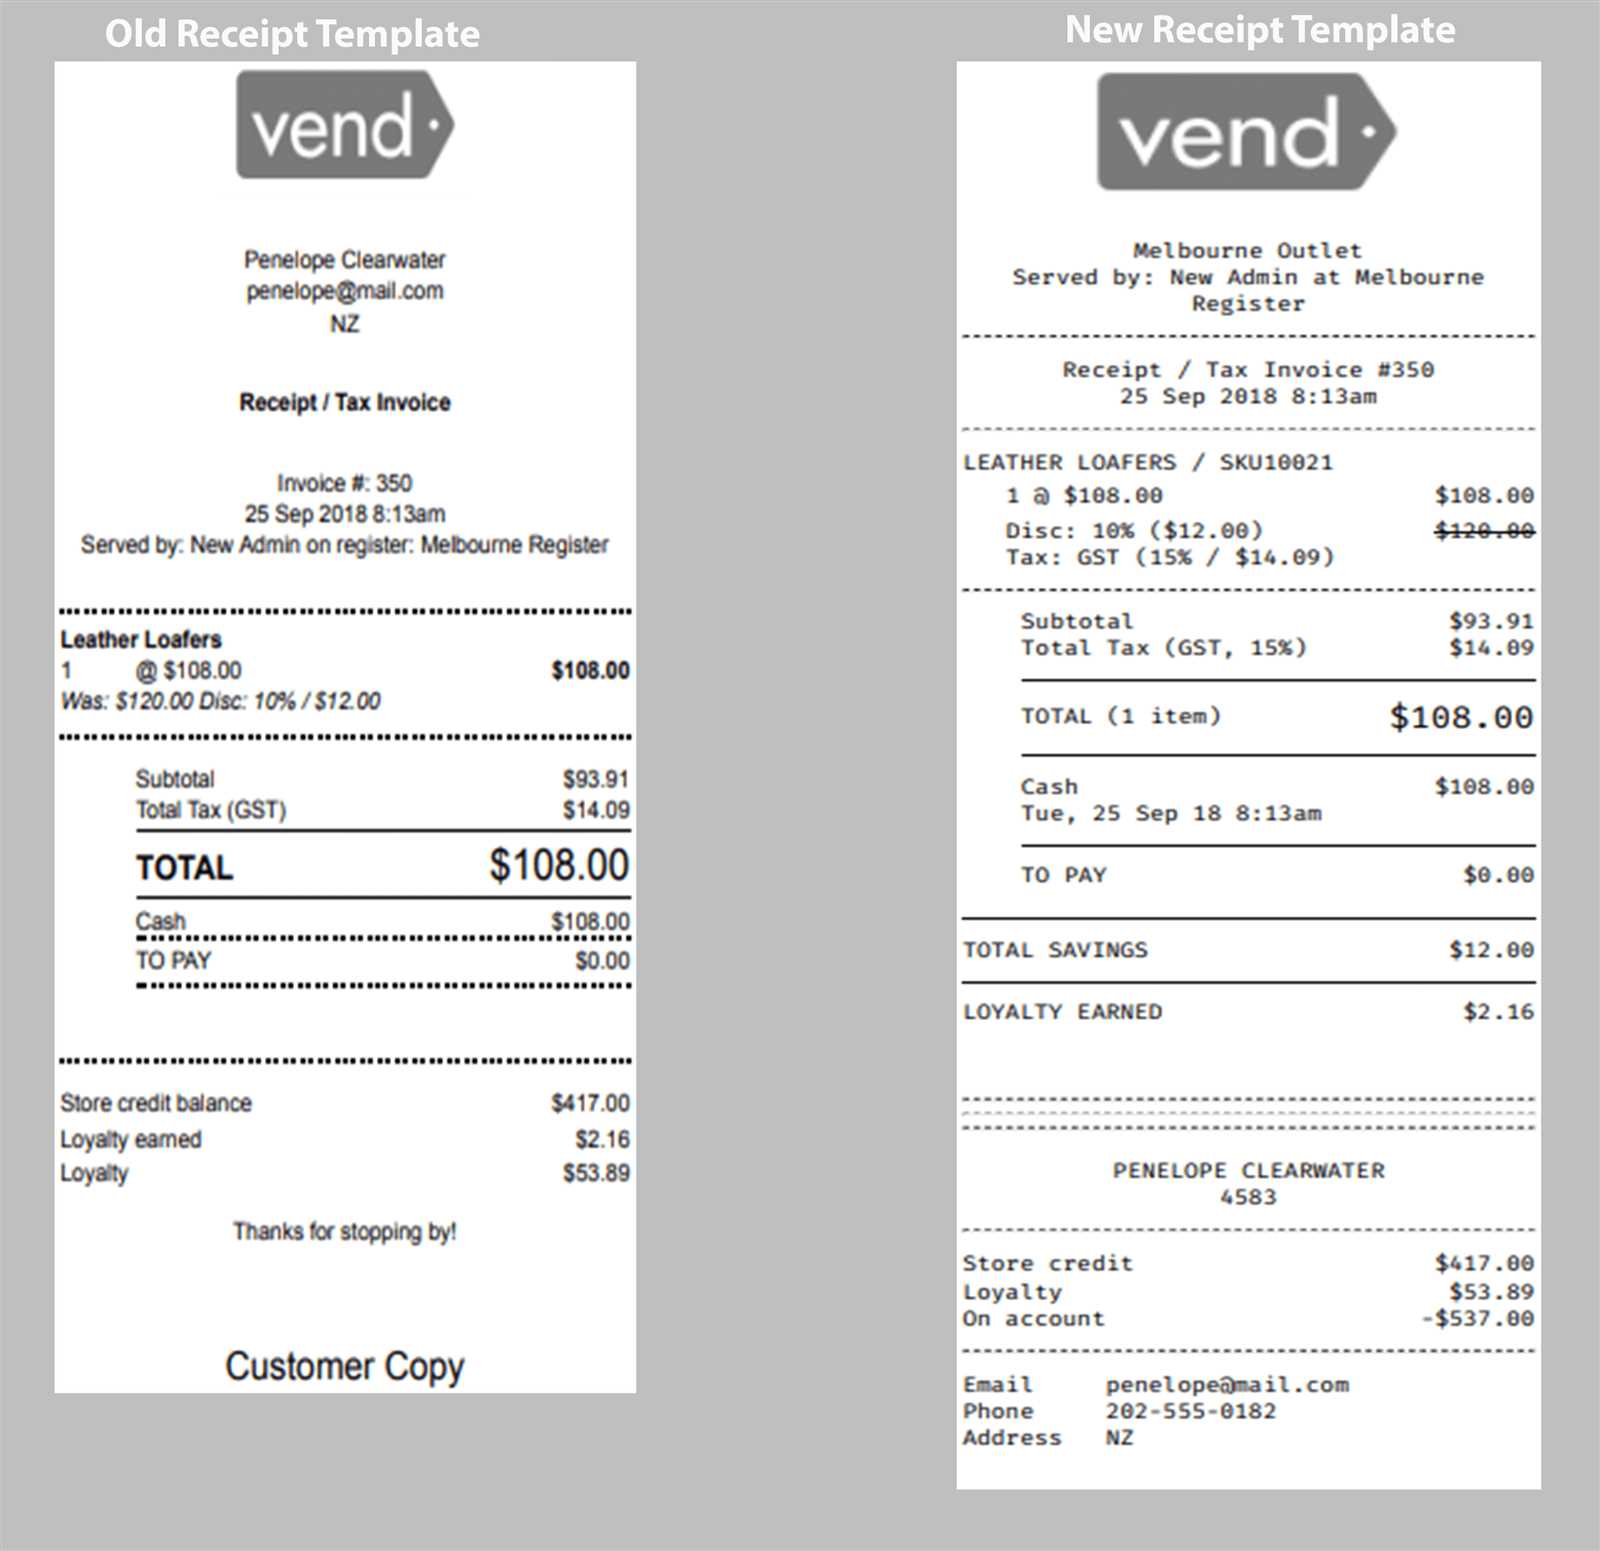
To design a printable receipt template, focus on clear layout and simplicity. Keep key details organized and ensure each section is easily distinguishable for better user experience.
- Define Fields: Identify the essential information that should appear on the receipt, such as gas station name, transaction date, amount paid, and fuel type.
- Set Dimensions: Use standard paper sizes like A4 or Letter for ease of printing. A common width for receipts is 80mm, which fits most thermal printers.
- Design Layout: Start with a grid to arrange sections logically. Group related information, like transaction details and payment methods, together for clarity.
- Use Clear Fonts: Choose legible fonts such as Arial or Helvetica, with sizes large enough for readability. Avoid decorative fonts that can make the text harder to read.
- Include Branding: Add your gas station’s logo or name at the top, ensuring it’s positioned for maximum visibility. Keep the design consistent with your brand’s color scheme.
- Incorporate Total and Payment Information: Clearly highlight the total amount and payment method used to ensure transparency and ease for the customer.
Test your template by printing a few receipts. Make adjustments as needed for alignment, readability, or to fit the paper size properly. With these steps, you’ll have a professional-looking, printable template ready for use at your gas station.
Legal and Regulatory Considerations for Receipts
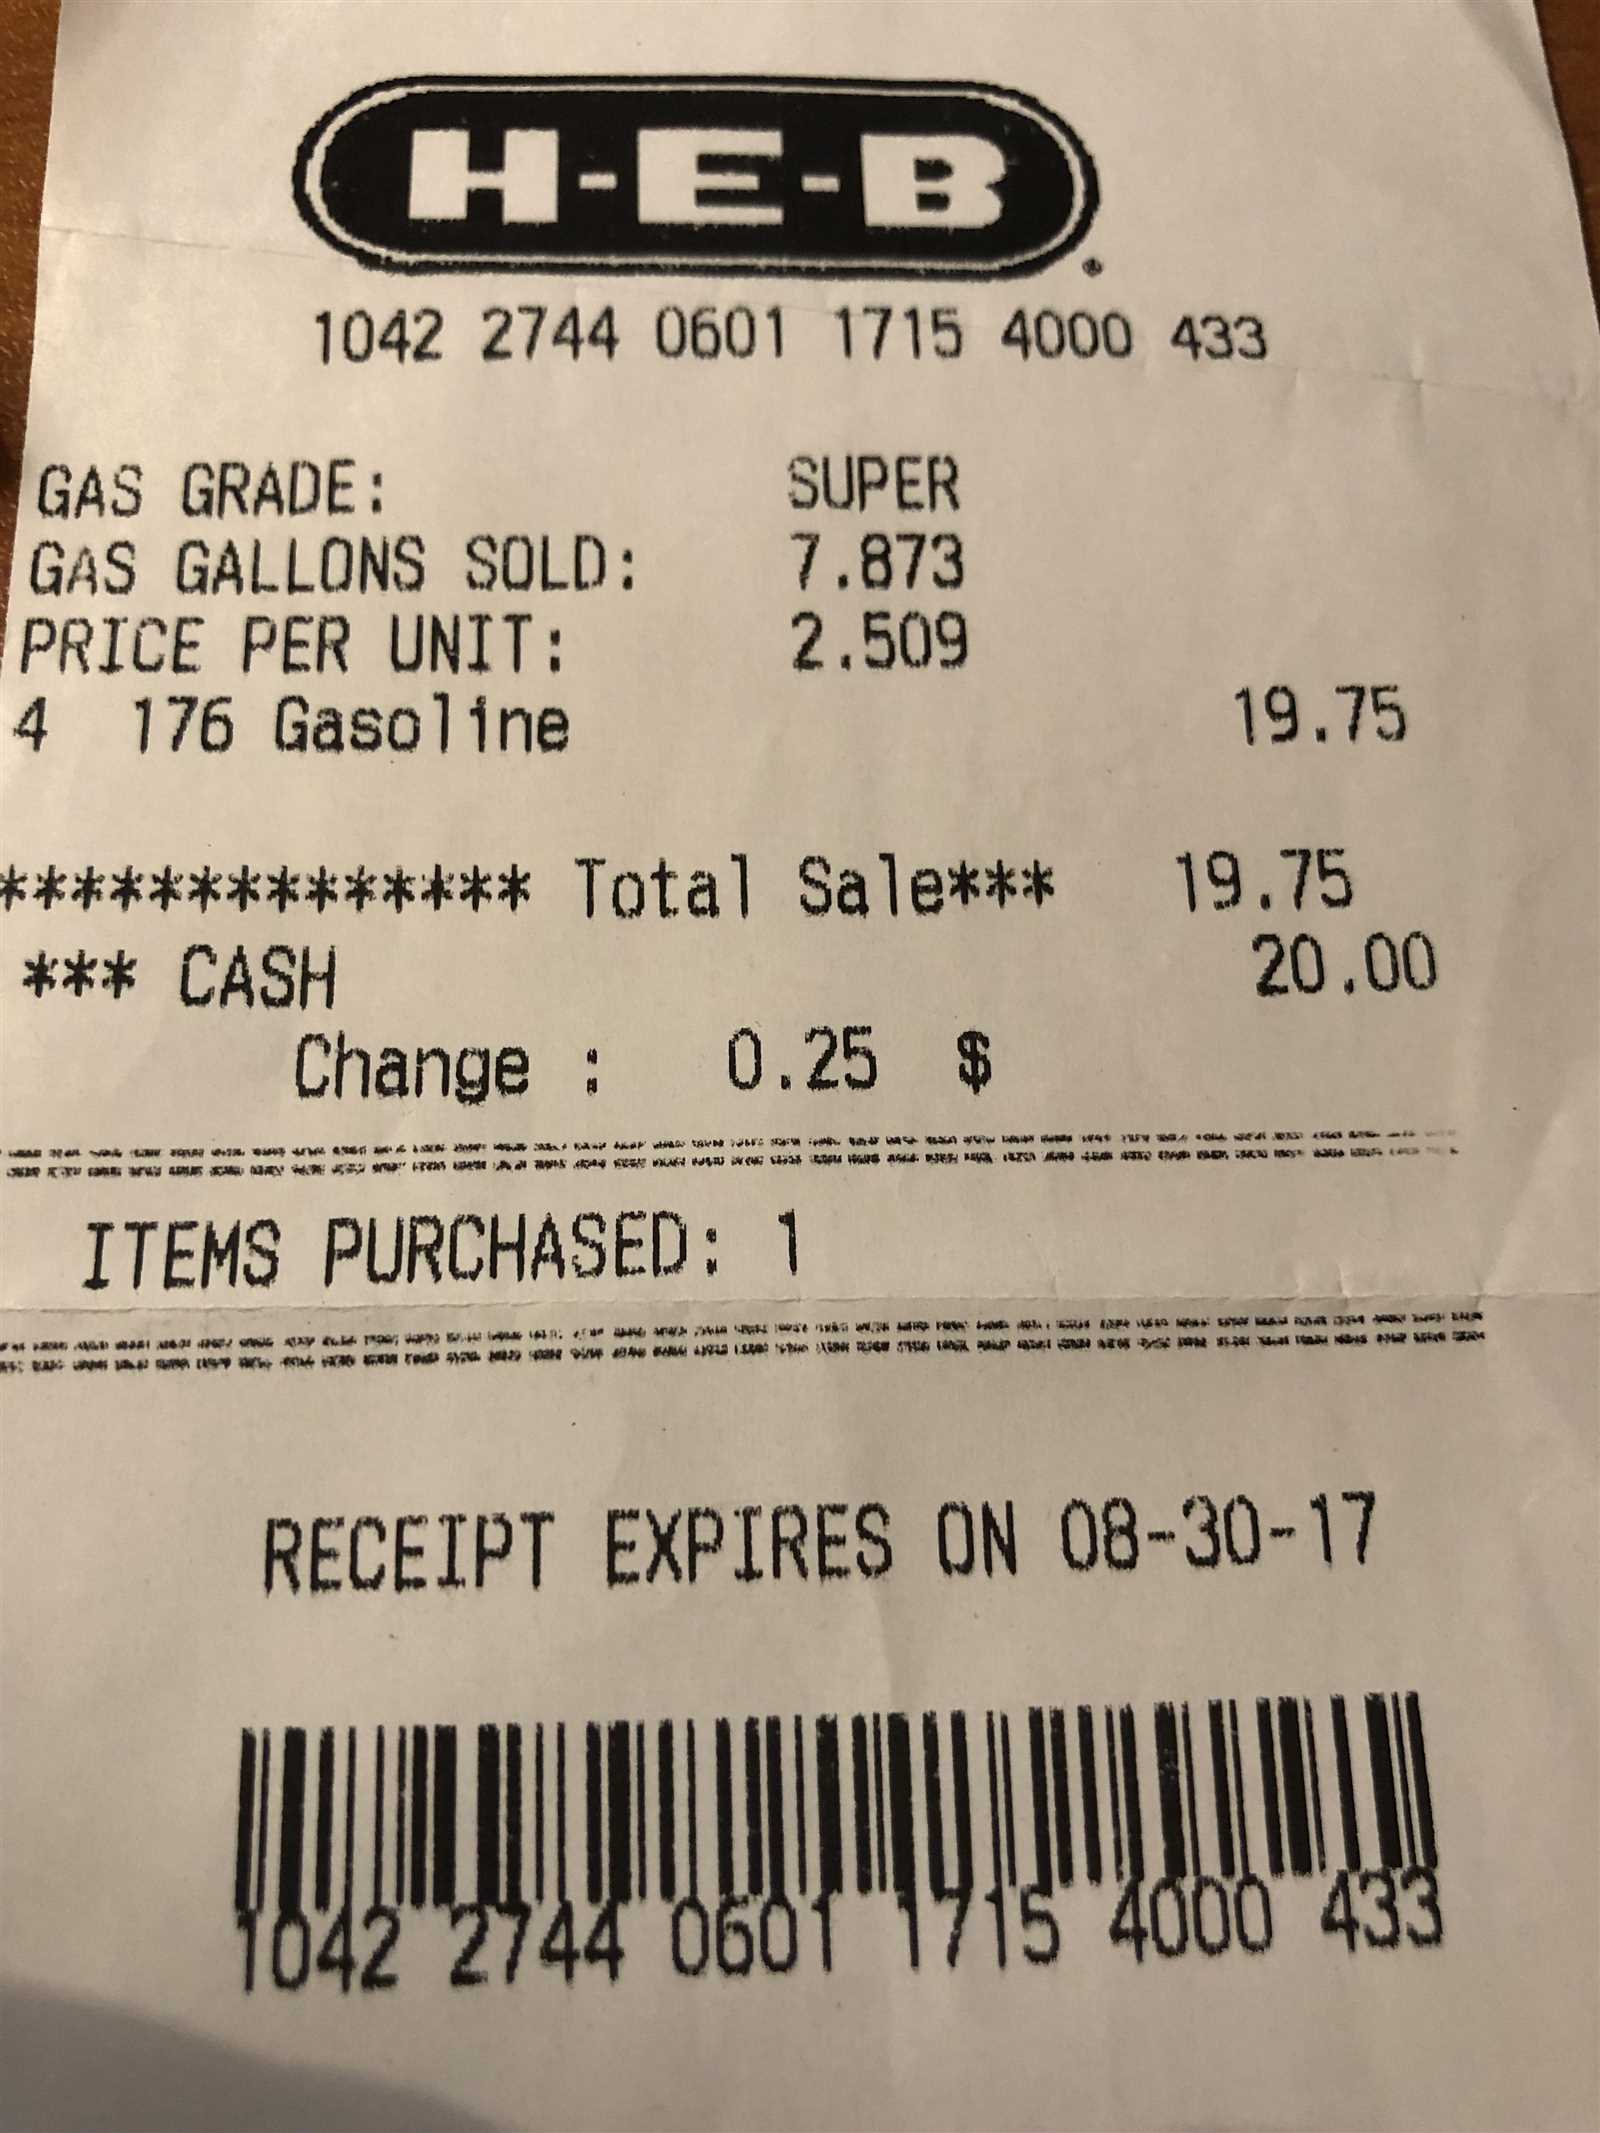
Ensure your receipt includes all required information as per local laws. This generally involves providing the date, time, transaction amount, and business details. The specifics can vary by jurisdiction, so check your local government’s guidelines to confirm compliance.
Required Information on Receipts
At a minimum, receipts should include the following:
- Business Name and Address – Clearly display your business name and physical address.
- Date and Time – Include the exact date and time of the transaction.
- Transaction Details – List the purchased items or services, their prices, and the total amount.
- Tax Information – If applicable, specify the tax amount or rate charged.
Data Privacy and Consumer Rights
Be mindful of consumer rights and privacy laws when collecting customer data. Avoid storing sensitive information unless necessary and ensure that your data handling practices are transparent. Many jurisdictions have strict rules about how long you can retain receipts and the information they can contain.
Also, be aware that electronic receipts are subject to the same legal requirements as paper ones in many regions. Make sure your systems are set up to comply with any relevant regulations for both physical and digital receipts.


